How to Care for Hermès Leather Boots: Cleaning, Conditioning, Waterproofing, and Storage That Actually Works
Boots That Last, in Brief
Hermès leather boots are made to be worn hard and kept for decades. The classic tall riding boot, in smooth box calfskin with a Kelly-style buckle, is built around that idea, and so are the shorter suede ankle boots the house returns to season after season.
Care for them comes down to a short routine done often, not a rare deep rescue. Brush or wipe them after wear, let them dry slowly away from heat, condition smooth leather only when it starts to feel dry, and protect suede before it ever meets rain.
The single biggest mistake is using the wrong product on the wrong leather. Cream, oil, and wax belong on smooth leather only. Suede and nubuck need a brush, an eraser, and a suede-only protector, and nothing creamy at all.
Hermès itself is more cautious than most boot-care guides. Its own leather guidance says to wipe with a soft cloth, keep leather away from water, heat, and strong sun, rest the item in its box or cover, and entrust serious work to Hermès artisans, warning that unsuitable products can cause damage.
This guide respects that caution and still gives you the practical boot-specific steps rival guides cover: cleaning, conditioning, waterproofing, salt rescue, sole and heel care, and off-season storage. Where sources disagree on method, product, or frequency, it says so plainly instead of quietly picking one version.
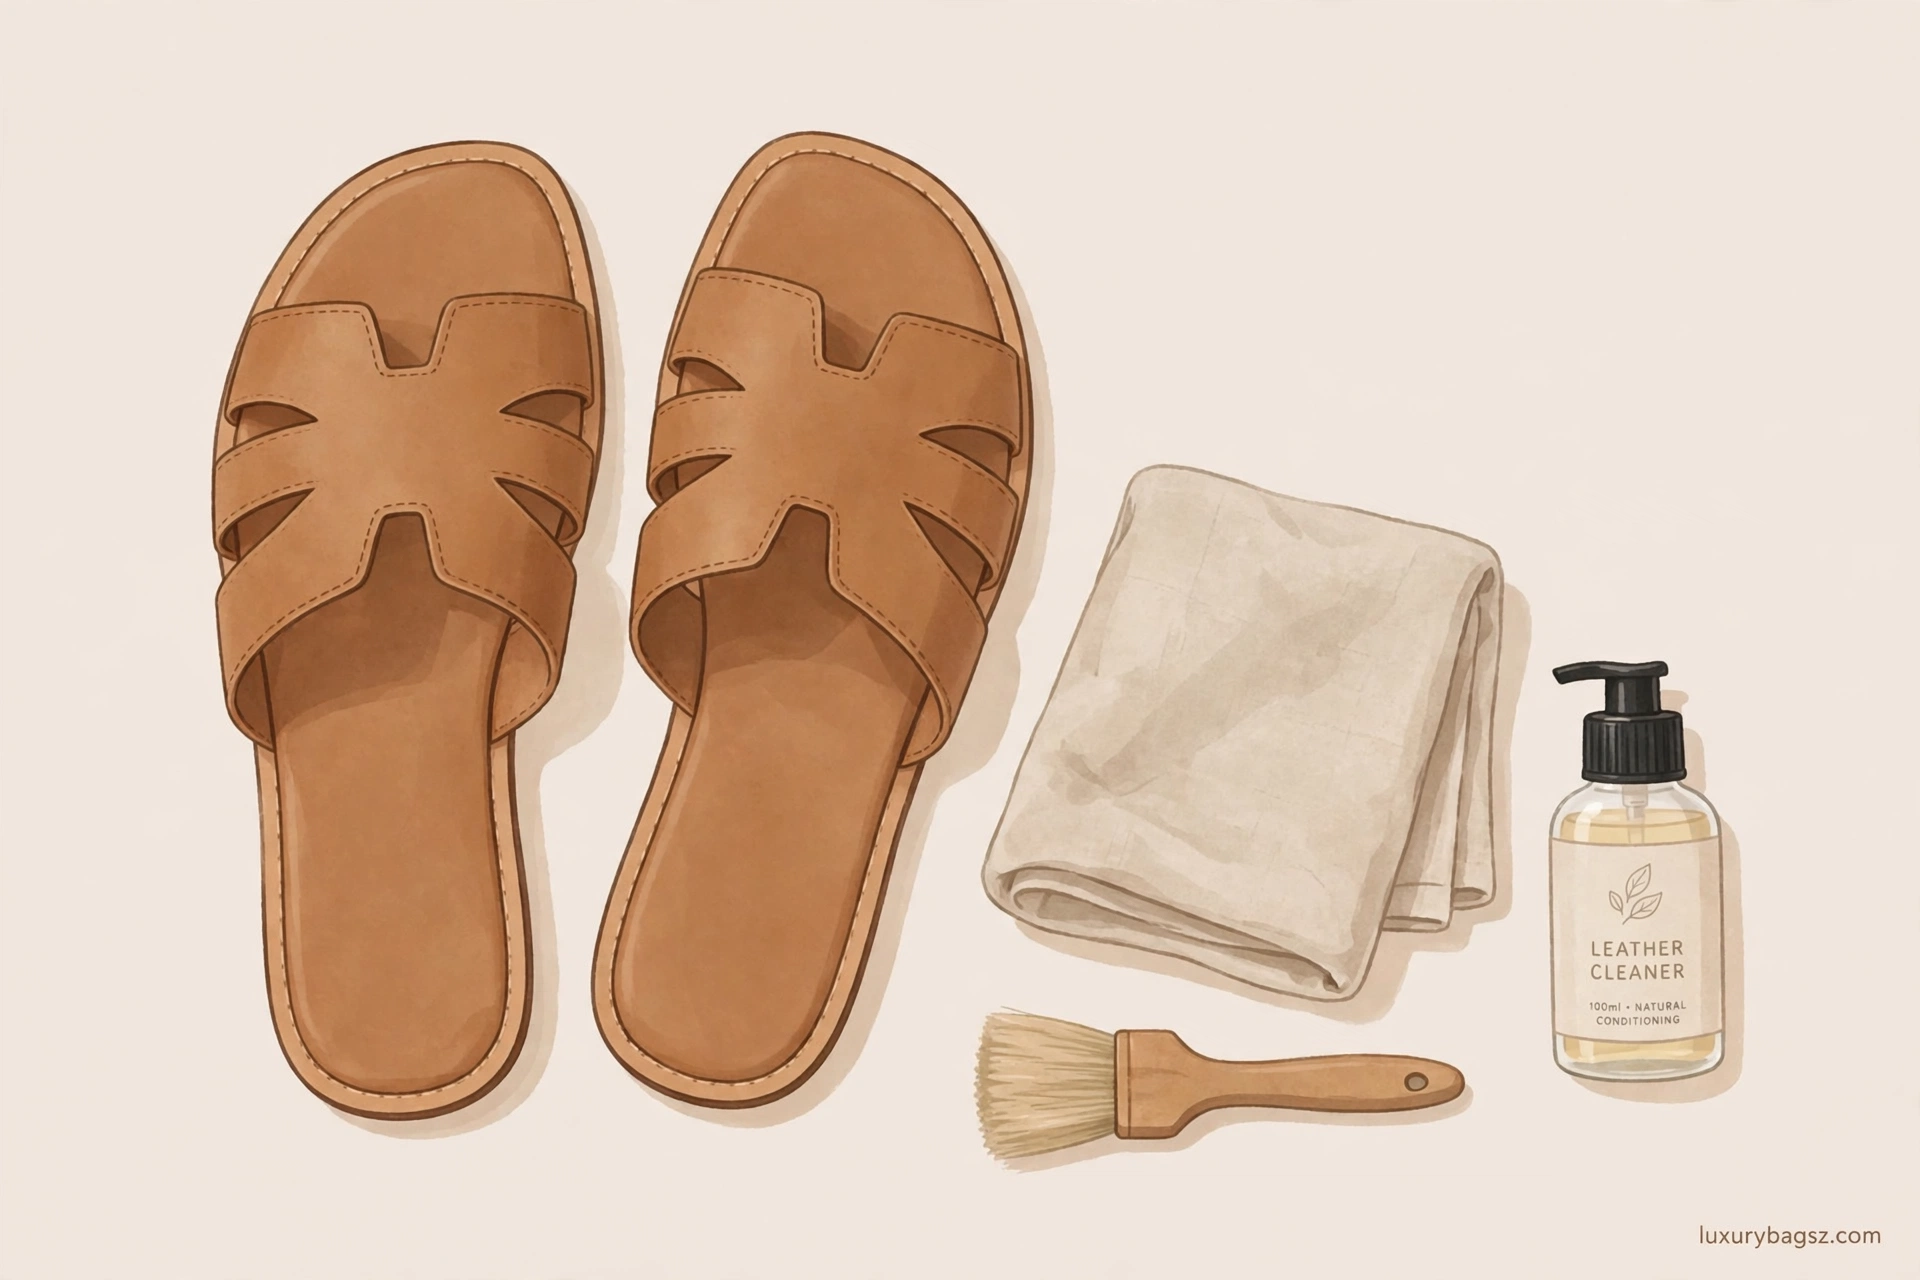
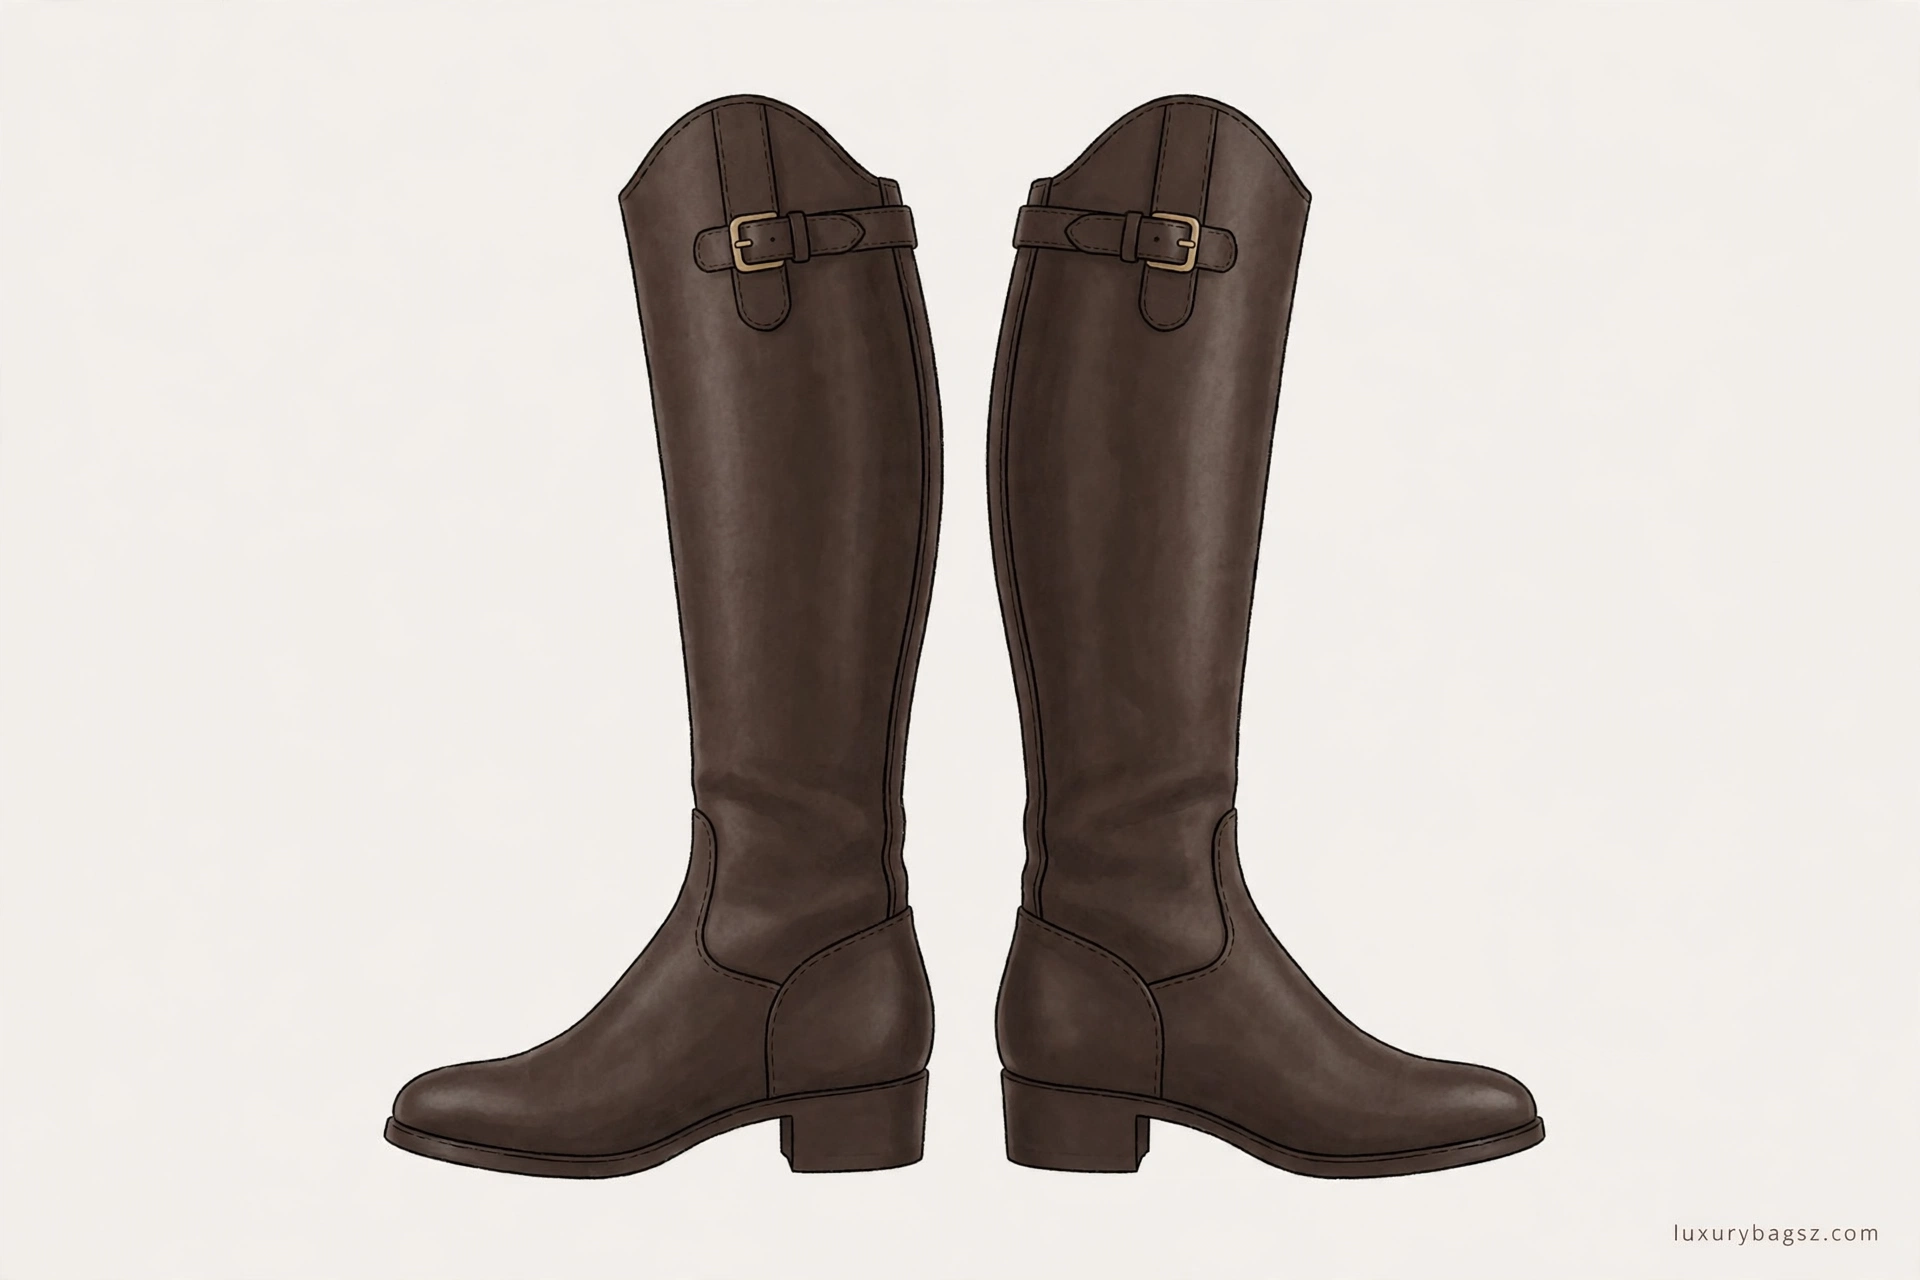
Every image in this guide is a generic illustration, not a photograph of a real Hermès product. No trademark logo has been reproduced. The illustrations show the general shape and idea of leather boots so you can follow the care steps; they are not evidence of what any particular pair looks like.
A pair of Hermès boots is not a delicate object that must live in a box. It is a working piece of footwear, descended from the riding boots the house was founded on, and it is designed to flex, crease, and soften with wear.
That is also why boot care is different from bag care. A bag hangs on your arm and mostly stays dry. Boots meet pavements, puddles, road salt, grit, and mud, often in the same week, and they bend at the ankle and the ball of the foot with every step.
Most rival guides miss that difference. They either copy bag-care advice onto boots, which leaves soles, heels, and salt damage unaddressed, or they give generic leather-boot advice that ignores how fine, soft, and expensive Hermès leathers are.
Some guides skip suede entirely, even though many Hermès ankle boots are suede goatskin. Others give one conditioning frequency as if it were a rule, when published advice ranges from once a year to once a week. Still others recommend a product for every problem without warning that the same product can darken, flatten, or stain a different leather.
This guide fixes those gaps in order. It starts with identifying your leather, because every later step depends on it. It then covers the after-wear routine, smooth-leather cleaning, suede care, conditioning, waterproofing, salt and water rescue, scuffs and stains, soles and hardware, storage, the never-use list, and professional help.
One note on prices, stated once and kept to throughout. Hermès does not publish a single stable retail price for boots, and resale prices vary by model, leather, size, and condition. This guide therefore gives only dated, single-listing examples, never a market average.
For example, one pre-owned listing seen during research listed a pair of neon orange and white neoprene and leather Hermès jumping boots, size 39, at €1,338 at a single store. Treat that as one listing on one day, not as what any pair is worth.
Key Takeaways
- Identify the leather before you touch it with any product. Smooth calfskin, grained calfskin, suede, and exotic skins each need a different toolkit, and the wrong one can do permanent damage.
- After every wear, brush off dust and grit, wipe smooth leather with a soft dry cloth, and let the boots air at room temperature. Grit left on the surface grinds into the leather with the next step.
- Never dry boots on a radiator, with a hair dryer, or in direct sun. Fast heat cracks smooth leather, stiffens suede, and can loosen adhesives around soles and heels.
- Condition smooth leather only when it feels dry, looks dull, or shows fine creases that stay pale. Over-conditioning softens structure and can darken light colours.
- Never put cream, oil, wax, or polish on suede or nubuck. Brush it dry, use a suede eraser for marks, and protect it with a suede-only spray.
- Remove road salt the same day if you can. Salt draws moisture out of leather, leaves white rings, and stiffens suede and stitching if it is left to sit.
- Use boot trees or shapers for tall boots in storage, keep boots upright in a cool, dry, dark place, and never store them in sealed plastic.
- Hermès issues no authenticity cards as a general rule. A card supplied with a pre-owned pair is a red flag, not reassurance, and it has nothing to do with how you should care for the boots.
- When damage goes past surface level — a cracked sole, a detached heel, deep cuts, colour loss, or a broken zip — stop and take the boots to a cobbler or to Hermès after-sales. Home products cannot fix structural damage, and trying can make it worse.
Part 1: Know Your Boots First — Leather, Lining, and Sole
Start by finding out what you actually own. The care label, the original listing, or the boutique description should name the leather, and that name decides everything that follows.
The best-known Hermès boot is the Jumping boot, a tall riding-style boot in smooth box calfskin with a Kelly-style buckle at the calf. It comes in a long version and a shorter version, and it returns in new colours and materials each season, including suede and grained leathers.
Ankle boots are the other large family. Names in this family include the Saint Germain, in suede goatskin with a suede zip pull and a leather sole, and the Frenchie, in heritage calfskin with a block heel. Shearling-lined and knit-panel styles also appear, and those panels need different handling from the leather around them.
Smooth leathers include box calfskin and grained calfskin. Box calfskin is smooth, fine-grained, and firm, with a clean surface that shows scuffs clearly but also buffs well. Grained calfskin has a pebbled surface that hides small marks better and is generally more forgiving of daily wear.
Suede is the underside of the hide, with a soft napped surface. Hermès suede goatskin is supple and velvety, but it absorbs water, salt, and oil far faster than smooth leather. Nubuck is similar, with a finer nap, and it needs the same dry-first approach as suede.
Exotic skins, such as matt crocodile, appear on some Hermès boots. These are the exception to almost every rule in this guide. Do not condition, waterproof, or clean an exotic pair with standard products, and do not experiment on a hidden spot without advice. Take exotic boots to Hermès after-sales or a specialist exotic-skin cobbler.
Check the sole and heel too. Many Hermès boots have a leather sole and a leather-wrapped or stacked leather heel. Leather soles are elegant and quiet, but they are slippery when new and they wear faster on wet pavements than rubber soles do.
Look inside as well. Lambskin linings and insoles are common, and they mark and absorb moisture more easily than the outer leather. If the lining feels damp after wear, that is normal after a long day, but it is also why boots need airing time before they go back in a box.
Finally, note the hardware. A palladium-plated buckle, a zip, or a stud needs only a soft dry cloth, and it should never meet polish, conditioner, or waterproofing spray. Products that are safe for leather can dull, spot, or tarnish metal, and polish trapped around a buckle is hard to remove.
Part 2: The After-Wear Routine — Two Minutes That Prevent Most Damage
The most valuable habit in boot care is also the shortest. Do it after every wear, before the boots go back on the shelf, and most later problems never get started.
First, knock the boots gently together outside, or brush them, to remove loose dust, grit, and mud. Grit is abrasive, and grit pressed into leather by the next wear acts like sandpaper on the surface. A soft brush is enough for smooth leather, and a suede brush is the right tool for suede, used lightly in one direction.
Next, wipe smooth leather with a soft, dry cloth. This removes surface dust and light moisture without adding any product. If the boots are muddy, let the mud dry first, then brush it off, rather than smearing wet mud across the leather.
For suede, skip the cloth and brush only when the boots are dry. Brushing wet suede flattens the nap and can push dirt deeper into the fibres. If the nap looks flat in one spot, a light brush after drying usually lifts it again.
Pull the boots off by hand, not by stepping on the heel of one boot with the other. Forcing a boot off strains the heel counter and the back seam, and tall boots are especially easy to damage this way. A boot jack is a cheap tool that protects both the heel and the shaft.
Air the boots at room temperature for several hours before storing them. Feet produce moisture, and leather needs time to release it. Putting damp boots straight into a box traps that moisture against the leather and the lining.
Rotate your boots if you can. Wearing the same pair every day never gives the leather a full drying and resting cycle. Hermès itself advises giving leather objects time to rest, and boots benefit from that rest more than most pieces because they absorb so much moisture in wear.


Note: this video is a general leather-boot care guide, not a Hermès-specific video. Its cleaning, conditioning, shoe-tree and wet-leather advice applies directly to Hermès leather boots, which is why it is used here.
Part 3: Cleaning Smooth Leather, Step by Step
Clean smooth leather only when the after-wear routine is not enough. That means visible dirt, a stain, or a dull film that a dry cloth will not lift, not a calendar date.
Start with a dry brush or cloth to remove loose dirt. Then test any cleaner on a hidden spot, such as the inside of the shaft near the top, and wait for it to dry fully. If the colour, sheen, or texture changes there, do not use that product on the visible leather.
Use a mild leather cleaner, or a barely damp cloth with a tiny amount of gentle soap, and work in small areas. Wipe, do not scrub, and do not soak the leather or flood the seams. Seams and stitching hold moisture longer than the surface, and damp stitching is where mildew and stiffness start.
Wipe away cleaner residue with a second cloth, barely dampened with clean water. Residue left on the surface can attract dust and leave a film that dulls the finish. Let the boots dry at room temperature, stuffed lightly to hold their shape, before you condition or protect them.
The same soft-cloth-first principle applies to other Hermès leather pieces. Readers who keep bags alongside boots will recognise the routine from cleaning Chanel bags, where a gentle wipe comes before any product, and harsh cleaners are skipped entirely.
For light-coloured leather, use a white or undyed cloth. A coloured cloth can transfer dye onto pale leather, especially when the cloth is damp. This is a small detail, but it is the kind that ruins a light pair in one wipe.
Do not use baby wipes, household cleaners, or alcohol-based wipes on Hermès leather. They are convenient, and they are also a common cause of dried-out patches and uneven sheen. If a product is not made for fine leather, it does not belong on these boots.
Water spots deserve a special mention. A single splash that dries unevenly can leave a ring on smooth leather, because the wetted area dries at a different rate from the dry area around it. The usual fix is to dampen the whole panel lightly and evenly, then let it dry slowly, but this is risky on fine or light leather, so test it on a hidden spot first or leave it to a professional.

Part 4: Suede and Nubuck Boots — A Different Toolkit Entirely
Suede care starts with one rule: keep it dry until you have to deal with a mark, and then use as little moisture as possible. Suede absorbs water fast, and water leaves stiff patches and tide marks on the nap.
Brush suede only when it is fully dry. Use a suede brush with light, even strokes in one direction, and brush the whole panel, not just the dirty spot. Brushing one spot hard creates a visible patch where the nap sits differently from the leather around it.
A suede eraser handles dry marks, scuffs, and light salt lines. Rub gently, in one direction, and brush again afterwards to lift the nap. Heavy rubbing flattens the nap permanently, so stop as soon as the mark fades, even if a faint trace remains.
For a stain that brushing and erasing will not lift, use a suede-specific cleaner, applied to a cloth rather than directly to the boot, and only on the stained area. Let the boots dry fully at room temperature, then brush again. If the stain is oil-based, dark, or large, a professional suede cleaner is a safer choice than repeated home attempts.
Never use leather cream, conditioner, oil, wax, or shoe polish on suede. These products clog the open fibres, flatten the nap, and darken the colour unevenly. The damage is usually permanent, and it is the single most common suede mistake in rival guides that recommend one product for all leather boots.
Protect suede before its first wear outdoors, and again after any cleaning. A suede-only waterproofing spray, applied in a light, even coat from the distance the label states, and left to dry fully, buys real protection. It does not make suede waterproof, and it needs reapplying, but it slows water, salt, and staining noticeably.
Keep suede boots out of heavy rain and slush whenever you have a choice. No spray makes suede a wet-weather boot, and repeated soaking will stiffen it and change its colour. If suede boots do get soaked, stuff them lightly, dry them slowly at room temperature, and brush only once they are completely dry.
The brushing technique itself matters more than most owners expect. A short guide to using a suede brush covers the stroke direction and pressure that keep the nap even, and the same habits apply to boots as to bags and shoes.
Part 5: Conditioning Smooth Leather — What It Does, and How Often
Conditioning replaces oils that wear, cleaning, sun, and dry air take out of smooth leather. Without it, leather gradually stiffens, dulls, and cracks, starting at the flex points around the ankle and the ball of the foot.
Condition only smooth leather, and only when it needs it. Signs that it needs it include a dry or papery feel, a dull look that buffing will not lift, and fine creases that stay pale when the leather flexes. If the leather still feels supple and looks even, leave it alone.
Here is where sources disagree, and the disagreement matters. Hermès bag guidance commonly cited in owner guides suggests conditioning about once a year, with a patch test first. General boot-care guides, by contrast, recommend conditioning every three to six weeks, every one to two months with regular wear, or weekly cream in winter.
Both figures can be honest, because they describe different wear. A bag that lives indoors and a boot that walks through winter salt do not lose oils at the same rate. For Hermès boots, the sensible rule is condition by feel, not by calendar: every few months for regular wear, more often in winter or after salt cleaning, and rarely for boots worn only occasionally.
Apply a small amount of a fine-leather conditioner with a soft cloth, in thin, even coats. Work one panel at a time, let it absorb, and buff off the excess with a clean cloth. Thick coats do not condition better; they sit on the surface, attract dust, and can darken the leather.
Always patch-test first, on a hidden spot inside the shaft, and wait until it is fully dry. Conditioners can darken leather, especially light colours, and a darker shaft interior is a far better discovery than a darker toe. If the test spot darkens more than you can accept, use a lighter product or skip conditioning and ask a professional.
A well-known fine-leather conditioner often recommended for smooth calfskin is Saphir Renovateur. A dedicated guide to using Saphir Renovateur explains the thin-coat method and the patch test in detail, and both apply directly to boots.
Do not condition over dirt, salt, or wet leather. Conditioner seals in whatever is underneath it, so a dirty boot conditioned in a hurry comes out dirtier in the long run. Clean first, dry fully, then condition, and only then protect.
Part 6: Waterproofing and Protection — Spray, Wax, or Both
Waterproofing is protection, not a promise. No spray or wax makes a leather boot truly waterproof, and any guide that claims otherwise is overselling its product. The goal is to slow water, salt, and staining so you have time to wipe the boots down afterwards.
For smooth leather, the usual choice is a silicone-free waterproofing spray, or a thin layer of wax polish over conditioner. Sprays are easier to apply evenly and do not change the shine much. Wax adds a stronger barrier and a shine, but it can build up if it is applied too thickly or too often.
For suede, only a suede-specific spray will do. Wax, cream, and oil are all wrong for suede, as part 4 explains, and a smooth-leather spray is not automatically safe for suede either. Check the label for suede and nubuck, and patch-test on a hidden spot.
Sources also disagree on order. Some guides say to waterproof before the first wear, then condition later. Others say to condition first, then waterproof over the conditioner. A third group says to reapply protector after every cleaning, because cleaning strips the protective layer.
In practice, the order that works for most owners is this: clean, dry, condition smooth leather if it needs it, let the conditioner absorb fully, then apply protector last. Protector goes last because it is a barrier, and a barrier applied under conditioner blocks the conditioner from reaching the leather.
Apply protector in a light, even coat, outdoors or in a ventilated room, and let the boots dry fully before wearing them. Two thin coats, with drying time between them, protect better than one heavy coat. Heavy coats leave a sticky or cloudy finish, especially on suede.
Reapply on a wear-based schedule, not a fixed date. After heavy rain, after salt cleaning, or after a month of regular wet-weather wear are all reasonable triggers. If water stops beading and starts soaking in, the protection has worn off, whatever the calendar says.
One product to be careful with is mink oil. It is effective on heavy work boots, but it darkens fine leather, softens structure, and is entirely wrong for suede. On a fine Hermès boot, mink oil is a risk that is rarely worth taking when a fine-leather spray or cream exists.
The origin of the leather does not change the waterproofing choice, but it explains why Hermès leathers behave as they do. A guide to which country makes leather for Hermès bags covers the house’s sourcing, and the same care-first approach to fine skins applies to its footwear.
Part 7: Salt, Snow, and Rain — Rescue Steps That Work
Salt is the most destructive winter substance for leather boots. It leaves white rings, draws moisture out of the leather, stiffens suede, and weakens stitching if it is left in place. The damage is cumulative, so speed matters more than perfection.
After a salty walk, brush off loose salt and grit once the boots are dry enough to brush. Then wipe smooth leather with a soft cloth, barely dampened with clean water, and follow with a dry cloth. Repeat with a fresh part of the cloth if white lines remain, keeping the leather as dry as you can manage.
For stubborn salt lines on smooth leather, many boot guides recommend a diluted white vinegar wipe. Here the sources disagree on the mixture: published ratios include one part vinegar to one part water, one part to two parts water, and one part to three parts water.
This guide recommends the gentlest approach that still works. Start with plain water wipes, and only if lines remain, try the weakest vinegar mixture, one part vinegar to three parts water, on a hidden spot first. Vinegar is an acid, and Hermès warns against unsuitable products, so a patch test is not optional here, and vinegar should never be used on exotic skins or on suede beyond a barely damp cloth.
For suede, the order is different. Let the boots dry fully, brush off dried salt with a suede brush, and use a suede eraser on remaining lines. Only if lines persist should you dab with a white cloth barely dampened with diluted vinegar, wringing the cloth out well, and then let the boots dry fully and brush again.
After any salt removal, let the boots dry completely at room temperature, stuffed lightly to hold their shape. Then condition smooth leather, because salt and cleaning both strip oils, and reapply protector, because cleaning strips that too. Skipping the reconditioning step after salt cleaning is a common reason winter boots crack in spring.
Rain rescue follows the same logic. Wipe off surface water, stuff the boots lightly with acid-free tissue or clean cloths, and dry them slowly at room temperature. Do not use newspaper as stuffing for light leather, because newsprint ink can transfer, and replace damp stuffing as it absorbs moisture.
Wet boots should never go near a radiator, a hair dryer, or a sunny windowsill. Fast heat dries the surface while the inside is still damp, and that uneven drying is what causes cracking, warping, and loosened soles. Slow drying feels wasteful, but it is the only safe method.

Part 8: Scuffs, Scratches, and Stains — What Fades, What Stays
Scuffs are normal on boots, and most surface scuffs on smooth leather can be improved. Rub the scuff lightly with a soft cloth, then apply a small amount of matching or neutral cream polish, buffed well. The goal is to blend the mark, not to paint over it.
Deeper scratches that cut through the surface colour are harder. A cream polish can reduce their appearance, but it cannot restore the original surface, and a colour-matched dye applied at home can easily go wrong. If a scratch is deep, dark, or on a light colour, a cobbler will do a better job than a home dye kit.
Water spots, as noted in part 3, come from uneven drying. Light spots sometimes fade with gentle buffing and conditioning after the leather is fully dry. Dark or ring-shaped spots that survive that treatment are usually a professional job, because evening out the whole panel is delicate work.
Oil and grease stains need speed. Blot, do not rub, with a clean dry cloth, and do not add water, which can spread the stain and leave a ring. A light dusting of absorbent powder, left for several hours and brushed off, helps with fresh oil on smooth leather, but it will not lift an old or large stain.
Ink, lipstick, and fragrance are among the substances Hermès itself warns can leave a permanent mark on leather. Treat these as urgent and professional matters. Home solvents, alcohol, and stain removers often spread the mark or strip the finish, turning a small spot into a large pale patch.
For boots with canvas or fabric panels, the leather rules do not apply to the fabric. Canvas needs a gentler, fabric-appropriate clean, and the principles overlap with cleaning a canvas bag, where soaking and harsh products are avoided and the fabric is left to dry slowly.
Colour transfer is another quiet risk. Dark denim, dark tights, and dark boot shafts can transfer dye onto light leather boots, and light boots can pick up colour from dark storage bags. Keep light boots away from dark, unwashed textiles, and do not store a light pair pressed against a dark pair.
Finally, accept that some marks are wear, not damage. Creases at the ankle, a softened toe shape, and a slightly darkened sole edge are signs of a boot that has been walked in. Trying to erase every trace of wear usually does more harm than the wear itself.
Part 9: Soles, Heels, Zips, and Buckles — The Parts Bags Never Have
Soles and heels are where boot care departs most from bag care, and where rival guides are thinnest. A beautiful upper on a worn-out sole is a boot you cannot wear, so these parts deserve their own routine.
Check leather soles regularly for thinning, especially at the toe and the outer heel edge. Once a leather sole wears thin, water reaches the upper more easily and the sole can crack. A cobbler can add a thin rubber half sole, often called a topy, which protects the leather sole and improves grip.
New leather soles are slippery, and this is true of Hermès boots as well as of the house’s sandals. Owner guides for the Oran sandals repeat the same advice: have a thin rubber half sole fitted before the first wear if you will walk on marble, wet stone, or cobbles. The same logic applies to boots, and it is far cheaper than a fall or a ruined sole.
Heels need checking too. A stacked leather heel wears down unevenly, and a worn heel tip changes how you walk, which then wears the sole unevenly as well. Replace heel tips early, before the wear reaches the stacked leather itself, because a tip is a quick cobbler job and a rebuilt heel is not.
Zips need almost no care, but they do need clean teeth. Brush grit out of the zip track with a soft brush, and never force a stuck zip. Forcing it bends teeth and strains the surrounding leather, and a zip repair on a tall boot shaft is an involved job.
Buckles and studs need only a soft, dry cloth. Keep polish, conditioner, and waterproofing spray off the metal, and wipe the buckle after wear in rain or salt. Palladium plating is durable, but trapped polish around a buckle dulls it and is difficult to clean out of the crevices.
Stitching deserves a look each month, especially around the sole edge, the zip, and the ankle flex point. Loose or broken stitches should go to a cobbler promptly. One broken stitch left through a wet season can become a split seam, and a split seam lets water into the boot’s structure.
Insoles and linings also wear. If an insole curls, cracks, or smells persistently despite airing, a cobbler can replace it without touching the outer leather. Do not mask lining odour with sprays or powders inside the boot, because they can stain the lining and trap moisture.
Part 10: Storage — Off-Season, Boot Trees, and Resting
Good storage is half of boot care, because boots spend more of their life stored than worn. The rules are simple, but they are easy to get wrong by copying bag storage too literally.
Store boots upright, in a cool, dry place away from direct sun and strong heat. Sun fades and dries leather, heat warps it, and damp encourages mildew. A bedroom wardrobe or a dry cupboard is usually better than a garage, a loft, or a damp basement.
Use boot trees or shaft shapers for tall boots. Without support, a tall shaft folds, creases, and eventually cracks along the fold line. A boot tree holds the shaft upright and the foot shape even, and it also helps the boot dry in shape after wear.
For ankle boots, a simple shoe tree or light stuffing with acid-free tissue holds the toe shape. Do not overstuff, because pressure from inside stretches the leather and strains seams. The stuffing should support the shape, not force it wider.
Keep each pair in its dust bag or a breathable cotton cover, and keep the box if you have it. Hermès advises storing leather objects in their box or protective cover, in a warm, dry place away from light, with the shape maintained by the supplied cushions and tissue.
Do not store boots in sealed plastic bags or airtight containers. Plastic traps moisture, and trapped moisture leads to mildew, musty linings, and, in bad cases, mould on the leather surface. Breathable covers protect from dust without sealing the boots in.
Hermès also advises against moisture-absorbing sachets for its leather objects. If your storage area is damp, fix the dampness rather than adding sachets inside the boots, and move the boots to a drier spot. A dehumidified room is a better answer than a packet tucked into a shaft.
The same breathable, upright, dust-bag principles run through good bag storage. Readers keeping boots and bags together will find the same habits in a guide to storing a Kelly, adapted here for shafts, soles, and heels that a bag never has.

Part 11: What Never to Use — The Mistakes That Cost a Pair
Some products damage Hermès boots quickly, and rival guides do not always say so. Keep this list in mind before trying anything new, and patch-test anything that is not on it.
Never use bleach, acetone, nail polish remover, or household solvents on leather. These strip colour and finish, and the damage is usually immediate and irreversible. If a stain seems to need a solvent, it needs a professional, not a stronger bottle.
Never use baby wipes, makeup wipes, or alcohol wipes as a routine cleaner. They are made for skin, not fine leather, and repeated use dries the surface and leaves an uneven sheen. A soft cloth and a leather-specific cleaner are slower, but they do not cost you the finish.
Never use coloured polish on a colour it does not match, and never use black polish on a brown boot to “even it out”. Mismatched polish changes the colour permanently, and removing it is far harder than applying it. Neutral cream is the safer choice when you are unsure.
Never use mink oil, neatsfoot oil, or cooking oil on fine Hermès leather. These oils darken, soften, and sometimes permanently change the surface, and they are entirely wrong for suede. They belong on heavy work boots, not on fine calfskin or suede goatskin.
Never use a hair dryer, a radiator, or direct sun to dry boots. Fast heat cracks smooth leather, stiffens suede, and loosens adhesives. Slow room-temperature drying is the only safe method, however long it takes.
Never soak boots, put them in a washing machine, or hold them under running water. Submersion floods seams, swells leather, and leaves tide marks. Every cleaning step in this guide uses a damp cloth, not a wet boot.
Never spray protector, conditioner, or polish onto hardware, zips, or linings. Mask metal parts or apply product to a cloth first, and keep the lining out of it entirely. Product on a lining stains it and traps moisture against the foot.
Never store boots wet, dirty, or salty. Salt and mud left through the off-season keep working on the leather while the boots sit untouched. Clean and dry the boots before they go away, even if you are tired after the last wear of winter.

Part 12: Professional Help — Cobblers, After-Sales, Pre-Owned Care
There is a point in every boot’s life where home care stops being enough. Recognising that point early is a skill, not a failure, and it saves more pairs than any product.
Take boots to a good cobbler for sole and heel work, heel-tip replacement, rubber half soles, stitching repairs, and insole replacement. Choose a cobbler who has worked on fine leather footwear before, and ask what products they use on the upper before they start.
Take boots to Hermès after-sales for anything involving the original leather, colour, hardware, or structure. Hermès itself says the best way to maintain its objects is to entrust them regularly to its artisans, and that tampering with unsuitable products may cause damage. For a Kelly-buckled boot, the buckle and the shaft are part of the same design, and a general repair can change how they sit together.
The buckle connection is worth noting for buyers too. The Kelly buckle on a boot shares its design language with the Kelly bag, and the same careful checking applies when buying pre-owned. A guide to spotting a fake Kelly shows the pattern-first habit — no single detail proves a piece genuine — and that habit protects boot buyers just as well.
When buying pre-owned boots, check the pair as a whole before you worry about care. Ask for photographs of both boots together, the soles, the heels, the zip, the buckle, and the lining, and compare the two boots with each other. A pair that does not match itself, in colour, stitching, or wear, has already failed a basic check.
Be wary of the same traps that apply to other pre-owned Hermès pieces. As noted in the Key Takeaways, Hermès issues no authenticity cards as a general rule, so a card with a pre-owned pair is a red flag. The same caution applies to any claim that a code on the boot can be checked online to prove it genuine.
For fake Oran buyers, the parallel lesson is that stamps and packaging prove nothing on their own. Boots are judged the same way: by the leather, the stitching, the hardware, the soles, and the pair matching, all together, not by any one detail or document.
Finally, keep a simple care record for each pair. Note the leather, the date of each conditioning and protector application, and any professional work. A record stops you from over-conditioning, reminds you when protection has worn off, and helps a cobbler or Hermès artisan understand what the boots have already been through.
Frequently Asked Questions
How often should I condition Hermès leather boots?
Condition by feel, not by calendar. For regular wear, every few months is typical, more often in winter or after salt cleaning, and rarely for boots worn only occasionally. If the leather feels supple and looks even, leave it alone.
Can I wear Hermès leather boots in the rain?
Light rain is fine if the boots are protected and wiped down afterwards. Heavy rain, slush, and standing water are harder on leather soles and suede, so choose another pair for a downpour when you can. Always dry wet boots slowly at room temperature.
Can I use waterproofing spray on suede Hermès boots?
Yes, but only a suede-specific spray. Smooth-leather sprays, waxes, creams, and oils are wrong for suede and can flatten the nap or darken it unevenly. Apply a light, even coat, let it dry fully, and reapply after cleaning or a month of wet-weather wear.
How do I remove salt stains from Hermès boots?
Brush off loose salt, wipe smooth leather with a barely damp cloth, and repeat with a fresh part of the cloth. For stubborn lines, try the weakest vinegar mixture, one part vinegar to three parts water, on a hidden spot first. For suede, dry-brush first and use a barely damp cloth only if lines persist.
What should I never put on Hermès leather boots?
Never use bleach, acetone, household solvents, baby wipes, or alcohol wipes. Never put cream, oil, wax, or polish on suede. Never use mink oil or cooking oil on fine calfskin. Never dry boots with heat or soak them in water.
How should I store Hermès boots between seasons?
Clean and dry them first, then store them upright in a cool, dry, dark place, in a breathable dust bag or cotton cover. Use boot trees or shaft shapers for tall boots, and light tissue stuffing for ankle boots. Never store boots in sealed plastic.
Should I add rubber half soles to Hermès boots?
A thin rubber half sole protects a leather sole, improves grip on wet and smooth floors, and is easily fitted by a cobbler. It is a sensible step before the first wear if you walk on marble, wet stone, or cobbles. Keep the original leather sole underneath intact.
Can a cobbler repair Hermès boots, or must I go to Hermès?
A good cobbler can handle soles, heel tips, stitching, and insoles. For leather colour, finish, hardware, or structural work, Hermès after-sales is the safer choice, because it works to the original specification. Ask any cobbler what products they will use on the upper before work starts.
Do Hermès boots come with an authenticity card I should keep?
No. Hermès issues no authenticity cards as a general rule, so a card supplied with a pre-owned pair is a red flag, not reassurance. Keep the box, dust bags, and any boutique receipt you have, but judge a pre-owned pair by the boots themselves, not by paperwork.
My suede boots got soaked. Can they be saved?
Usually, yes, if you act slowly. Stuff them lightly, dry them at room temperature away from heat, and do not brush until they are completely dry. Brush the nap back up, use a suede eraser on marks, and reapply suede protector once dry. If stiffness, colour change, or a water mark remains, a professional suede cleaner is the next step.
Summary
Hermès leather boots repay a small, regular routine far better than they repay occasional heroic rescues. Brush and wipe after wear, dry slowly, condition smooth leather only when it feels dry, protect suede before it meets weather, and deal with salt the same day.
The disagreements in this guide are not a weakness. Conditioning frequency, vinegar strength, and protector choice all vary because boots, climates, and wear patterns vary. Patch-test everything, start with the gentlest method that works, and let the leather’s feel guide you more than any calendar.
What you avoid matters as much as what you apply. No heat drying, no soaking, no cream on suede, no mink oil on fine calfskin, no solvents, and no sealed plastic storage. Those avoidances alone will keep most pairs in good shape for years.
When damage goes beyond the surface, stop and get help. A cobbler for soles, heels, and stitching, and Hermès after-sales for leather, colour, and hardware, will both do a better job than a home experiment on an expensive pair.
Looked after this way, a pair of Hermès boots does what it was made to do. It softens to your foot, keeps its shape through seasons of wear, and stays a boot you reach for, not a boot you worry about.