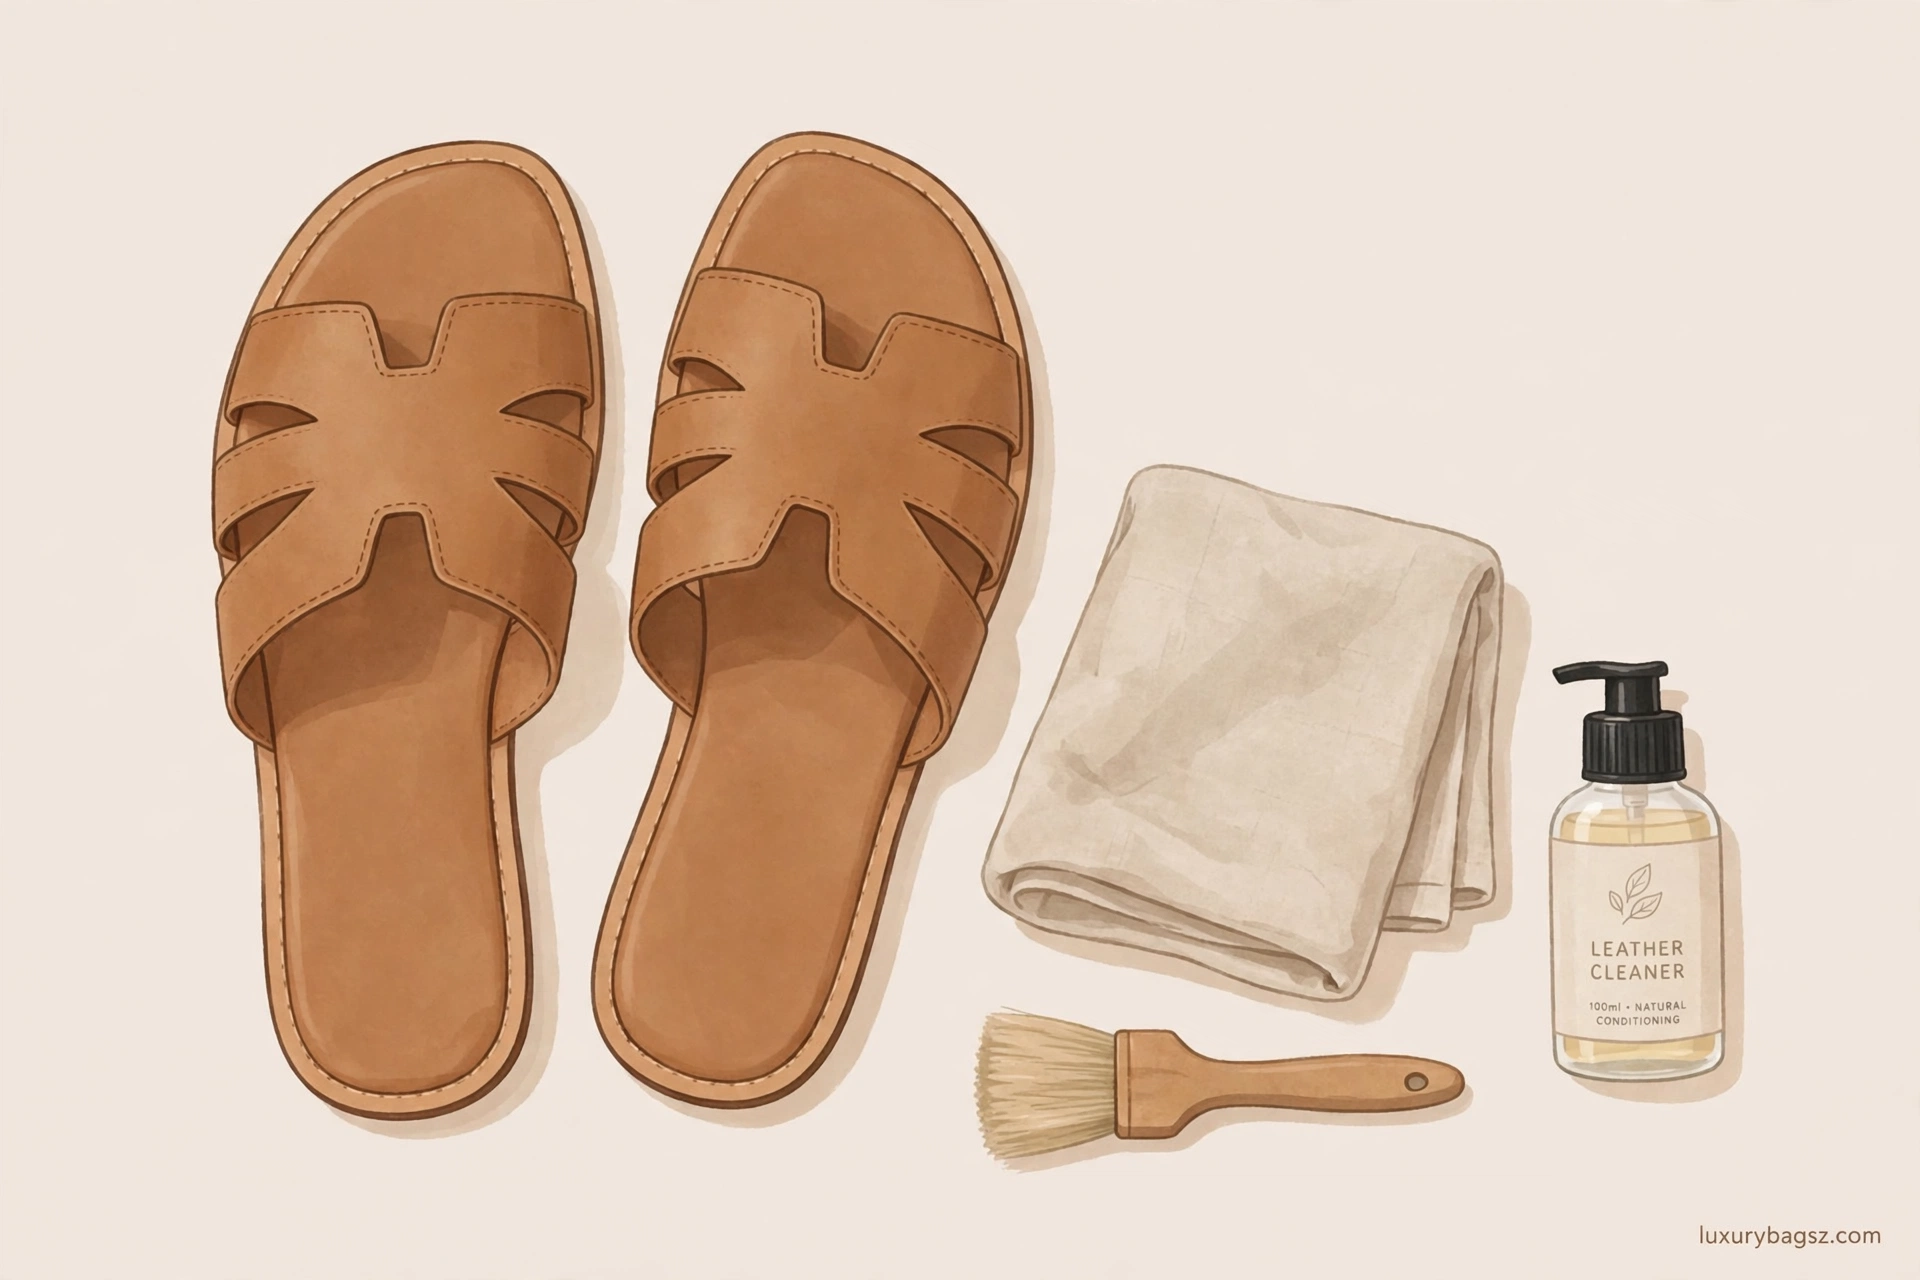
How to Care for Leather After Winter: Inspection, Salt Damage, Drying and Spring Storage
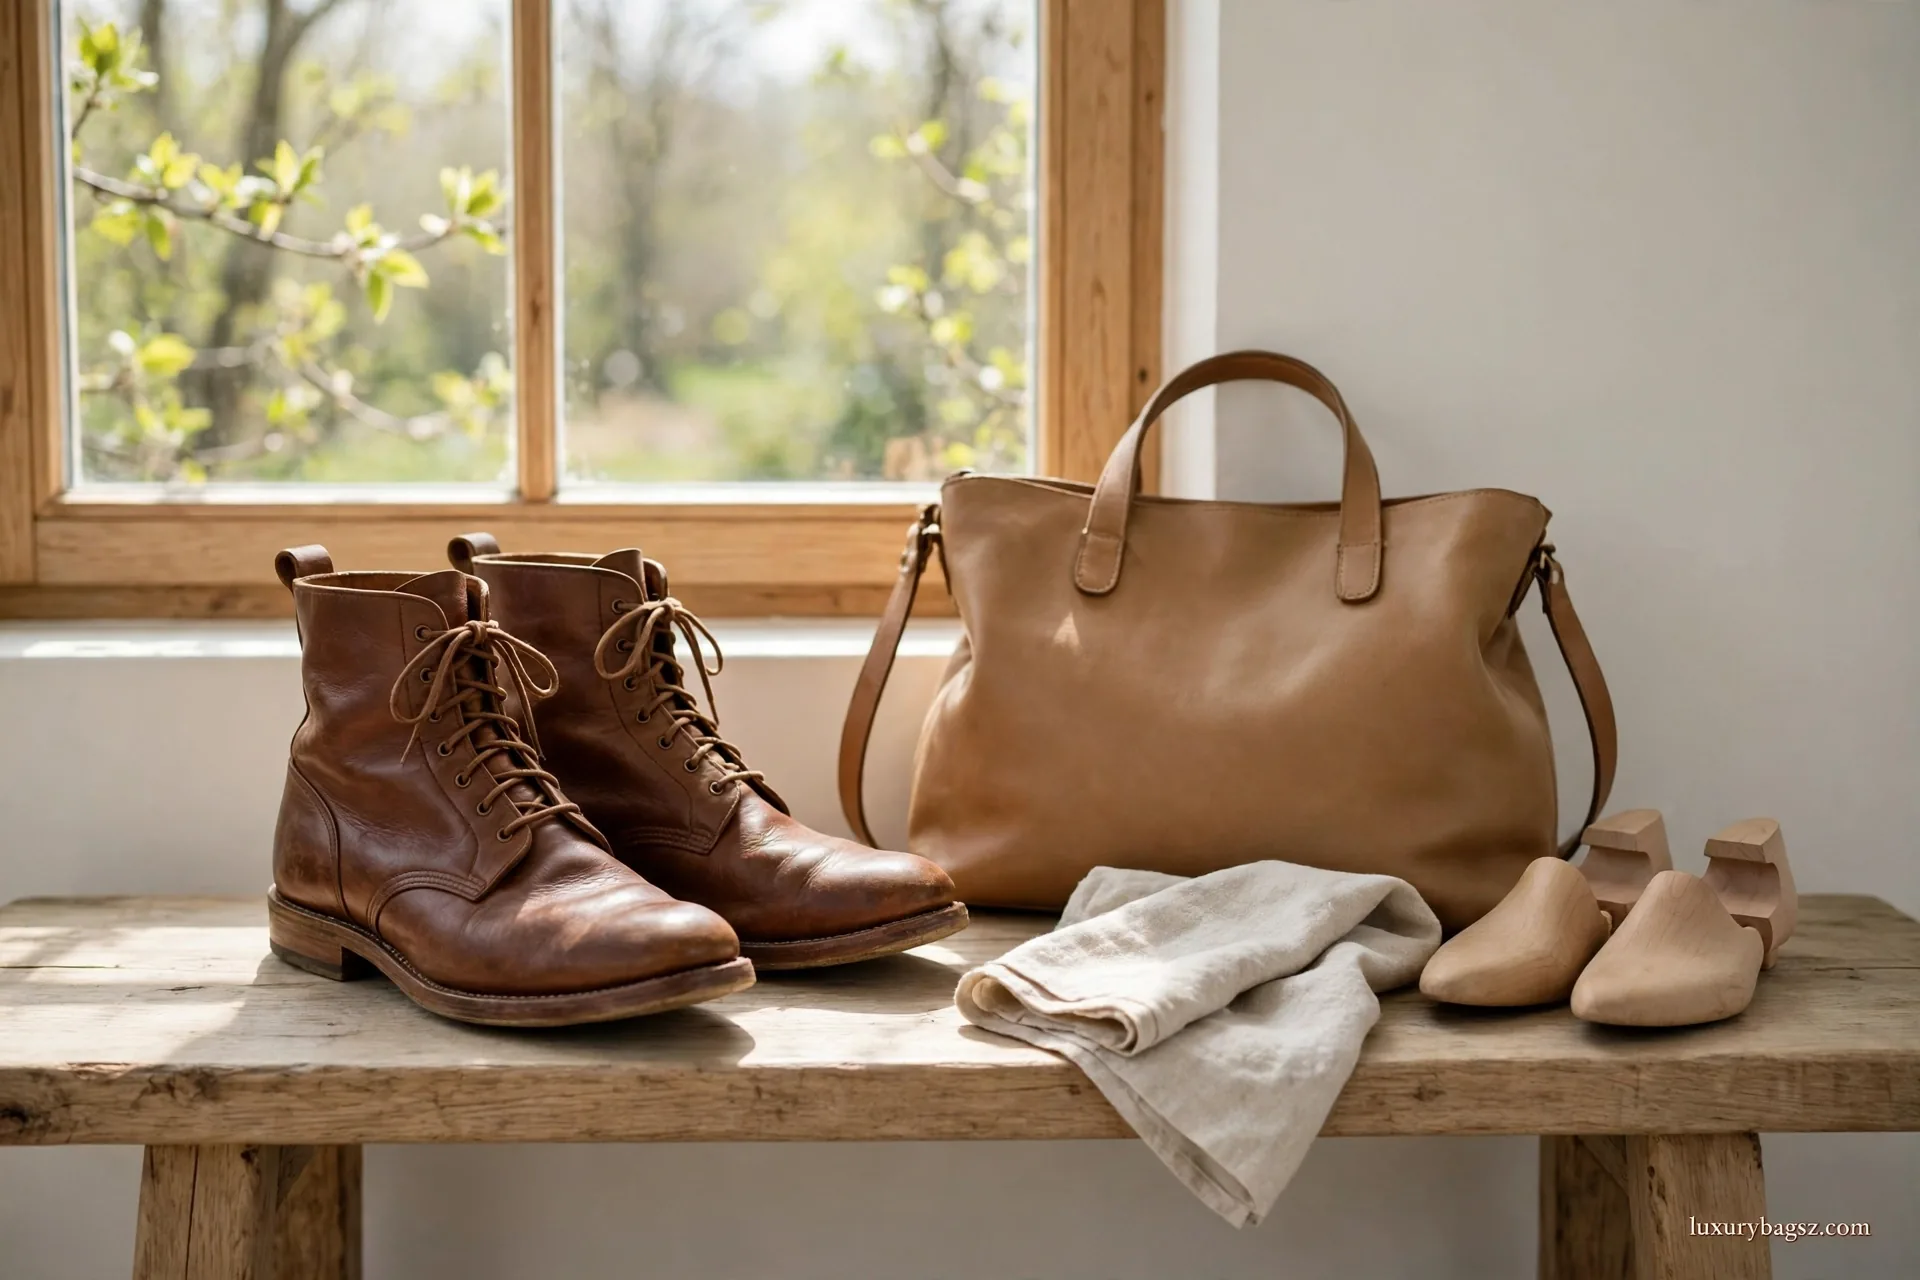
Post-Winter Leather Care, in the Right Order
The order matters more than the products: salt and damp are dealt with before anything is fed or polished, because feeding over them traps the damage underneath.
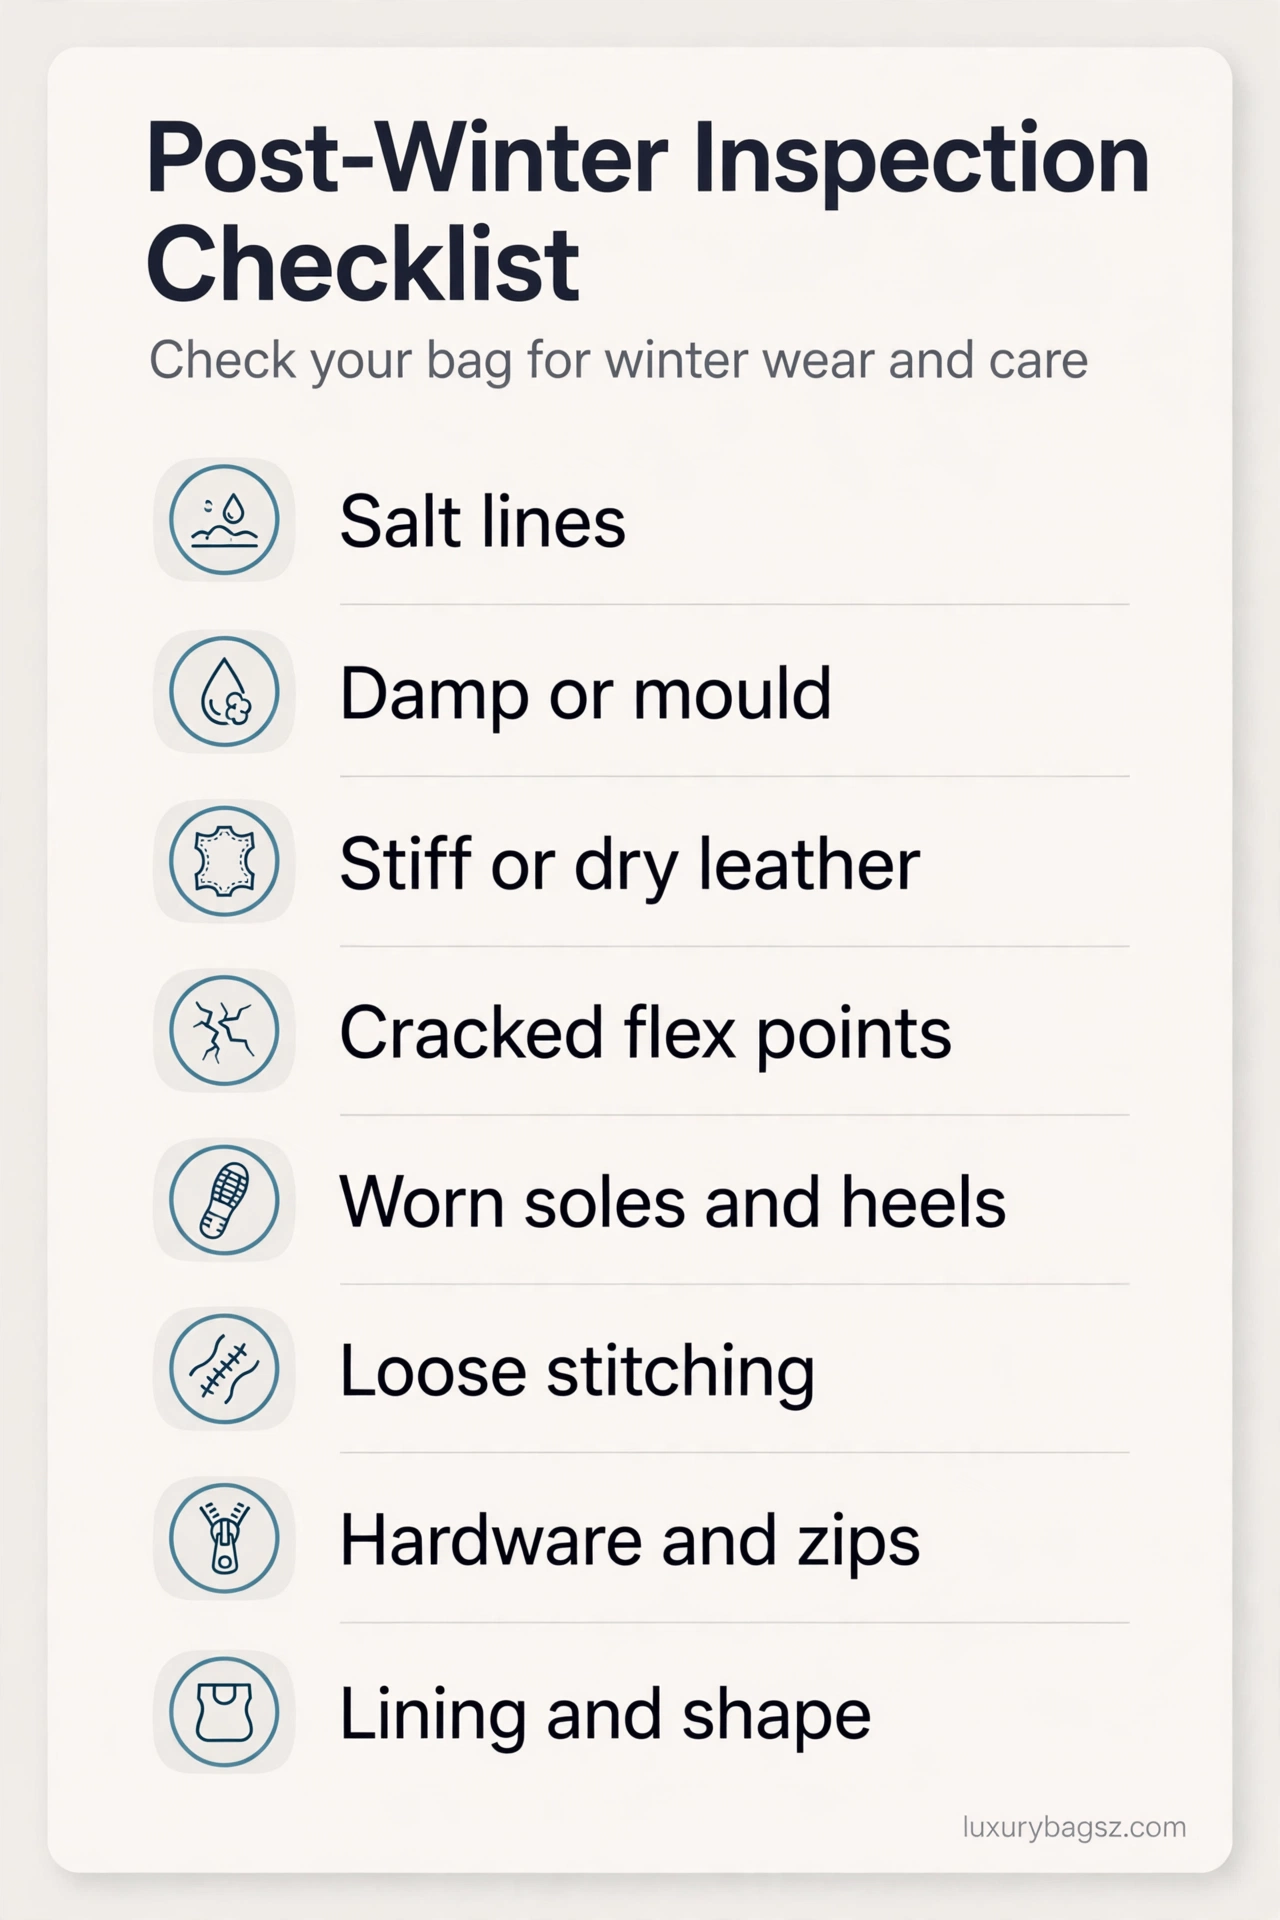
Work in daylight, and check for a stale, damp odour, stiff areas, white salt lines and tide marks, and cracking where the leather bends most. Boots need their toes, heels and welts checked; bags need bases, corners, handles and straps.
Allow at least a day for drying — longer if a piece was soaked through — before anything is stored away.
Spring Care Starts Before the First Warm Day
Winter is hard on leather in quiet ways. Salt draws moisture out, slush soaks in, heated rooms dry the hide, and damp storage invites mould. By spring, a bag or pair of boots can look tired even if no single winter day seemed damaging.
Do this check as winter ends, not months later. Salt left through spring keeps drawing moisture and can leave tide lines that harden into permanent marks, while a damp lining stored warm can turn musty fast. A single afternoon of post-winter care now saves a professional repair later.
This guide covers bags, boots, and shoes in smooth, grained, suede, and nubuck leather. It mentions snow and salt stain removal in the text, as winter damage cannot be understood without it, and it gives the safe home method plus the point where a professional is the better call.
Key Takeaways
- Inspect in daylight before cleaning, conditioning, or storing anything.
- Remove salt and damp first; never condition over salt or wet leather.
- Dry at room temperature with shape support, never with a radiator or hair dryer.
- Use a weaker vinegar mix first on finished leather, and test a hidden spot.
- Condition smooth leather only, thinly, after it is clean and fully dry.
- Suede and nubuck need dry methods and a dedicated protector, never creams.
- Book sole, stitching, and edge repairs before spring storage, not after.
- Store clean, dry pieces in breathable dust bags in a cool, ventilated place.
Start With a Post-Winter Inspection
Empty every bag fully and take shoes and boots out of boxes and cupboards. Work in daylight, piece by piece, and look for the marks winter leaves: white salt lines, tide marks, stiff patches, dull dry areas, cracks at flex points, and any musty smell. Note each fault with its location before you clean anything.
Check the places winter hits hardest. On boots, look at toes, heels, welts, and the strip where the upper meets the sole, where salt and slush collect. On bags, check bases, corners, and lower panels, which meet wet pavements, slush, and car floors, plus handles and straps, which absorb hand and weather wear together.
Flex leather gently and feel it as well as looking at it. Leather that folds softly but looks dull is usually just dry and will respond to feeding. Leather that creases sharply, feels papery, or shows a web of fine lines is stressed from winter drying, and needs careful conditioning. Leather that splits when flexed has broken fibres and needs a professional opinion.
Look inside too. Shake out bag linings and check for damp, stains, and loose stitching, and pull shoe insoles out where they are made to come out, so trapped damp can air. A lining that stayed damp all winter can mark leather from inside, and a musty smell is a warning to dry and air the piece fully before it is stored.
Check soles, heels, edges, hardware, and zips while you are there. Worn heel tips change how shoes wear and should be replaced before they wear into the sole, and a stiff zip or loose stitch is cheapest to fix now. This inspection list is your spring work list, and it stops a small winter fault from becoming a spring repair bill.
Deal With Salt and Damp Before Anything Else
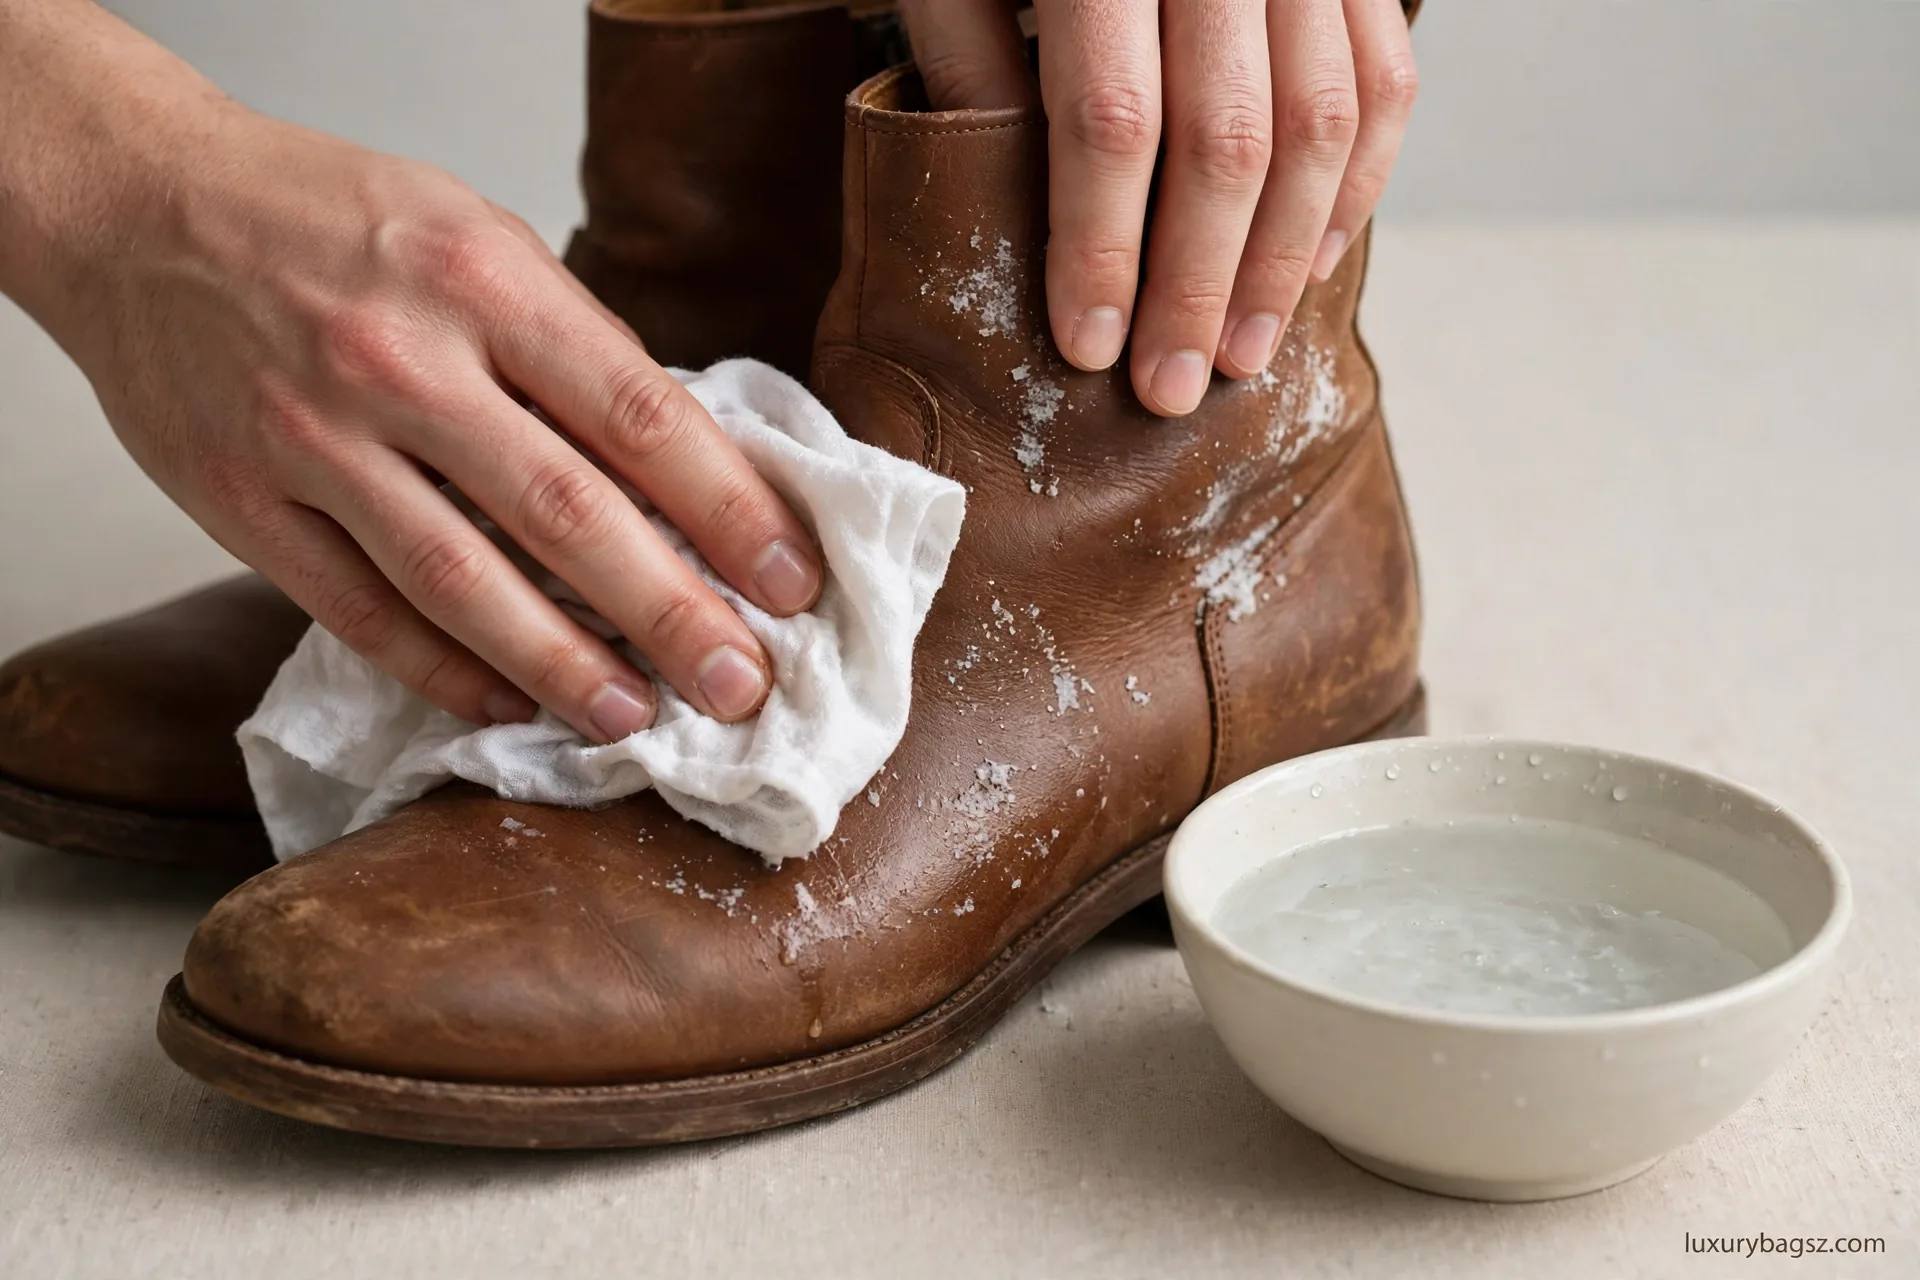
Salt is the first job because it keeps working after winter ends. Road salt draws moisture out of leather, leaving white lines and stiff patches, and if it is sealed under conditioner or polish, it keeps corroding the fibres underneath. Remove it fully before any feeding or polishing.
On smooth finished leather, start with a barely damp cloth and wipe salt away gently, working from the outside of a mark inward so you do not spread it.
For salt that has dried into lines, a diluted white vinegar mix dissolves the salt minerals: guides disagree on strength, with some advising equal parts vinegar and water and others one part vinegar to three parts water. Start with the weaker mix, test a hidden spot, and repeat gently rather than starting strong.
After the vinegar wipe, wipe again with a clean cloth dampened with plain water, to remove vinegar residue, then blot dry with a soft cloth and let the piece air-dry fully. Do not condition or polish until you are sure no salt line returns as the leather dries. If a line reappears, repeat the gentle wipe rather than covering it, because covering salt only hides it for a season.
Suede and nubuck need a different route. Brush loose salt away dry with a soft brush, and for set salt use a dedicated suede cleaner or a professional, not a vinegar soak, which can mark the nap unevenly. A suede brush used dry, with light strokes, is the safe home tool here, and a dedicated protector spray after drying helps future slush bead rather than soak in.
Damp is the twin problem. If a piece is still damp, empty it, blot it, support its shape, and air it in a ventilated room until it is fully dry inside and out. Musty leather should be aired well away from other pieces, wiped gently, and dried fully; heavy or returning mould belongs to a professional, not to a home conditioner, which would trap spores deeper in the hide.

Dry Everything Properly, With Shape Support
Drying is where winter care is most often rushed, and rushing it causes the stiffness it is meant to prevent. Heat draws moisture out faster than leather fibres can cope with, leaving them stiff and prone to cracking. Radiators, airing cupboards, hair dryers, and underfloor heating are all off limits for drying leather.
Give shoes and boots at least a full day at room temperature in a ventilated spot away from direct sun, and soaked pairs up to two days. Loosen laces, ease tongues forward so air can circulate inside, and change stuffing as it dampens, so moisture keeps moving out instead of sitting trapped inside the shoe.
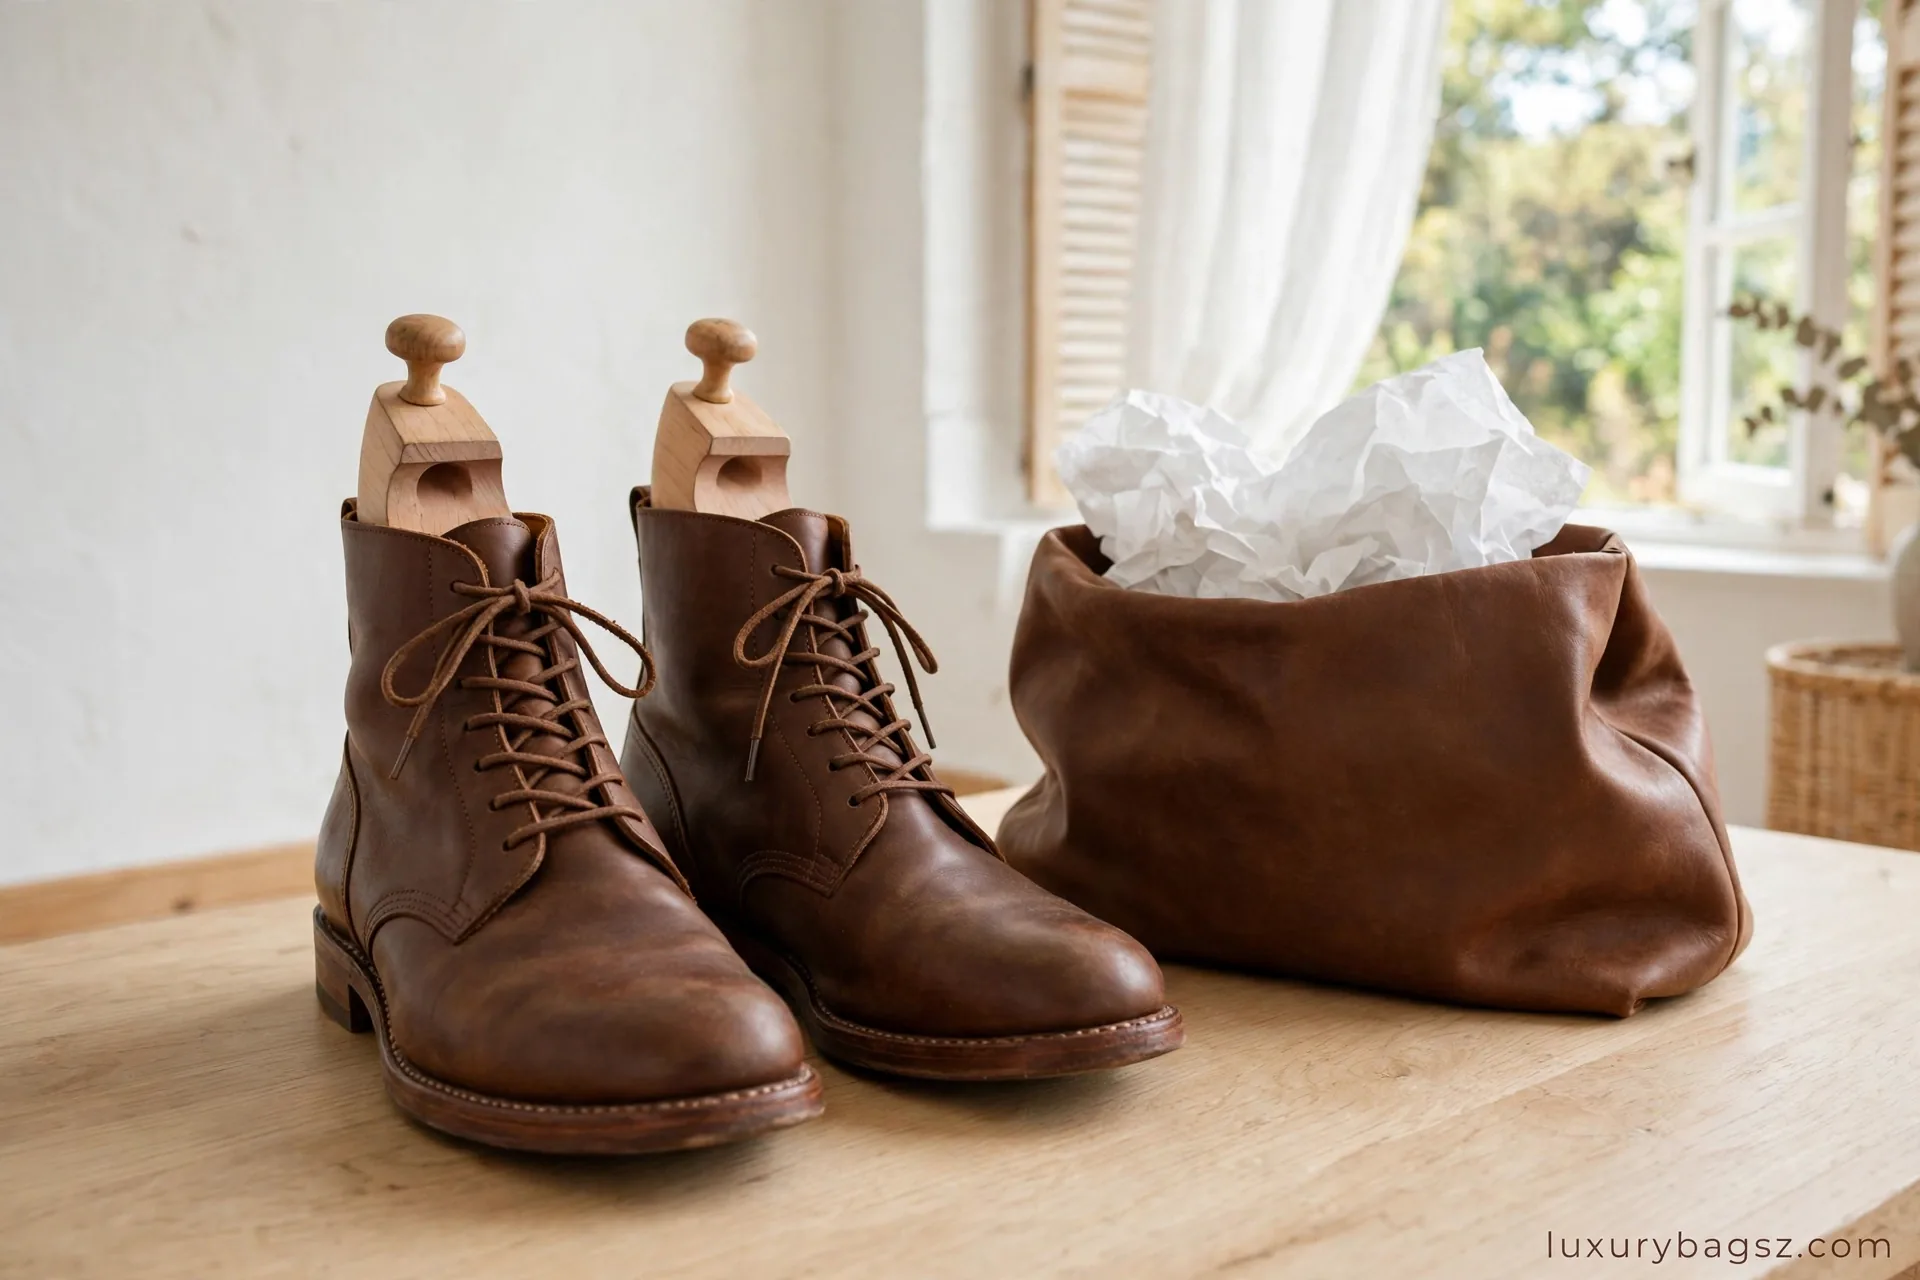
Use shape support from the start of drying, not only at the end. Cedar shoe trees absorb residual moisture and hold the vamp shape, preventing deep creases and heel collapse, while bags should be stuffed lightly with tissue so they dry in shape rather than slumping. Change damp stuffing for dry stuffing as drying progresses, and switch to trees once the worst wetness has passed.
Do not put a piece away, into a dust bag, or into a closed cupboard while it is even slightly damp. Trapped damp invites mould and mustiness, and a bag stored damp can stick, mark, or smell by the time it is next taken out. The piece is dry when it feels dry inside and out, including linings and insoles, not merely dry on the outer surface.
Clean Winter Grime Without Stripping Leather
Once salt is gone and the piece is fully dry, clean the winter grime that remains: road dirt, grit, and dull surface film. Start dry again, brushing shoes and wiping bags with a dry soft cloth, clearing dust from seams, welts, and folds. Grit left on leather abrades the finish every time the piece flexes, so this dry pass matters more than it looks.
For smooth leather, use a leather cleaner on a cloth, in small panels, wiping residue away as you go. Keep the leather damp, not wet, and let it air-dry again before conditioning. For grubby boots, a little saddle soap on a cloth can suit sturdy smooth leather, but keep waxes away if later colour work is planned, since wax can stop later products bonding.
Do not reach for harsh household cleaners, bleach, or alcohol-based products on winter-damaged leather. These strip finish and dry the hide further, which is the opposite of what winter-dried leather needs. If a mark does not lift after two gentle passes, stop and reassess it rather than scrubbing harder and thinning the finish around it.
Condition and Feed Winter-Dried Leather
Winter drying is exactly when conditioning earns its place, because heated rooms and salt exposure pull oils from the hide. But condition only after salt is removed, grime is cleaned, and the piece is fully dry. Conditioning over salt or damp seals both in, and that sealed-in damage is harder to fix than the dryness was.
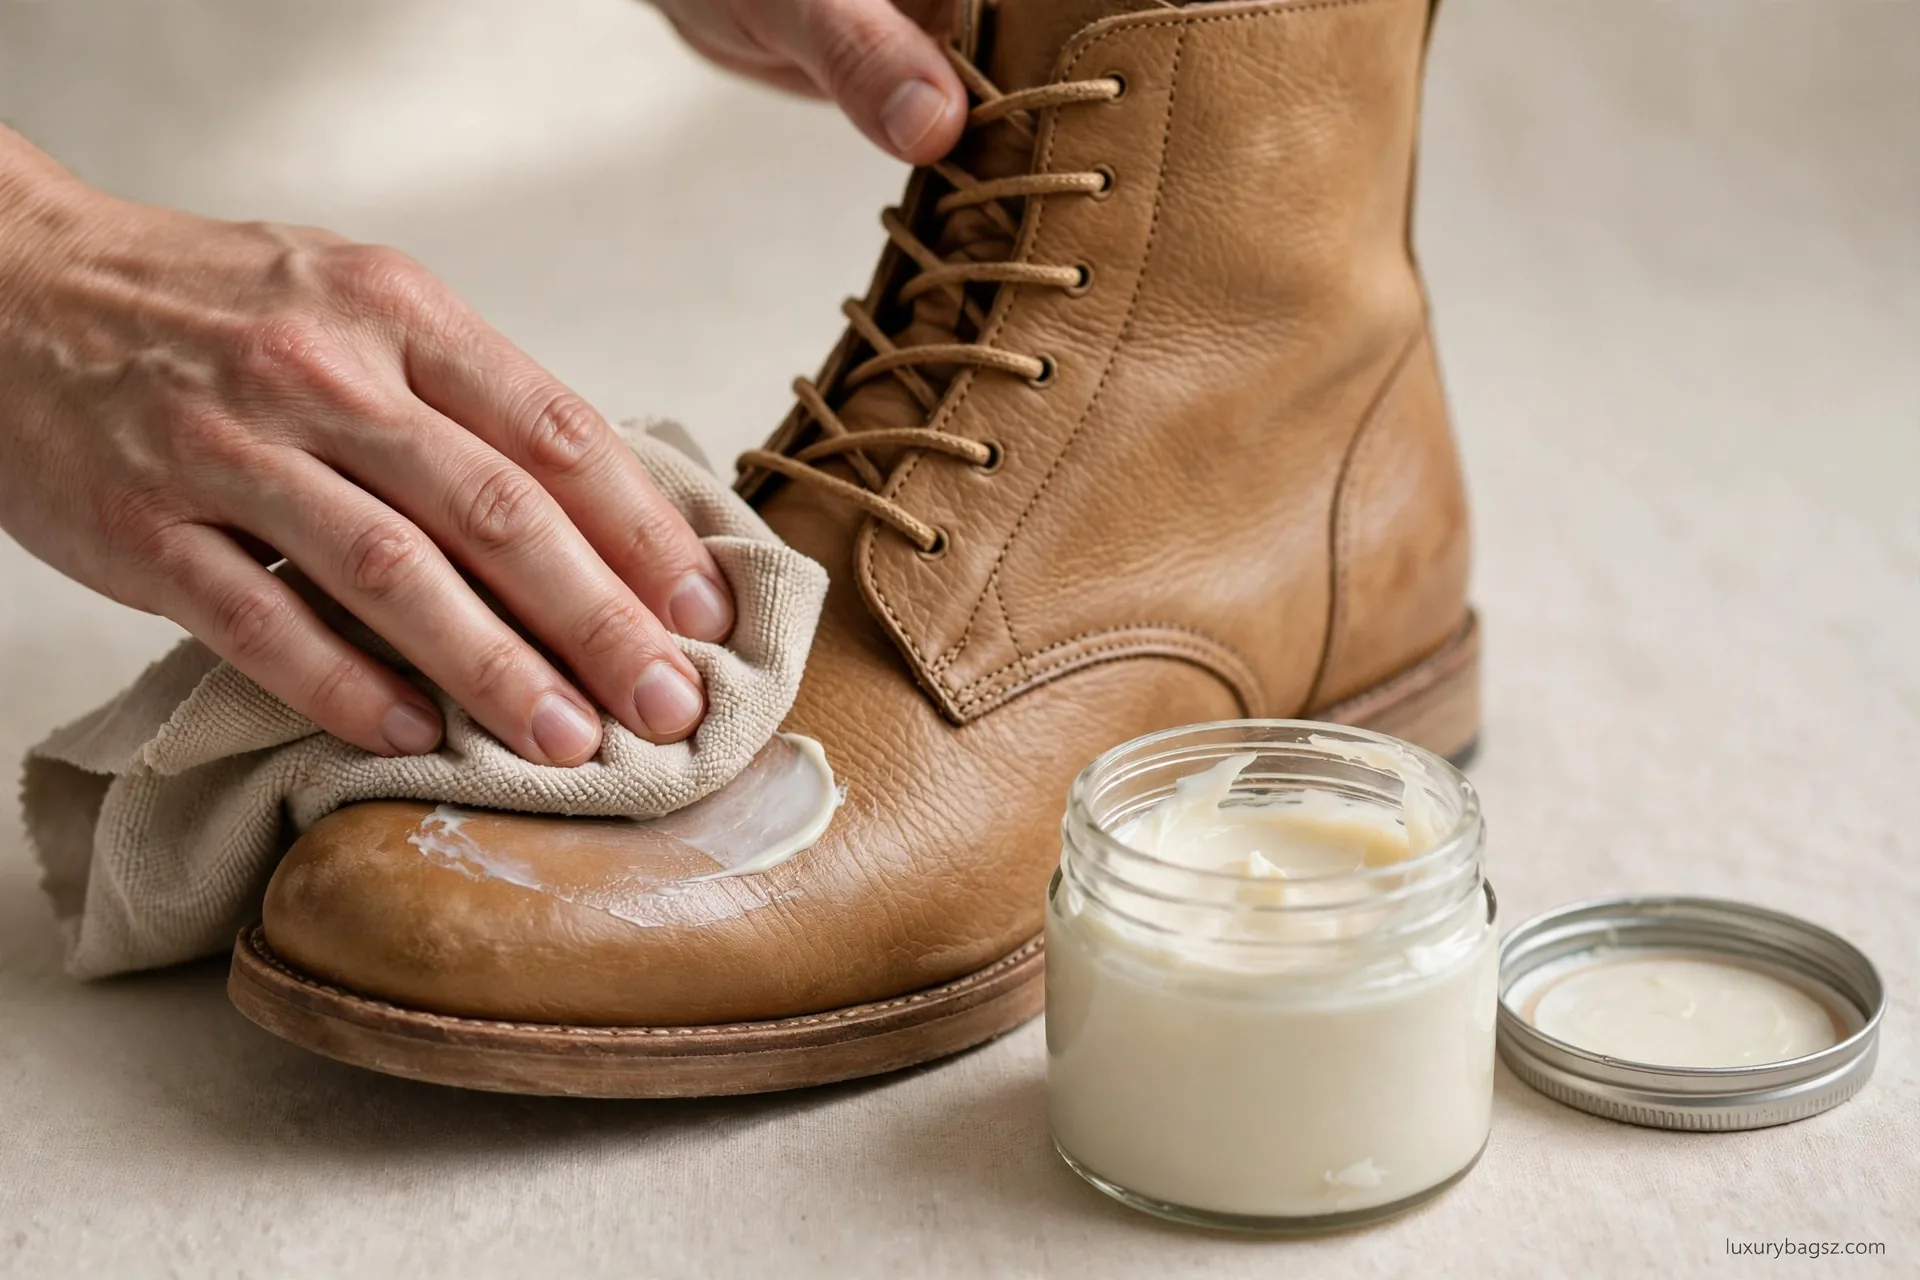
Apply conditioner thinly and evenly with a soft cloth, across the whole panel rather than just the worst patch, and let it absorb before judging the result. A second thin coat, after the first has absorbed, feeds better than one heavy coat, which sits tacky, attracts dust, and can darken colour unevenly. Buff away excess with a clean, dry cloth.
Expect some darkening while conditioner absorbs, and test on a hidden spot first, waiting a full day before conditioning a visible panel, especially on pale leather. If the test darkens more than you can accept, stop. Leather that already feels soft and supple after cleaning does not need conditioning just because winter ended; let the leather tell you, with dullness or a papery feel, rather than following a fixed calendar.
Condition smooth and grained leather only. Never condition suede, nubuck, patent, or most exotics with standard creams or oils, which flatten nap, darken patches, and are very hard to remove. For suede and nubuck, a dedicated protector spray on clean, dry leather is the spring step, not a cream.
The general routine behind this spring feed is set out in the guide to leather bags and shoes care, which covers the same clean, dry, and condition order for everyday use. In spring, that routine simply gets a winter emphasis: more attention to dryness, salt checks before feeding, and a protector reapplied after conditioning, once the conditioner has fully absorbed.
Repair Winter Wear: Soles, Stitching, Edges, and Hardware
Winter wear shows up in the working parts of a piece, not just the leather face. Check soles and heels first: worn heel tips, thin sole edges, and uneven wear should be dealt with before spring storage, because a worn heel tip changes gait and wears the sole unevenly. A cobbler can replace heel tips cheaply, while a sole worn through to the upper is a far bigger job.
For boots, the question of whether a sole can be replaced at all matters, and the guide to which boots can be resoled sets out which constructions allow a resole and which do not. Send welted boots for resoling before the sole wears through, and ask a cobbler early rather than wearing a winter pair into spring on a failing sole.
Stitching deserves a close look after winter, especially on handles, straps, bag corners, and shoe welts, where wet flexing stresses thread. A single loose stitch in a load-bearing place spreads under load, so trim a loose end only, and hand restitching of a load-bearing seam to a professional, because original holes and tension matter for a repair that holds.
The same care applies to boots, and the guide to Hermès leather boots care shows how boot-specific wear differs from bag wear.
Edges are a quiet winter warning. Edge paint on bags and edge dressing on shoe soles chip with wet use, and small chips are normal. When edge paint peels widely or a sole edge feels rough and frayed, book a repair before moisture reaches the fibres underneath, because edge touch-ups are quick when caught early and structural once moisture has done its work.
Hardware and zips need a gentle spring check too. Wipe metal parts with a dry soft cloth, especially after rain or salt contact, and keep creams off plating. Check clasps, buckles, and zip pulls for looseness, and brush grit from zip teeth rather than forcing a stiff zip. A torn zip tape or a loose handle root is a professional repair, and it is cheaper in spring than after a summer of use on a weakened fitting.
Decide What Needs a Professional This Spring
Most spring care is home work, but some winter damage should go straight to a professional, and spring is the right time to book it, before summer use. Torn seams, broken handles, deep cracks, large stains, wide colour loss, damaged linings, and heavy or returning mould are all professional jobs, not spring-cleaning tasks.
Colour is a common spring trap. A winter-faded panel on smooth leather may suit careful home recolouring in thin layers, but colour loss on suede, nubuck, or aniline, and fading across a whole bag, need a professional's matching skill. A wrong shade on a visible panel draws the eye more than fading does, and layers of wrong-colour dye make a later professional repair harder.
Ask for a quote before committing, and ask whether the repair will show, whether a colour match is approximate, and whether replacing a part beats patching it. For a much-loved everyday pair of boots, repair usually wins. For a barely worn piece with major winter damage, the quote may change the decision, and that is a useful answer in itself.
Do not start a home repair on a piece you intend to take to a professional if the repair could complicate their work. Rigid glue, heavy dye, and extra holes all raise the cost of a professional fix. When in doubt, get the quote first, keep the piece clean and dry, and do nothing irreversible until you have it.
Storage Going Into Spring
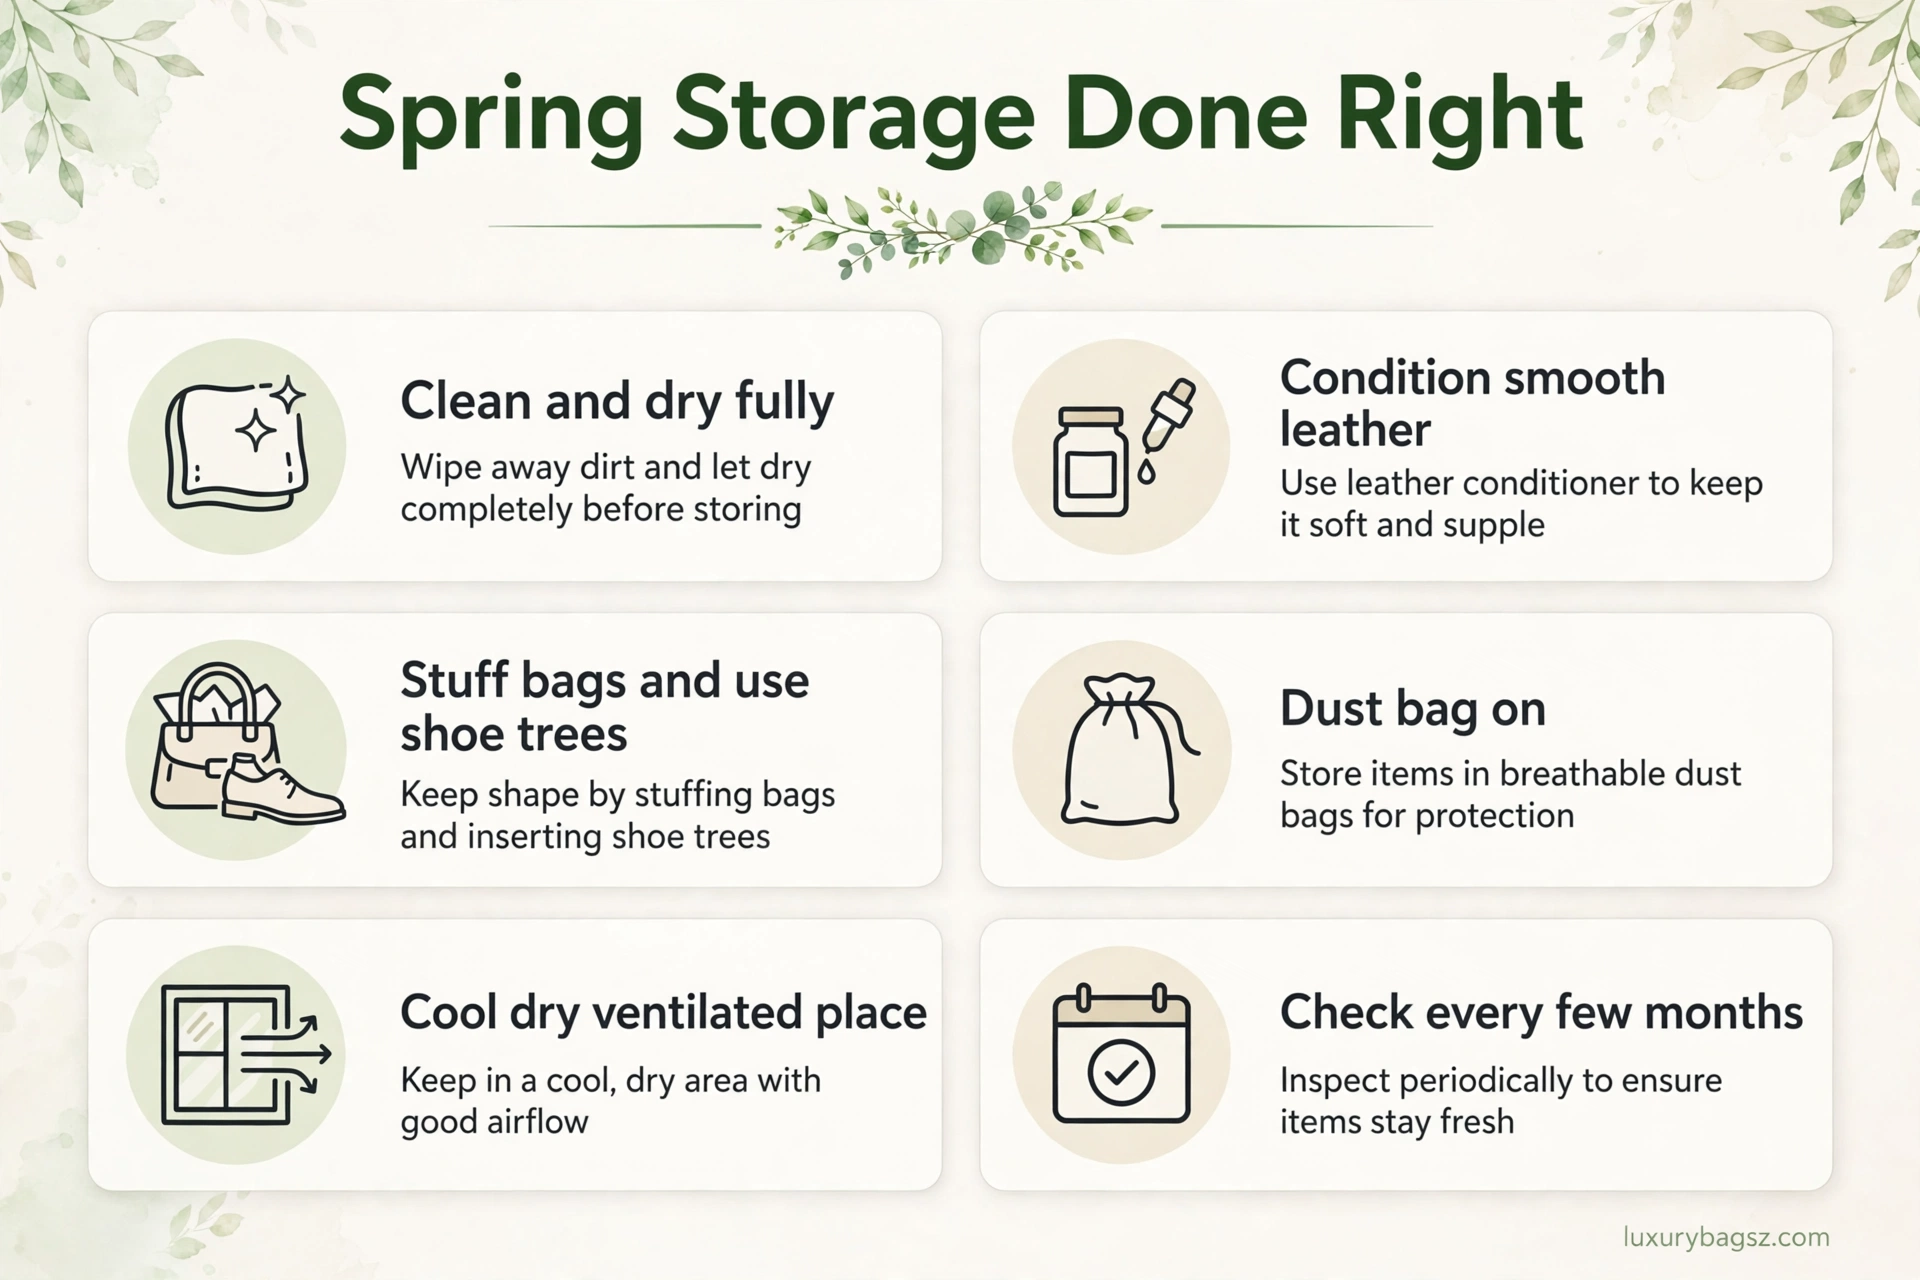
Spring storage is not about putting winter pieces away dirty and hoping for the best. Store only pieces that are clean, salt-free, fully dry, and conditioned where conditioning belongs. A stain or salt line stored for six months is harder to remove than a fresh one, and a loose stitch stored under weight can become a tear.
Store bags upright, stuffed lightly with tissue or soft inserts so they hold shape without stretching, with the dust bag on and handles arranged so they do not press creases into the body. Store shoes with cedar trees, which absorb residual moisture and hold shape, or lightly stuffed with tissue where trees are not available. Keep light-coloured pieces away from dark ones and printed materials, which can transfer colour in warmth.
Choose a cool, dry, ventilated place, away from basements, attics, bathrooms, and sunny windows, where humidity swings and fading do their quiet damage. Leather hates both damp and bone-dry heat, and a wardrobe with air circulation beats a sealed plastic box, which traps moisture and encourages mould. If a box is unavoidable, choose a breathable one and check the piece every few months.
For bag storage in particular, the guide to store a Hermès Kelly bag sets out upright, stuffed, dust-bagged storage in detail, and its principles apply to any structured bag. Hang nothing heavy from bag handles in storage, do not stack heavy bags on soft ones, and do not pile shoes, which crushes shape and creases vamps.
Spring Rotation and a Simple Care Calendar
Spring is the moment to rotate winter pieces out and lighter pieces in, and rotation itself is care. Wearing the same bag or shoes every day never gives leather time to dry and recover shape, while even one rest day between wears helps, because leather absorbs moisture from hands, feet, and air and needs circulation to release it.
For the first weeks of spring, give winter pieces a lighter routine: brush or wipe after wear, check for returning salt lines as they dry, and reapply protector spray after deep cleaning, once conditioner has absorbed. Do not layer cleaner, conditioner, and protector on the same day, since they can interact and leave a tacky or cloudy finish; space them out and let each layer dry.
This calendar bends to real use. A daily-worn work boot needs more attention than a special-occasion bag, a wet spring needs more drying and salt checks than a dry one, and a hot, dry summer needs more sun protection than rain protection. The calendar works best when it stays regular enough that no piece is forgotten for a year, and flexible enough to follow the weather in front of you.
For everyday bag routines beyond this spring reset, the guide to clean Chanel bags shows how gentle, regular cleaning prevents the next big restoration. Spring care is not a separate skill from everyday care; it is everyday care done thoroughly, once, at the moment winter damage is freshest and easiest to undo.
Frequently Asked Questions
When should I do post-winter leather care?
As winter ends, before pieces go into spring storage or lighter rotation. Salt and damp keep working after winter, so a check in early spring catches tide lines and mustiness while they are still reversible.
How do I remove salt stains from leather?
On smooth finished leather, wipe gently with a barely damp cloth, then use a diluted white vinegar mix for set lines, starting with the weaker one-part-vinegar-to-three-parts-water mix, testing a hidden spot first. Wipe again with plain water, dry fully, and only then condition or polish.
Why do vinegar ratios for salt removal differ?
Guides disagree, with some advising equal parts vinegar and water and others a weaker one-to-three mix. Weaker is safer on finished leather, because strong vinegar can mark or dry leather, and repeating a gentle wipe beats one strong application.
Can I dry leather with a radiator or hair dryer?
No. Heat draws moisture out too fast, leaving fibres stiff and prone to cracking, and it can disturb dye. Dry at room temperature in a ventilated spot, with shape support, giving soaked pairs up to two days.
Should I condition leather right after winter?
Yes, but only after salt is removed, grime is cleaned, and the piece is fully dry. Condition smooth and grained leather thinly, in two light coats at most, and never condition suede, nubuck, patent, or most exotics with standard creams.
How do I care for suede after winter?
Brush dry to remove salt and dirt, use a dedicated suede cleaner or a professional for set marks, and finish with a dedicated protector spray on clean, dry suede. Never use creams, oils, or vinegar soaks on suede, which mark the nap unevenly.
What winter damage needs a professional?
Torn seams, broken handles, deep cracks, large stains, wide colour loss, damaged linings, and heavy or returning mould. Also hand over any piece where you cannot get a colour match, or where a home attempt could complicate a later professional repair.
How should I store winter leather going into spring?
Clean, salt-free, fully dry, and conditioned where it belongs. Store bags upright and lightly stuffed in dust bags, shoes with cedar trees, in a cool, dry, ventilated place away from sun and sealed plastic, and check every few months.
Can salt damage be permanent?
Yes, if it is left through spring or sealed under conditioner or polish. Salt draws moisture and can leave tide lines and stiff patches that harden over time. Early removal, before conditioning, is what keeps most salt damage reversible.
How often should I check stored leather?
Every few months, even when pieces are not being worn. A quick check for damp, mould, fading, flattening, or loose stitching catches storage damage while it is still reversible, and flags repairs before the next winter.
Summary
Post-winter leather care is a short, ordered reset: inspect in daylight, remove salt and damp first, dry slowly with shape support, clean gently, feed smooth leather thinly, repair winter wear, and store clean, dry pieces where air can reach them. Do it as winter ends, and most winter damage stays reversible.
Keep the order fixed and the products gentle, and spring becomes the season leather recovers, not the season its winter damage hardens. Start with the pair of boots or the bag that worked hardest all winter, give it that full reset, and let that one success set the standard for everything else going into spring.