How to Polish Cadet Boots to a Parade Shine: Bulling Step by Step
Parade Shine in Brief
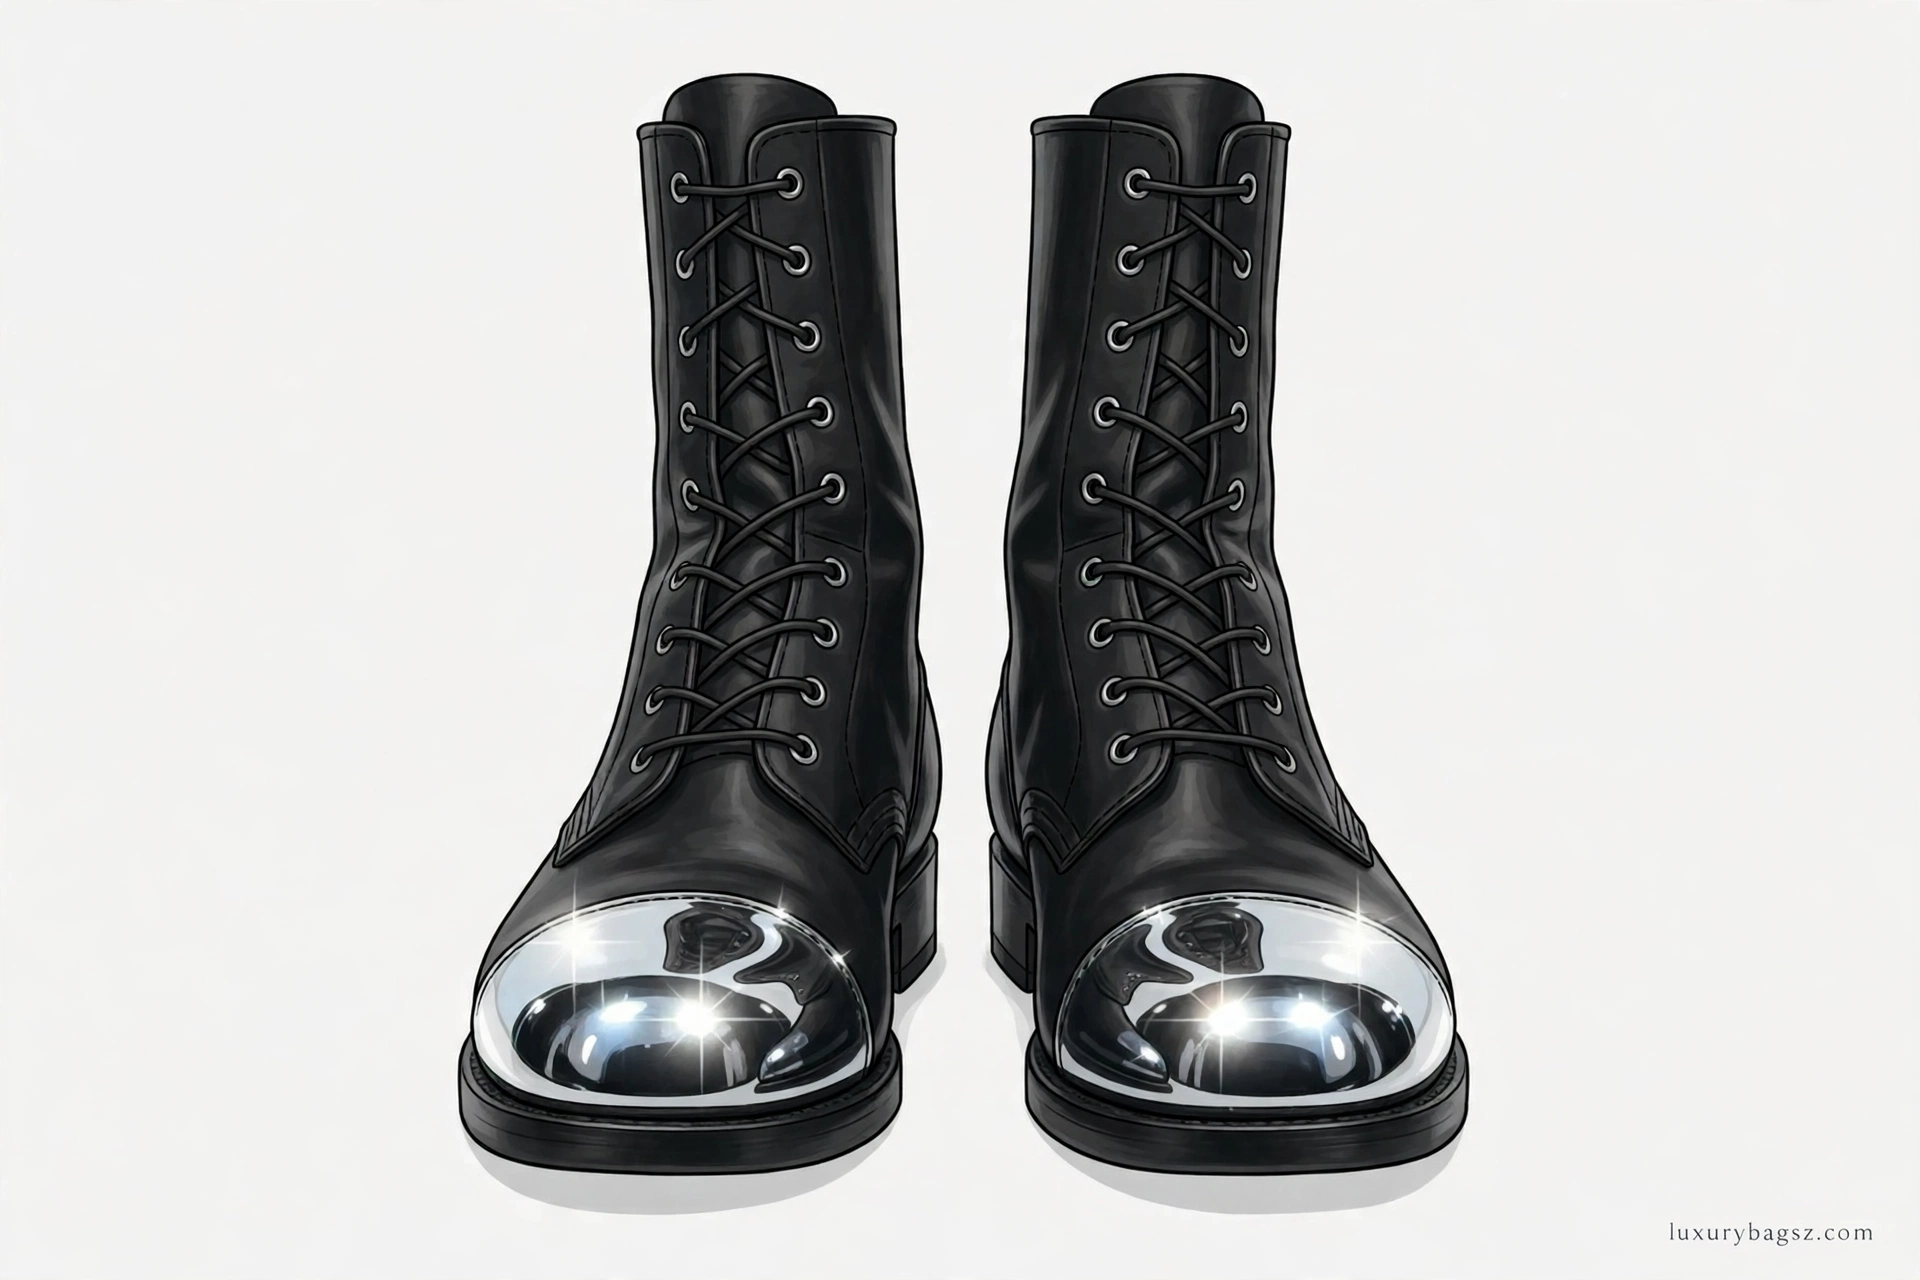
A parade shine, called bulling, is a mirror finish built from many thin layers of wax polish on the toe cap and heel counter. You build a smooth base first, then add tiny layers with a slightly damp cloth in small circles until the leather reflects like glass. It takes patience, not force.
Expect a first pair to take hours, spread over several evenings, rather than minutes. One cadet guide puts a first-timer at around an hour and a half per boot to reach a smooth base, while an experienced buller needs roughly three quarters of an hour per boot.
This guide covers smooth-leather cadet boots and parade shoes only. It does not cover suede, nubuck, or patent leather, and it keeps the mirror strictly to the stiff toe and heel, where it can survive walking.
Key Takeaways
- Bull only the toe cap and heel counter; brush-polish the rest of the boot.
- Base coats come first: a smooth, level surface is what turns to glass.
- Use small circles, light pressure, and very little water at a time.
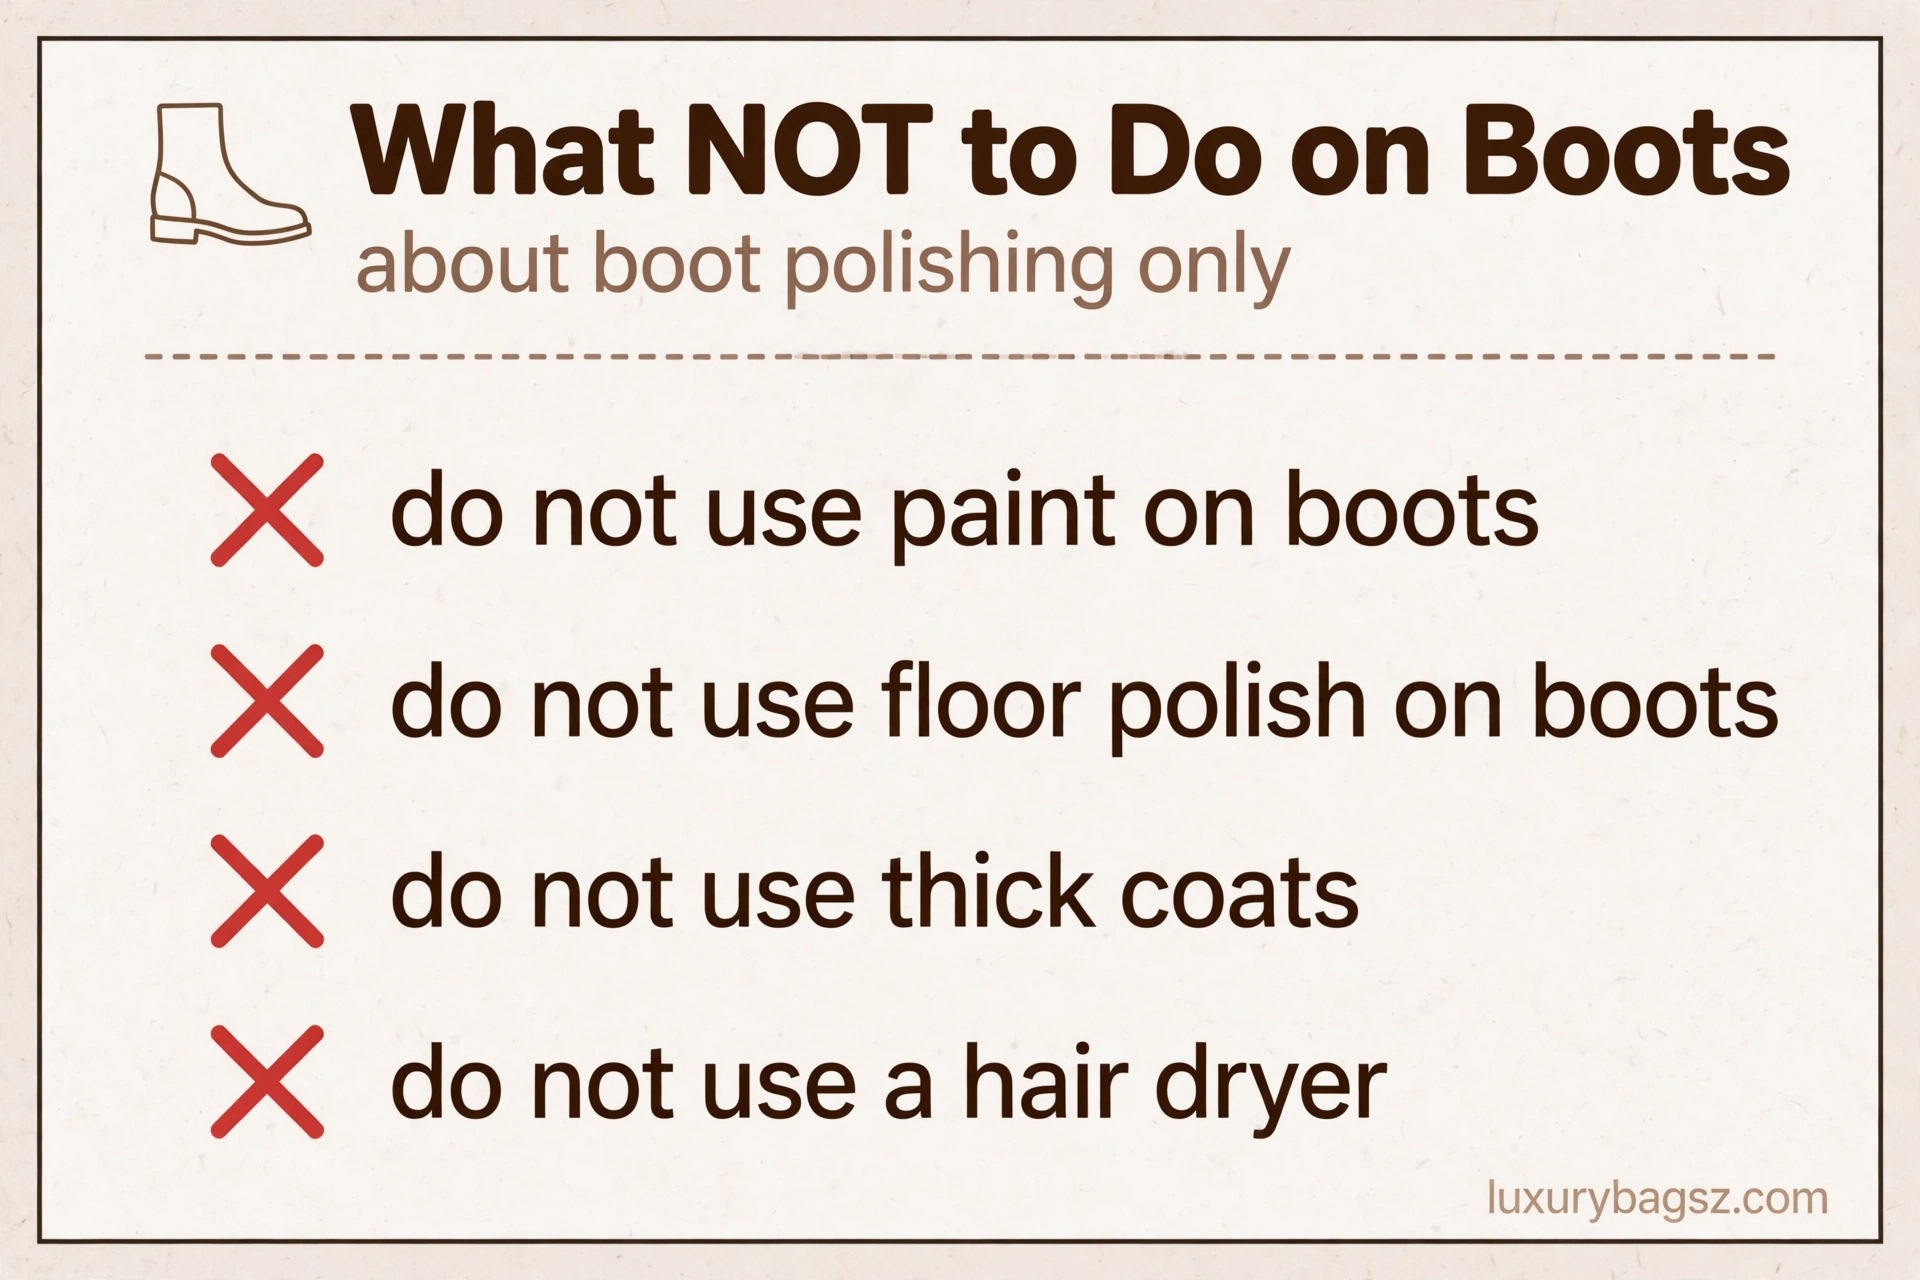
- Thin layers beat thick ones; thick coats crack and peel.
- Swirls are normal early on and fade as each layer levels out.
- Never use paint, floor polish, or a hair dryer to rush the shine.
What Parade Shine Actually Means
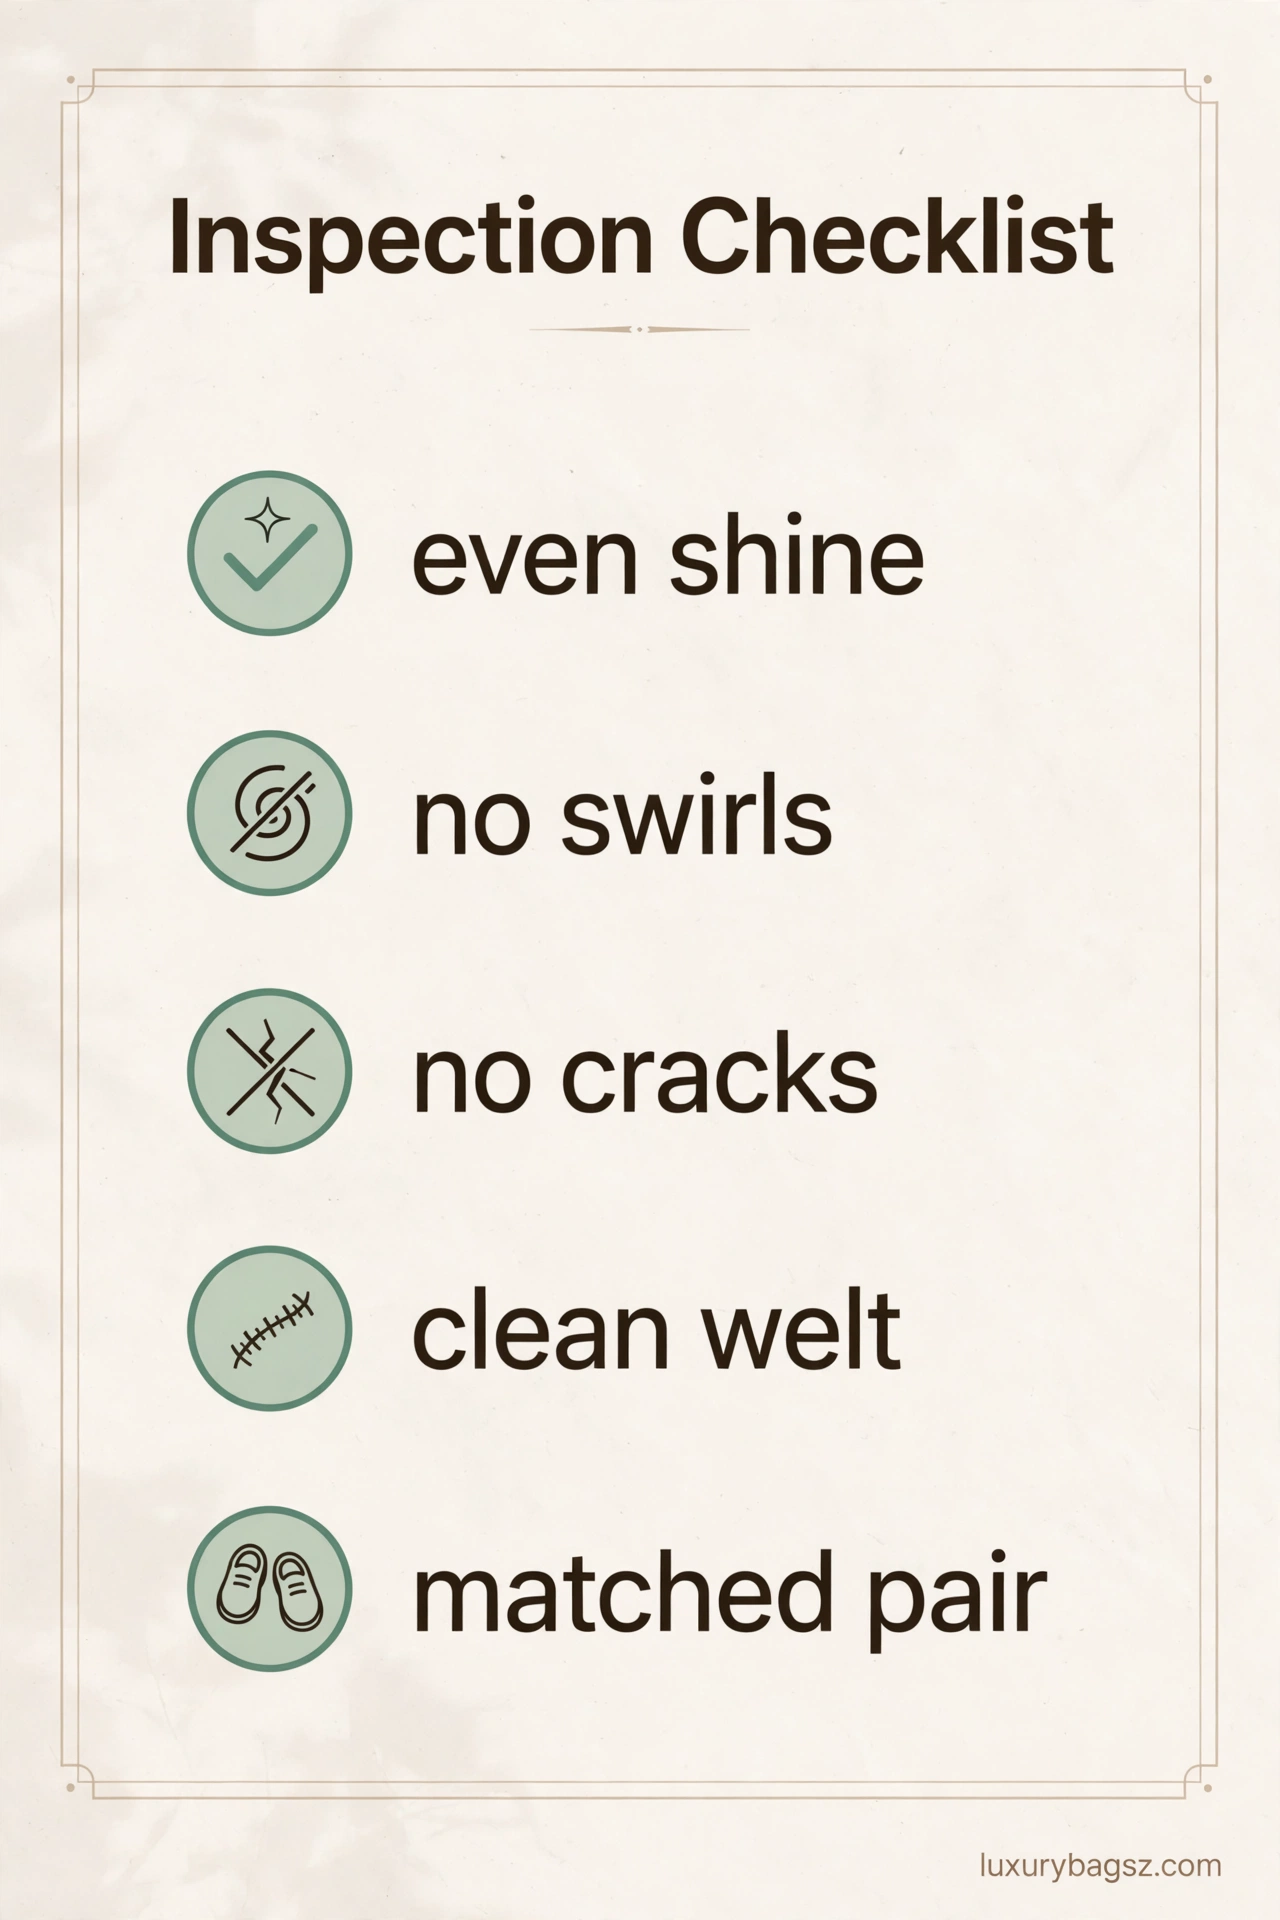
Parade shine means a reflection you can see yourself in, on the toe cap. Inspectors look for an even, deep gloss with no dull patches, no swirls, and no cracks. The rest of the boot should be clean and evenly polished, but it does not need to mirror.
That mirror comes from wax, not from the leather itself. Layer after layer of thin wax fills the tiny texture of the leather until the surface is flat enough to reflect light cleanly. No single coat can do that, which is why shortcuts fail inspection.
Sources disagree on one product choice, so note it plainly. Some guides insist on standard black paste polish and warn that parade gloss can crack, while others sell parade gloss for exactly this job. If your unit or school names a product, follow its rule; otherwise, standard black paste polish is the safer classic choice.
The Kit
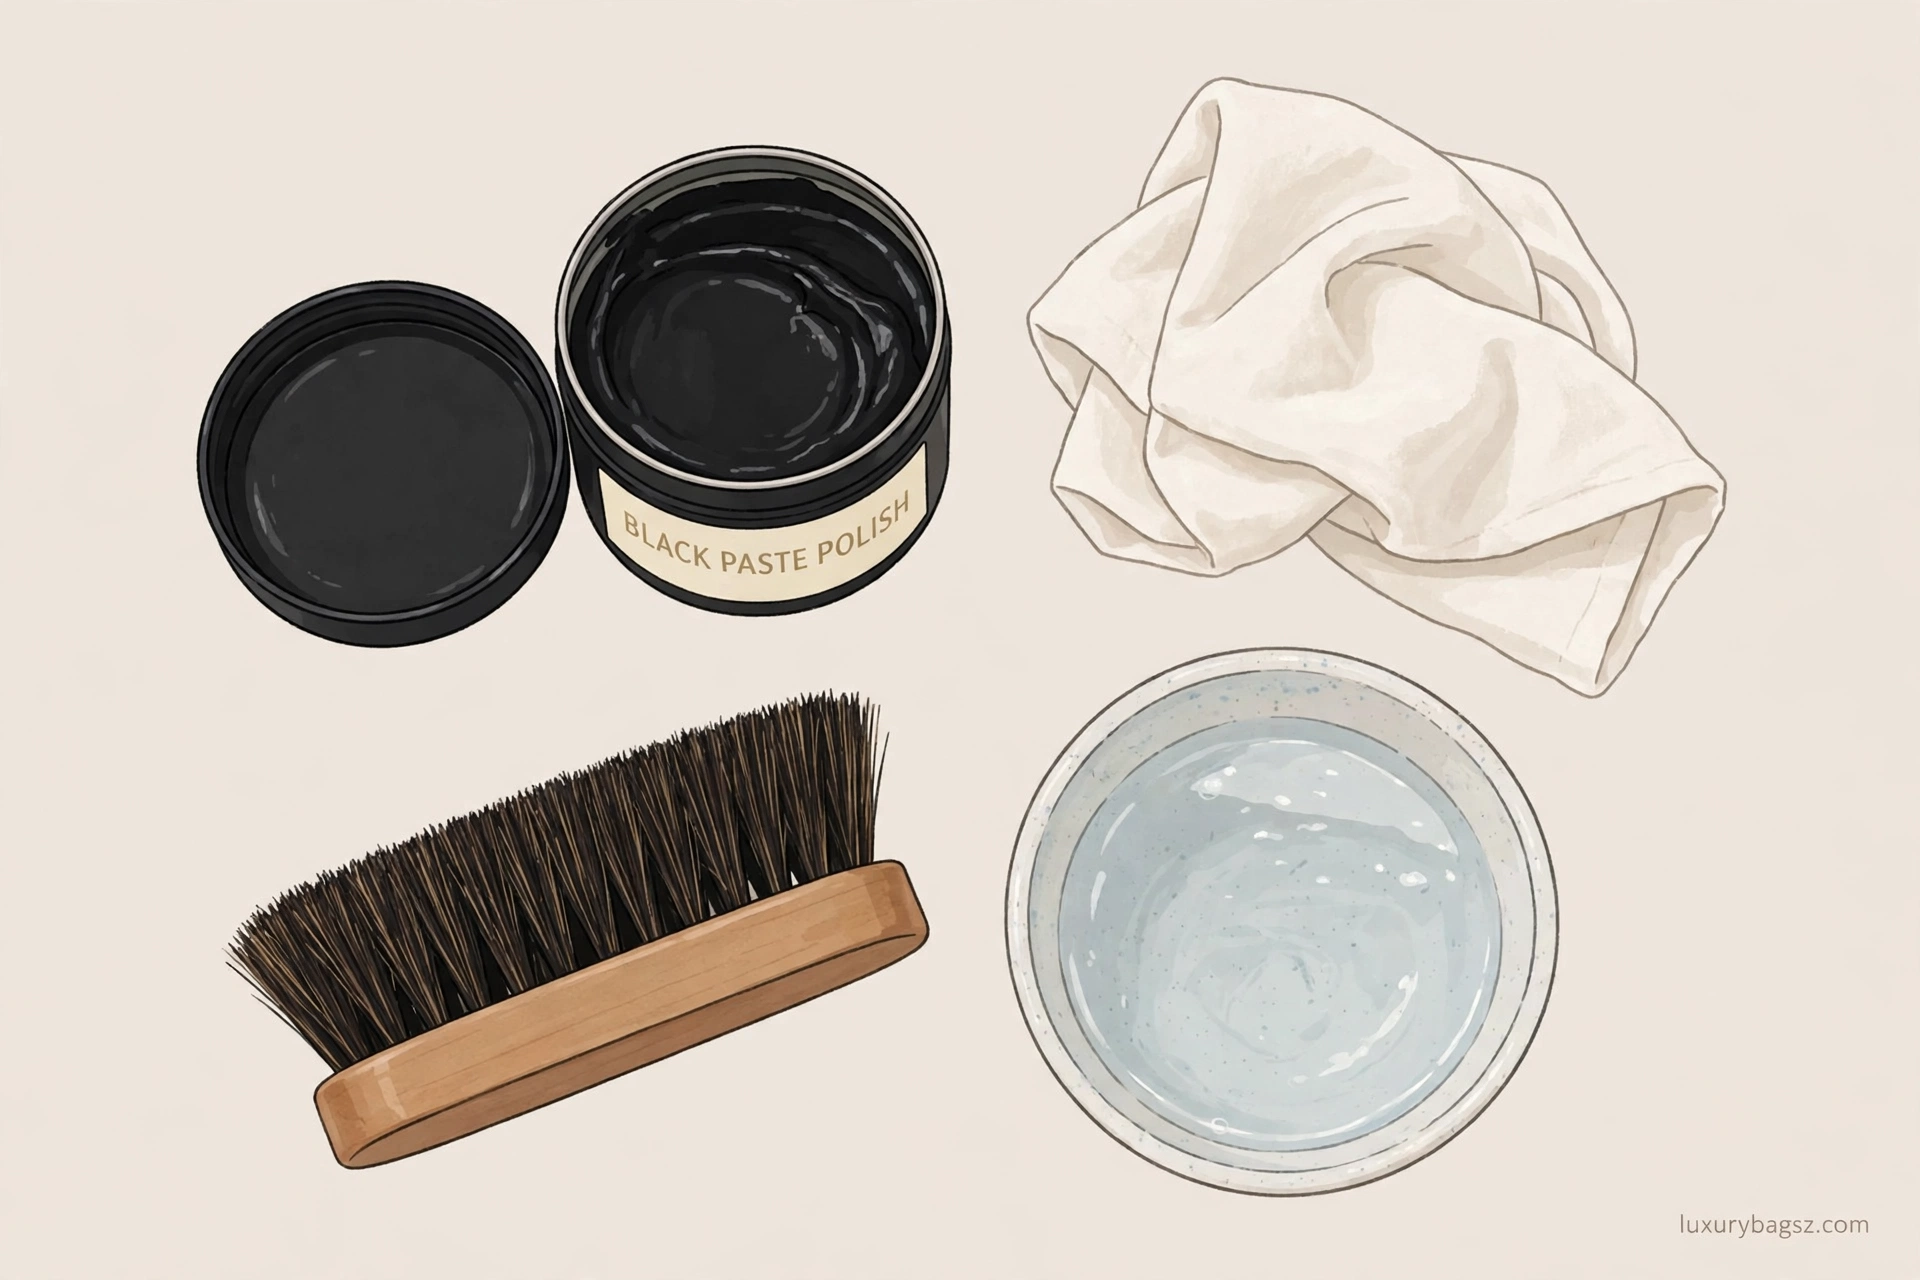
You need black paste polish, a soft cotton cloth or duster, a horsehair brush, and a small bowl of water. Cut the cloth into a square you can wrap tightly round your index finger, with the pad of the finger smooth and wrinkle-free. Wrinkles print lines into the wax.
Add a second brush for applying polish to the whole boot, and an old toothbrush for the welt edge. Keep the bulling cloth clean, since any grit in it will scratch the shine. Wash or swap the cloth if it picks up dirt.
Work somewhere you can sit comfortably, with newspaper under the boots. Bulling rewards a steady rhythm over a long session, so a chair and good light matter more than any gadget.
Prep: Clean Boots, Clean Cloth
Start with boots free of mud, dust, and old cracked polish. Brush them all over, wipe with a damp cloth, and let them dry fully before you begin. Polish laid over dirt seals the dirt in and leaves a rough, patchy base.
Check the toe caps for deep scratches and dents. More damage means more base coats, so set your time expectations honestly. A new or well-kept pair builds faster than a pair that has been knocked about on parade grounds.
Bull broken-in boots where you can. One experienced guide warns that boots should be broken in first, so the shine does not crack badly once you start wearing them. If you need help with that step, our guide to breaking in boots covers a blister-free plan.
Base Coats First
Wrap the cloth round your finger, take a generous load of polish for the first coat, and work it into the toe cap in small circles. Use light pressure, about an inch-wide circle, and keep the motion steady. The surface will feel rough at first, and that roughness is normal.
When the polish feels rough or draggy, add a touch of moisture to the cloth, not to the boot. A dab of water, or breath on the cloth, is enough to let the polish move again. Too much liquid dulls the surface quickly, so add less than you think you need.
Repeat the coats, using slightly less polish each time, until scratches disappear and the toe cap feels smooth. One guide calls each layer a skin, with at least four skins before bulling proper. Stop once the surface is level and even.
Bulling: Small Circles, Little Water
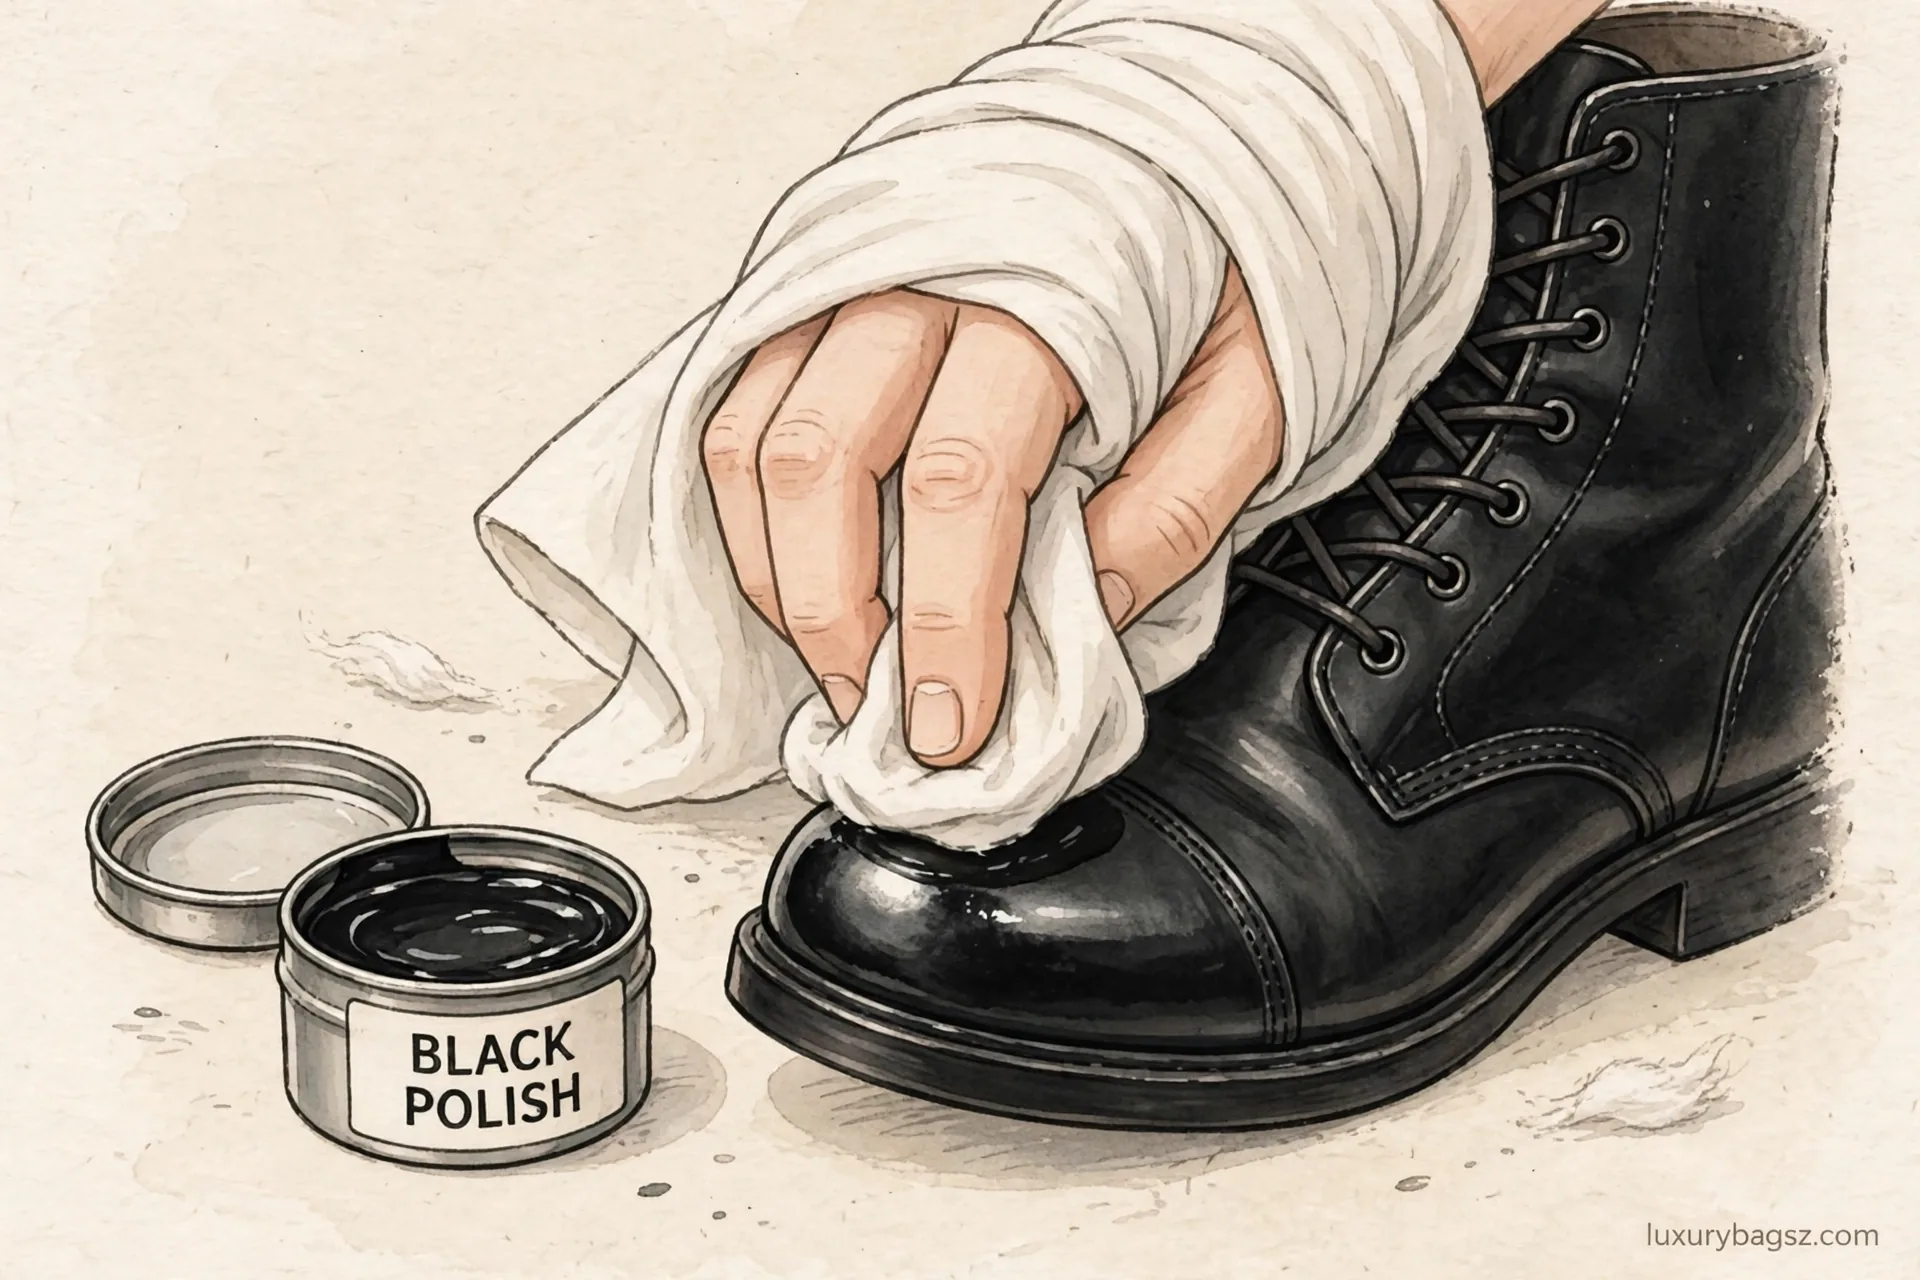
Now switch to the true bulling rhythm. Take only a tiny amount of polish on the cloth, dampen the cloth lightly, and work in tight circles over a small area, about coin-sized, before moving on. Overlap each area slightly so no hard edge forms between patches.
Keep the cloth moist throughout, but never wet. Dip it in water, then in polish, and keep circling until the area starts to smooth and gleam. If you see fine scratches appearing, you have not worked enough polish into the leather yet, so go back to a fuller coat and try again.
Work one boot at a time, toe cap first, then the heel counter. Rushing between boots lets layers dry unevenly.

Building to Glass
As the shine starts to appear, reduce the polish further with each layer. The final layers should use only a spot of polish and a barely damp cloth, circling until the swirls fade away. Swirls disappearing is your signal to move to the next layer, not a sign of failure.
Finish by buffing the last swirls out with a clean, slightly damp part of the cloth. Some bullers finish with a piece of nylon or cotton wool under a cold tap for a final lustre. Stop once the reflection is sharp and even.
Then do the same for the second boot, and compare the pair side by side in the same light. Give the weaker boot a few extra thin layers until both match.
The Rest of the Boot and the Welt
Do not bull the vamp, quarters, or shaft. Those areas flex as you walk, and a hard wax skin there will crack along the creases. Instead, brush polish into them with a brush, then buff with a clean cloth to a smart, even shine.
Blacken the welt edge with the toothbrush and a little polish, then brush off the excess. A pale or dusty welt stands out badly against a mirror toe cap, and inspectors notice it. The same care applies to stitching: keep it clean rather than caked in wax.
Our guide to keeping stitching white explains cleaning stitching without staining it. The principle is the same here: polish the leather, not the thread.

Fixing Problems
If the shine goes dull suddenly, you have used too much water. Add a little more polish to soak up the liquid, and circle again with a drier cloth. The gloss should return as the layer levels out, though it may take a few passes.
If the surface cracks, the coats were too thick, or the boots were not broken in before bulling. Strip the cracked area back with a cloth and warm water, let it dry, and rebuild with thinner coats. Trying to patch over cracks with more wax only seals the damage in.
If the shine looks cloudy or smeared, the cloth may be dirty, or the last layer may be too heavy. Switch to a clean cloth, use water alone for a final pass, and buff lightly. Cloudiness that survives a clean cloth usually means the base was never level, so rebuild that area.
Inspection Standard and Upkeep
Run a final check before parade. Look at each toe cap in daylight: even shine, sharp reflection, no swirls, no cracks, no dull edges. Check the welt, the heel counter, and that both boots match. Then check the rest of the uniform, since boots alone never carry an inspection.
Keep the shine alive with short nightly touch-ups after wear. One guide puts upkeep at five to ten minutes per night once the base is built, which beats rebuilding from scratch.
For the wider leather routine, see our guide to caring for leather bags and shoes, and for how the toe cap gets its stiffness, our guide on how boots are made. Both explain why the mirror survives on stiff leather and fails on flexing leather.
Frequently Asked Questions
How long does it take to bull cadet boots?
A first pair can take around three hours for both boots to reach a smooth base, with more time to reach glass. Experienced bullers need roughly two hours for a pair, and nightly touch-ups take only minutes.
What polish should I use for parade shine?
Standard black paste polish is the classic choice, and many guides warn against parade gloss because it can crack. If your unit or school specifies a product, follow its rule over any general advice.
Should I bull the whole boot?
No. Bull only the toe cap and heel counter, which are stiff and do not flex much. Brush-polish the vamp, quarters, and shaft to an even shine, or the wax will crack when you walk.
Why do swirls appear when I bull?
Swirls are normal and show the polish is levelling. Keep circling with a lightly damp cloth, and the swirls will fade as the layer smooths. Then add the next thin layer.
How much water should I use?
Very little. Dampen the cloth, not the boot, and add water only when the polish feels rough or draggy. Too much water dulls the shine quickly and has to be corrected with more polish.
Can I use a hair dryer to speed up drying?
No. Forcing polish dry with a hair dryer can crack the finish and force a full strip-back. Let layers dry naturally, and use the waiting time on the other boot.
What if my boots will not shine at all?
The base is probably not level yet, or the cloth is dirty. Go back to fuller base coats, use a clean cloth, and build slowly.
Do I need to break boots in before bulling?
Yes, where possible. Boots that are not broken in tend to crack their bull badly once worn, since the leather creases in new places. Break them in first, then build the mirror.
How do I keep a parade shine between parades?
Bull lightly for a few minutes each night after wear, and brush the rest of the boot. Store the pair dry, and rebuild promptly after rain or scuffs rather than letting damage pile up.
Can I use paint or floor polish for a faster shine?
No. Paint and floor polish are spotted at once on inspection, they damage the leather, and they can react badly in rain. Only layered wax polish gives a real parade shine that lasts.
Summary
Parade shine is earned in thin layers, not bought in a tin of shortcuts. Clean the boots, build a level base, bull in small circles with little water, and keep the mirror to the toe and heel. Do that patiently, and the reflection will pass inspection, night after night, with only minutes of upkeep.