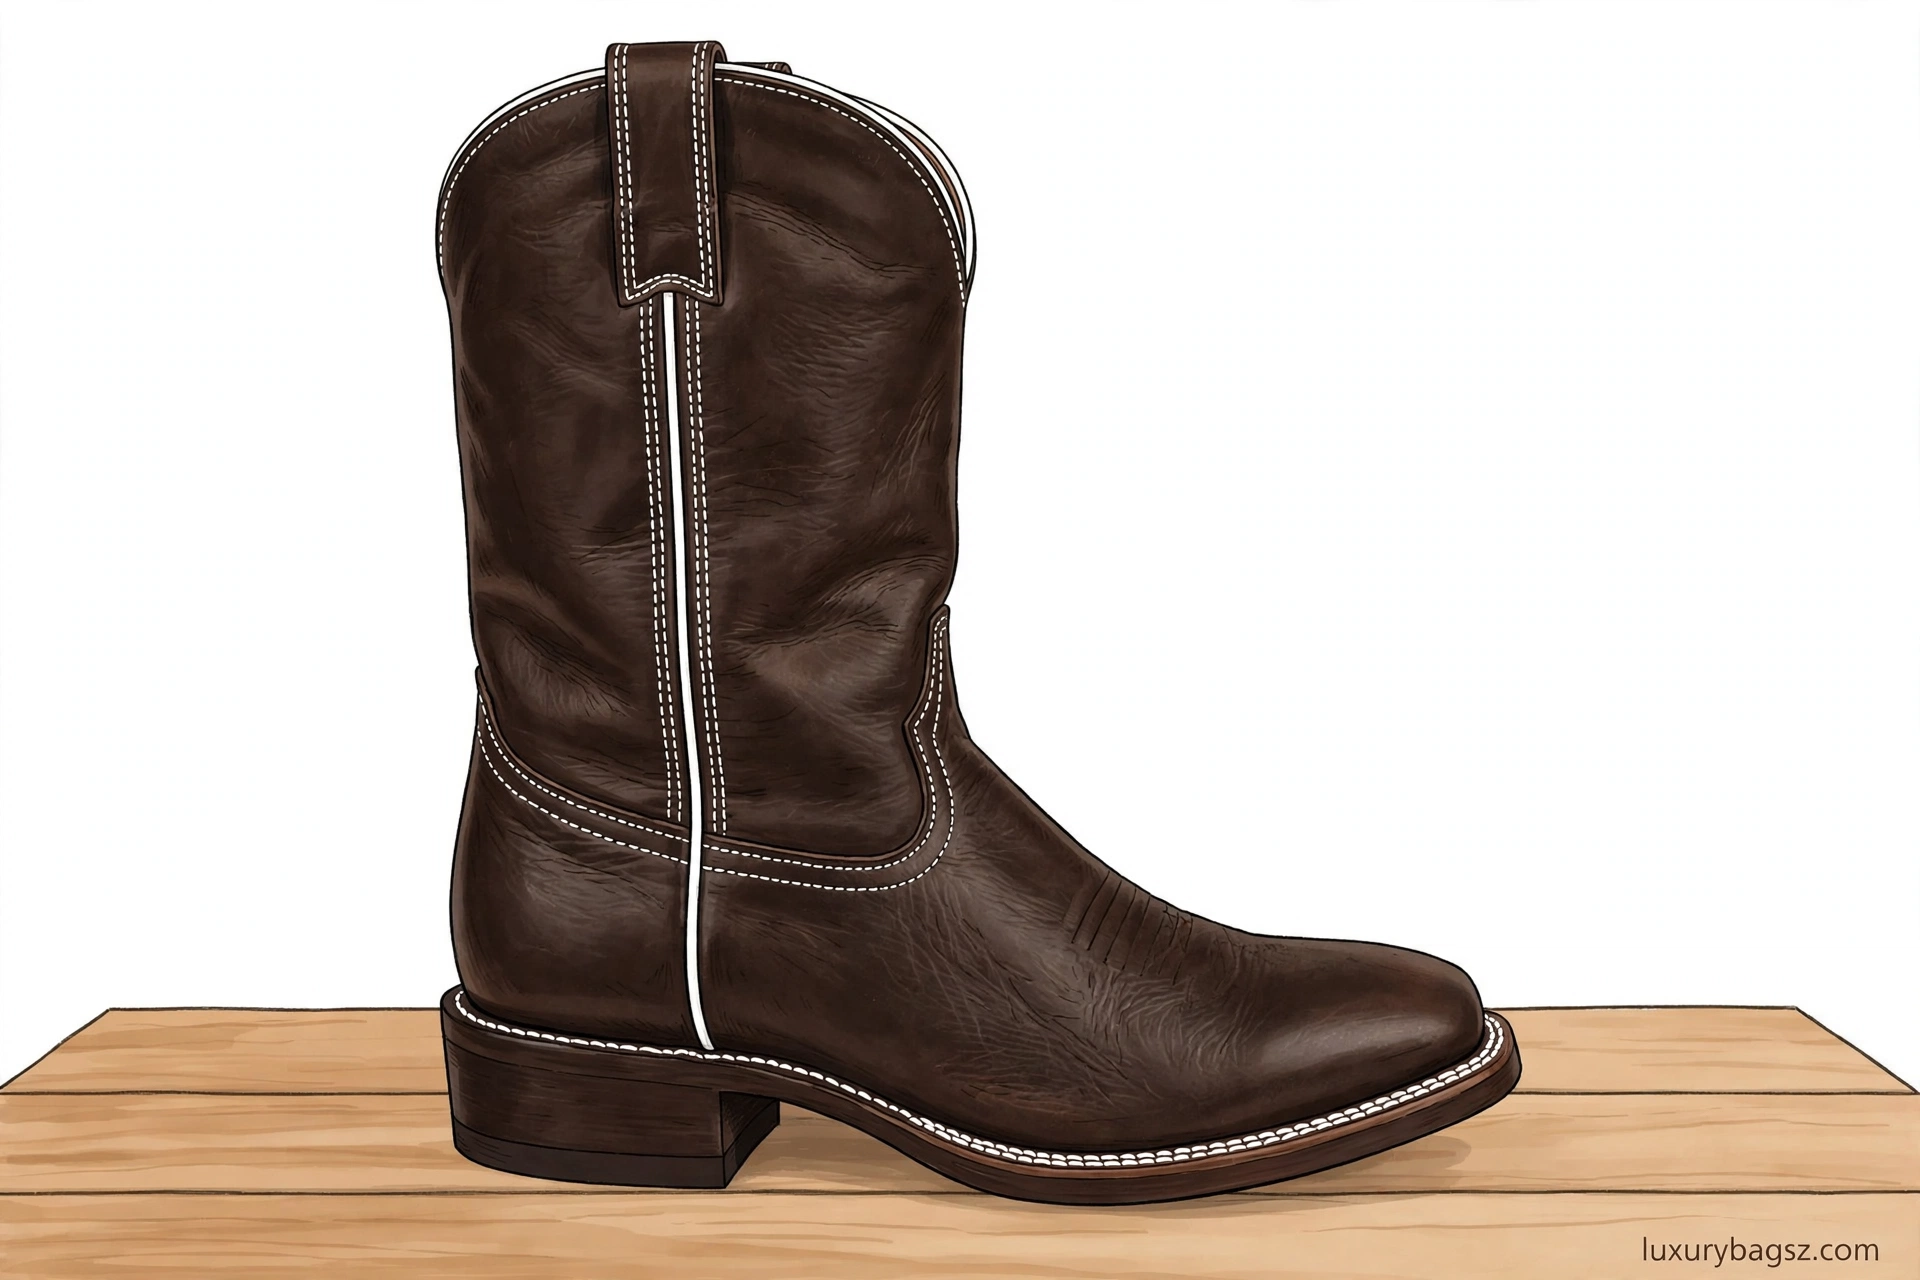
White stitching stays white when you protect it before it gets dirty, not after. The two habits that matter most are brushing stitching after wear and taping it before polishing. Everything else in this guide is repair work for stitching that is already grey or yellow.
For cleaning, start gentle: a soft brush with a little soap and water clears most dirt. For thread that stays grey after washing, a bleach pen or a white pencil restores the look, though both are cosmetic fixes, not cleaning. Never use a bleach pen on coloured stitching, which it will fade.
One honest limit up front: there is no way to fully protect white stitching while wearing boots. Dirt, polish and sun will reach it. The goal is slower yellowing and easy cleaning, not permanent whiteness.
Key Takeaways
Brush stitching after every wear. Dirt ground into thread is far harder to remove than surface dust.
Tape stitching with painter’s tape before polishing. Polish is the fastest stainer of white thread.
Clean with a soft brush and mild soap first. This clears most dirt without harming leather or thread.
Use a bleach pen only on white stitching, and only after soap cleaning. Rinse well afterwards.
A white pencil recolours thread stitch by stitch. It is slow but reliable, and it works on welt and shaft stitching.
Never use bleach on coloured stitching. Use a matching wax pencil to restore coloured thread instead.
Keep boots dry and stored in a ventilated spot. Damp storage yellows thread faster than dry storage.
Frayed or broken stitching is a cobbler job, not a cleaning job. Stop and book a repair before the sole loosens.
Why White Stitching Turns Grey and Yellow
White thread shows everything, which is exactly why makers use it for contrast on dark boots. The welt stitching near the sole picks up road dirt, mud and salt with every step, while shaft stitching collects dust, polish overspray and hand oils from handling.
Polish is the worst culprit. A single coat of dark polish tints white thread brown or black, and the tint soaks into cotton and linen thread quickly. Once polish is in the thread, soap alone rarely removes it fully, which is why prevention beats cleaning here.
Sun and damp also yellow thread over time. Boots left in sunlight fade and yellow unevenly, and boots stored damp develop a dull, yellowed look in the thread before the leather shows any damage. Both are slow, but both are cumulative.
Age matters too. Thread oxidises and dulls with years of wear, even on well-kept boots. At that point, cleaning helps a little, but recolouring with a pencil or pen is what restores the crisp contrast look. That is normal wear, not neglect.
Prevention: The Habits That Keep Thread Bright
Brush the boots after every wear, including the welt groove and the shaft stitching. A soft horsehair brush clears dust before it grinds into thread, and it takes less than a minute per boot. A toothbrush reaches the welt groove where the main brush cannot.
Keep boots dry. Wipe off rain and mud promptly, let boots air at room temperature, and store them in a dry, ventilated spot. Damp storage is a quiet yellowing machine for thread, and it also invites odour and mildew in linings.
Limit muddy wear when you can. Nobody buys cowboy boots to keep them indoors, but choosing a plainer pair for deep mud and saving the white-stitched pair for drier days keeps the contrast look far longer. Rotation is prevention, not fussiness.
Tape before any polish or conditioner work, every time, without exception. Painter’s tape along the welt and over shaft stitching takes a few minutes and saves an hour of recolouring later. Peel it off slowly after polishing, before the polish fully hardens.
Clean White Stitching With Soap and a Brush
Start with the boots dry and brushed. Remove loose dirt first, so the wash does not smear grit along the thread. Work on one boot at a time, in good light, so you can see which stitches are dirty and which are already clean.
Mix a little mild soap, such as saddle soap or a gentle leather cleaner, with lukewarm water. Dip a soft toothbrush or a small horsehair brush in the mix, shake off excess, and brush along the stitching in short, gentle strokes, following the stitch line.
Rinse the brush often in clean water, so you are not pushing dirty water back into the thread. Wipe the area with a barely damp cloth as you go, and check your progress in daylight. Two gentle passes beat one hard scrub, which can fray thread and scuff nearby leather.
Protect the leather around the stitching while you work. A thin coat of conditioner on smooth leather before stitching cleaning acts as a barrier against soap, though it must stay off suede. Wipe any soap off the leather promptly, and let the boots dry fully at room temperature.
For welt stitching, which holds the most dirt, spend extra time in the groove where the sole meets the upper. This is where mud packs in and where thread rots if dirt stays. A toothbrush and patience here protect both the look and the structure of the boot.
Restore White With a Bleach Pen or White Pencil
When soap leaves thread grey, the next step is recolouring, not stronger chemicals. A bleach pen, with its fine tip, reaches thin stitch lines that cloths cannot. It is the most recommended tool for white stitching, and it works best on welt stitching.
Apply the bleach pen along the stitch line only, keeping it off the leather as much as possible. Let it sit briefly as the pen directs, then rinse the area with a damp cloth and dry. Repeat once if needed, but do not soak thread in bleach, which weakens fibres over time.
A white pencil is the slower, gentler alternative, and many shoe shiners swear by it. Colour each stitch line carefully with a soft white pencil, building coverage stitch by stitch. It takes time, sometimes an hour for a full pair, but the result is bright and even.
Choose between them by the job. A bleach pen suits grey, dirty thread that needs whitening. A white pencil suits thread that is clean but faded, or thread beside leather that bleach might spot. For valuable boots, the pencil is the safer first try.
Test either method on a hidden stitch first, such as inside the shaft. Check the result after drying, and watch for leather spotting near the stitch line. If bleach spots the leather, switch to the pencil and clean the spot gently with a damp cloth.
Polish Without Staining the Stitching
Polishing is where most white stitching is lost, and it is entirely preventable. Before any polish touches the boot, cover all stitching you want to keep white with painter’s tape, from the welt to the shaft and vamp. Press the tape edges down firmly.
Polish as normal, in thin coats, buffing between coats. The tape stops polish reaching the thread, and it also gives a clean edge along the welt. Work carefully near taped edges, because polish pushed under loose tape still stains.
Remove the tape slowly after the final buff, pulling at a low angle. Check the stitching at once: any polish that crept under the tape can be cleaned now with a soft brush and soap, while it is still fresh. Dried polish is far harder to shift.
If you forgot to tape and the stitching is already tinted, clean with soap and a brush first, then use a bleach pen or white pencil to restore the colour. Do the recolouring after polishing, never before, because fresh polish will tint recoloured thread again at once.
Coloured Stitching Needs a Different Approach
Coloured stitching, in red, orange, yellow, blue or other shades, cannot use the white-stitching toolkit. Bleach pens fade coloured thread, and white pencils cover the colour entirely. Both ruin the designed contrast look.
Clean coloured stitching the same gentle way: a soft brush with mild soap and water, rinsed well. This removes dirt without stripping colour, as long as you scrub lightly and rinse often. Avoid harsh cleaners and solvents on coloured thread.
Restore faded coloured stitching with matching wax pencils, available in craft and art shops. Photograph the stitching before polishing, so you have a colour reference, then colour each stitch line after polishing with the closest matching pencil.
Work in good light and test the pencil on a hidden stitch first. Wax pencil colour sits on the thread surface, so it may need touching up after heavy wear or wet weather. That is normal, and a quick pass takes minutes once you know the matching shade.
When Stitching Damage Needs a Cobbler
Cleaning and recolouring only help thread that is intact. If stitching frays, loosens, breaks or pulls away from the leather, stop wearing the boots for long walks and book a cobbler. Broken welt stitching can let a sole separate, turning a small repair into a resole.
Do not try to glue broken stitching back yourself. Glue stiffens thread, blocks proper restitching, and can stain leather around the repair. A cobbler restitches with the right thread weight and tension, and they can match white or coloured thread closely.
Also see a cobbler when thread rot is suspected: thread that crumbles, powders or snaps with light pressure, often after years of damp storage or salt exposure. Rotten thread cannot be cleaned back to strength, and the boots need restitching before they are safe for regular wear.
Between visits, keep damaged boots dry and clean, and avoid pulling at loose threads. Trimming a loose end flush is fine, but tugging it can unravel a whole run of stitching. Small care now keeps the cobbler’s job small too.
Frequently Asked Questions
How do I clean white stitching on boots?
Brush off loose dirt, then clean with a soft toothbrush and mild soap and water, rinsing often. Wipe with a damp cloth and let the boots dry at room temperature before judging the result.
Can I use bleach on boot stitching?
Use a bleach pen only on white stitching, after soap cleaning, and rinse well. Never use bleach on coloured stitching, which it fades, and never soak thread in bleach.
How do I keep white stitching white when polishing?
Cover all stitching with painter’s tape before polishing, polish in thin coats, and peel the tape off slowly after buffing. Clean any polish that crept under the tape at once.
What is the white pencil trick for boot stitching?
Colour each stitch line with a soft white pencil to restore brightness stitch by stitch. It is slow but reliable, and it suits thread beside leather that bleach might spot.
Why does white stitching turn yellow?
Sun, damp storage, polish tinting and age all yellow thread over time. Dry, ventilated storage, brushing after wear and taping before polish slow yellowing greatly.
Can I use a washing machine to clean stitching?
No. Machine washing soaks boots, warps leather, loosens adhesives and can damage stitching further. Always clean stitching by hand, with the boots kept as dry as possible.
How do I clean welt stitching on cowboy boots?
Use a soft toothbrush with mild soap and water in the welt groove, rinsing often. The welt holds the most dirt, and cleaning it protects both the look and the thread itself.
Does saddle soap clean white stitching?
Yes, saddle soap works well for stitching cleaning when used diluted on a brush and rinsed thoroughly. Wipe soap off surrounding leather promptly and condition smooth leather after drying.
How do I restore coloured stitching on boots?
Clean gently with soap and a brush, then recolour after polishing with a matching wax pencil. Photograph the original colour first so you can match the shade accurately.
When should I take boots with damaged stitching to a cobbler?
When thread frays, breaks, loosens or crumbles, or when a sole starts to separate. Early restitching is cheap, while a separated sole or torn seam costs far more to fix.
Final Verdict
White stitching is a contrast detail that rewards a little prevention. Brush after wear, keep boots dry, and tape before every polish, and the thread stays bright with only occasional cleaning.
When dirt does win, soap and a brush come first, then a bleach pen or white pencil for the final brightness. Keep bleach away from coloured thread, and hand frayed or broken stitching to a cobbler promptly. Done that way, white stitching stays a feature, not a chore.
Jessica is the founder of Luxury Bagsz and a handbag specialist with more than 10 years in the bag industry. She owns and collects preloved designer bags, has examined over 500 bags by hand, and checks authenticity using the Entrupy app alongside stitching, hardware, engravings and date codes.
The Rolex 1908 is the watch that made people take Rolex dress watches seriously again. Launched at Watches and Wonders in 2023, it replaced the Cellini collection, introduced a brand-new movement, and — for the first time on a standard modern Rolex — showed that movement through a sapphire caseback. It is also a watch…
The Short Answer on Hermès Clothing Prices Most Hermès clothing sits between about $1,000 and $8,000 in the US: shirts and knitwear typically start in the low thousands, tailoring and dresses in the mid thousands, and coats and leather pieces at the top. Nothing in the clothing line is priced casually, but the spread is…
Ready-to-Wear Is Hermès Beyond the Bag Hermès ready-to-wear is the house's clothing: seasonal collections for women and men covering coats, tailoring, knitwear, dresses, shirts, trousers and leather pieces, made to the same hand-finished standard as its bags. It is one of the house's historic crafts, not a side line. Clothing sits inside the ready-to-wear and…
Two Houses, One Wrist The apple watch hermes is the longest-running luxury smartwatch partnership in the world: Apple's technology in a silver titanium Hermès case, with Hermès-made bands, exclusive watch faces and an extra orange Hermès sport band in the box. Current sets centre on 42mm and 46mm cases, with bands from the classic Single…
The Other Anchor-Chain Watch The hermes nantucket watch takes the same anchor chain that inspired Cape Cod and draws a slimmer conclusion from it: a narrow rectangular case whose ends are literally the two halves of a Chaîne d'Ancre link, split and pulled apart. It is a smaller, dressier watch than Cape Cod — mostly…
The Watch That Started Hermès Watchmaking The hermes arceau watch, designed by Henri d'Origny in 1978, is where serious Hermès watchmaking begins: a perfectly round case held by asymmetric lugs shaped like stirrups, with numerals that lean as if galloping. Arceau is the broadest Hermès watch family — quartz and automatic, 25mm to 43mm, plain…