How Boots Are Made: From Raw Hide to Finished Boot, Step by Step
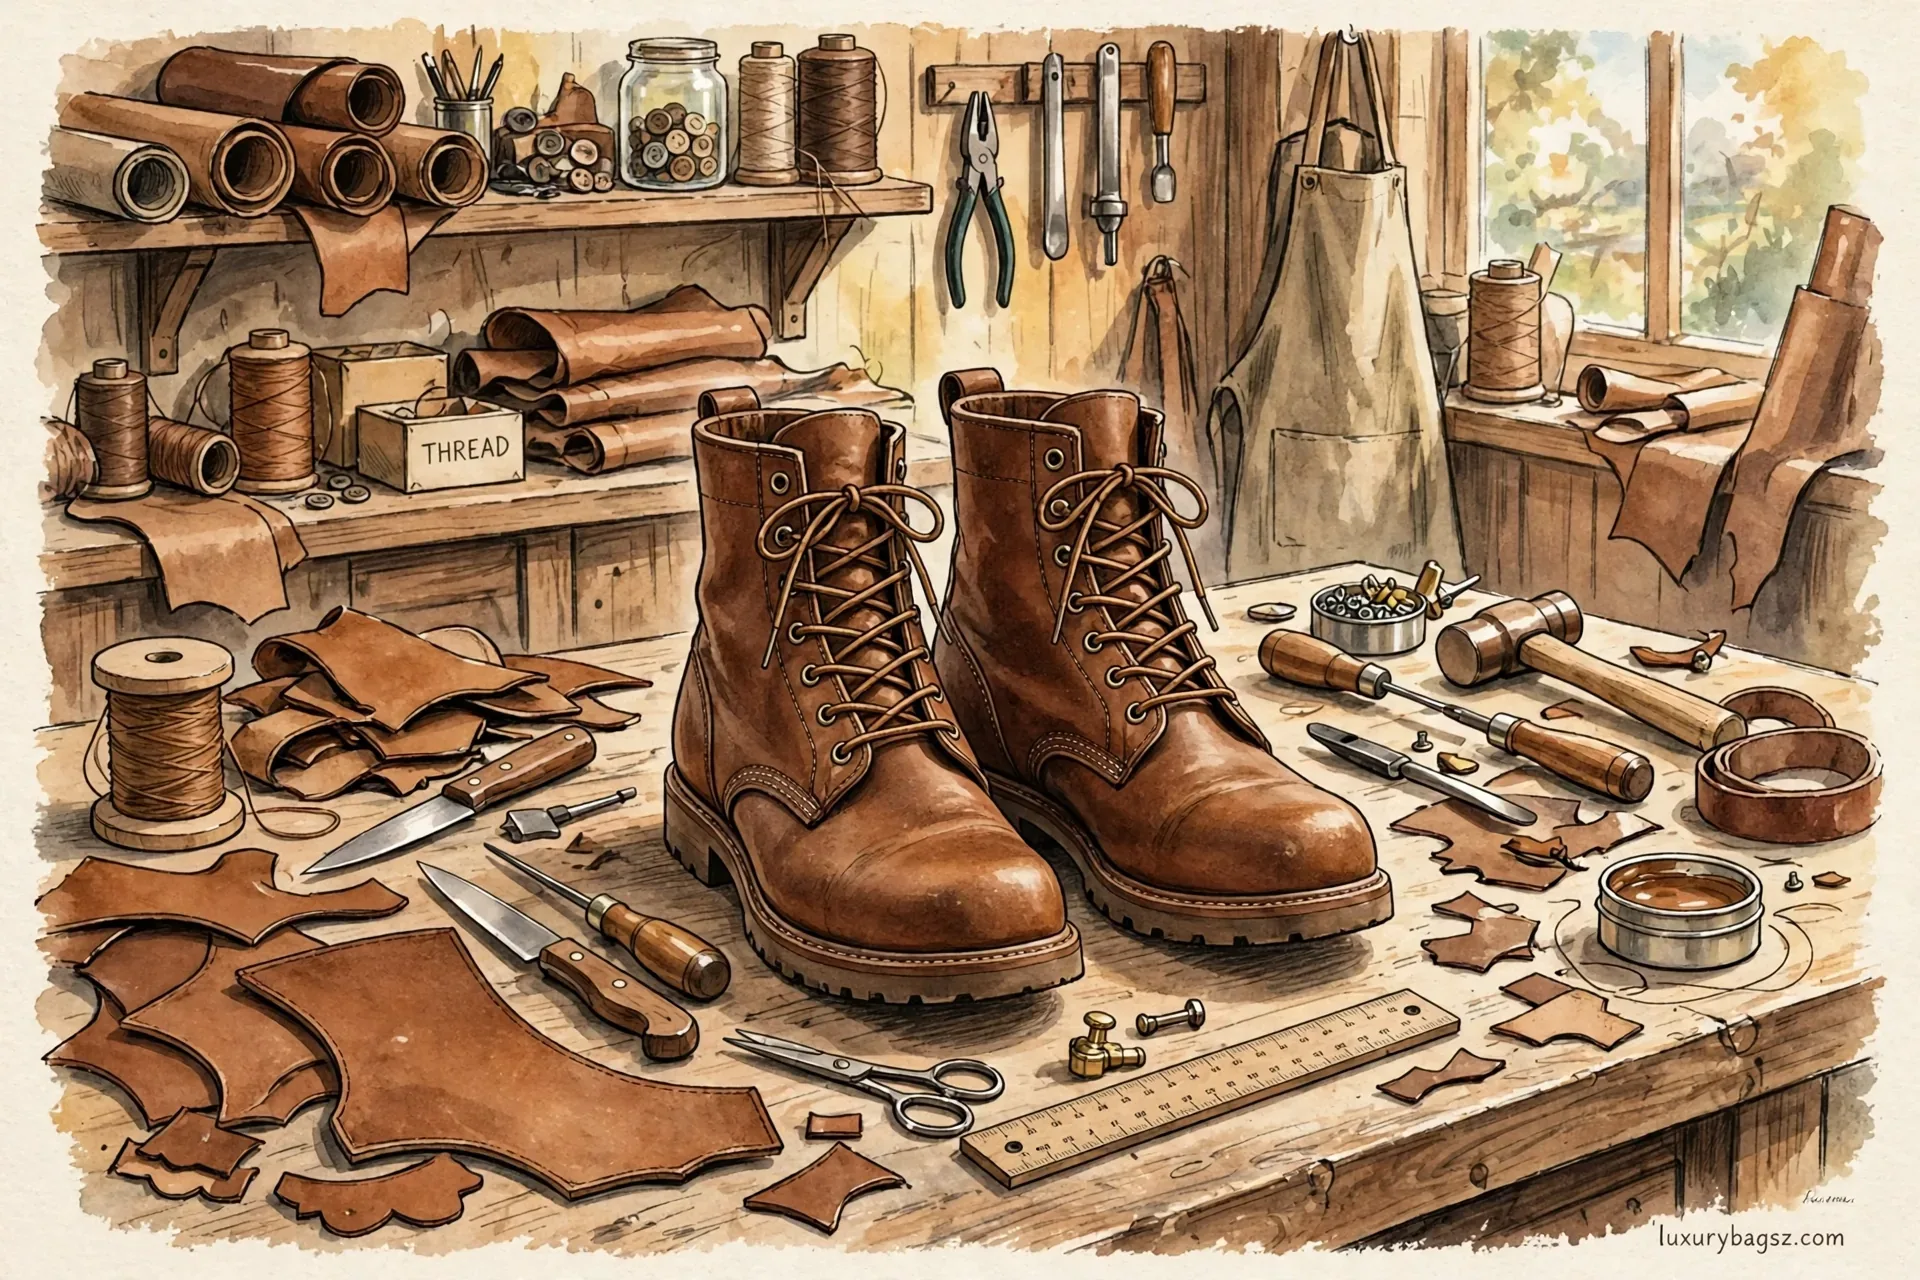
How Boots Are Made in Brief
Boots are made in two linked journeys: first, a raw hide is turned into boot leather through splitting, tanning, dyeing, and finishing, and second, that leather is cut, sewn, lasted, soled, and finished into a boot. Each journey takes weeks, and shortcuts in either show up in wear.
Most hiking and work boots start as cowhide, because it is thick, strong, and widely available. The hide is split to a usable thickness, tanned to stop it rotting, then dyed and treated for water resistance, softness, or a specific finish like nubuck.
From there, a factory or workshop cuts pattern pieces, sews the upper, shapes it over a last, attaches the sole by stitching or gluing, and finishes edges, laces, and polish. The best boots are not made in one clever step; they are made by doing every ordinary step carefully.
Key Takeaways
- Boot leather starts as a raw hide that must be split, tanned, dyed, and finished before cutting.
- Cowhide dominates boots; goat is softer and lighter, while horse and exotic leathers suit specialist boots.
- Chrome tanning is fast and soft; vegetable tanning is slow and firm, and both suit different boots.
- A boot needs roughly 0.4 square metres of leather, cut from the best areas of the hide.
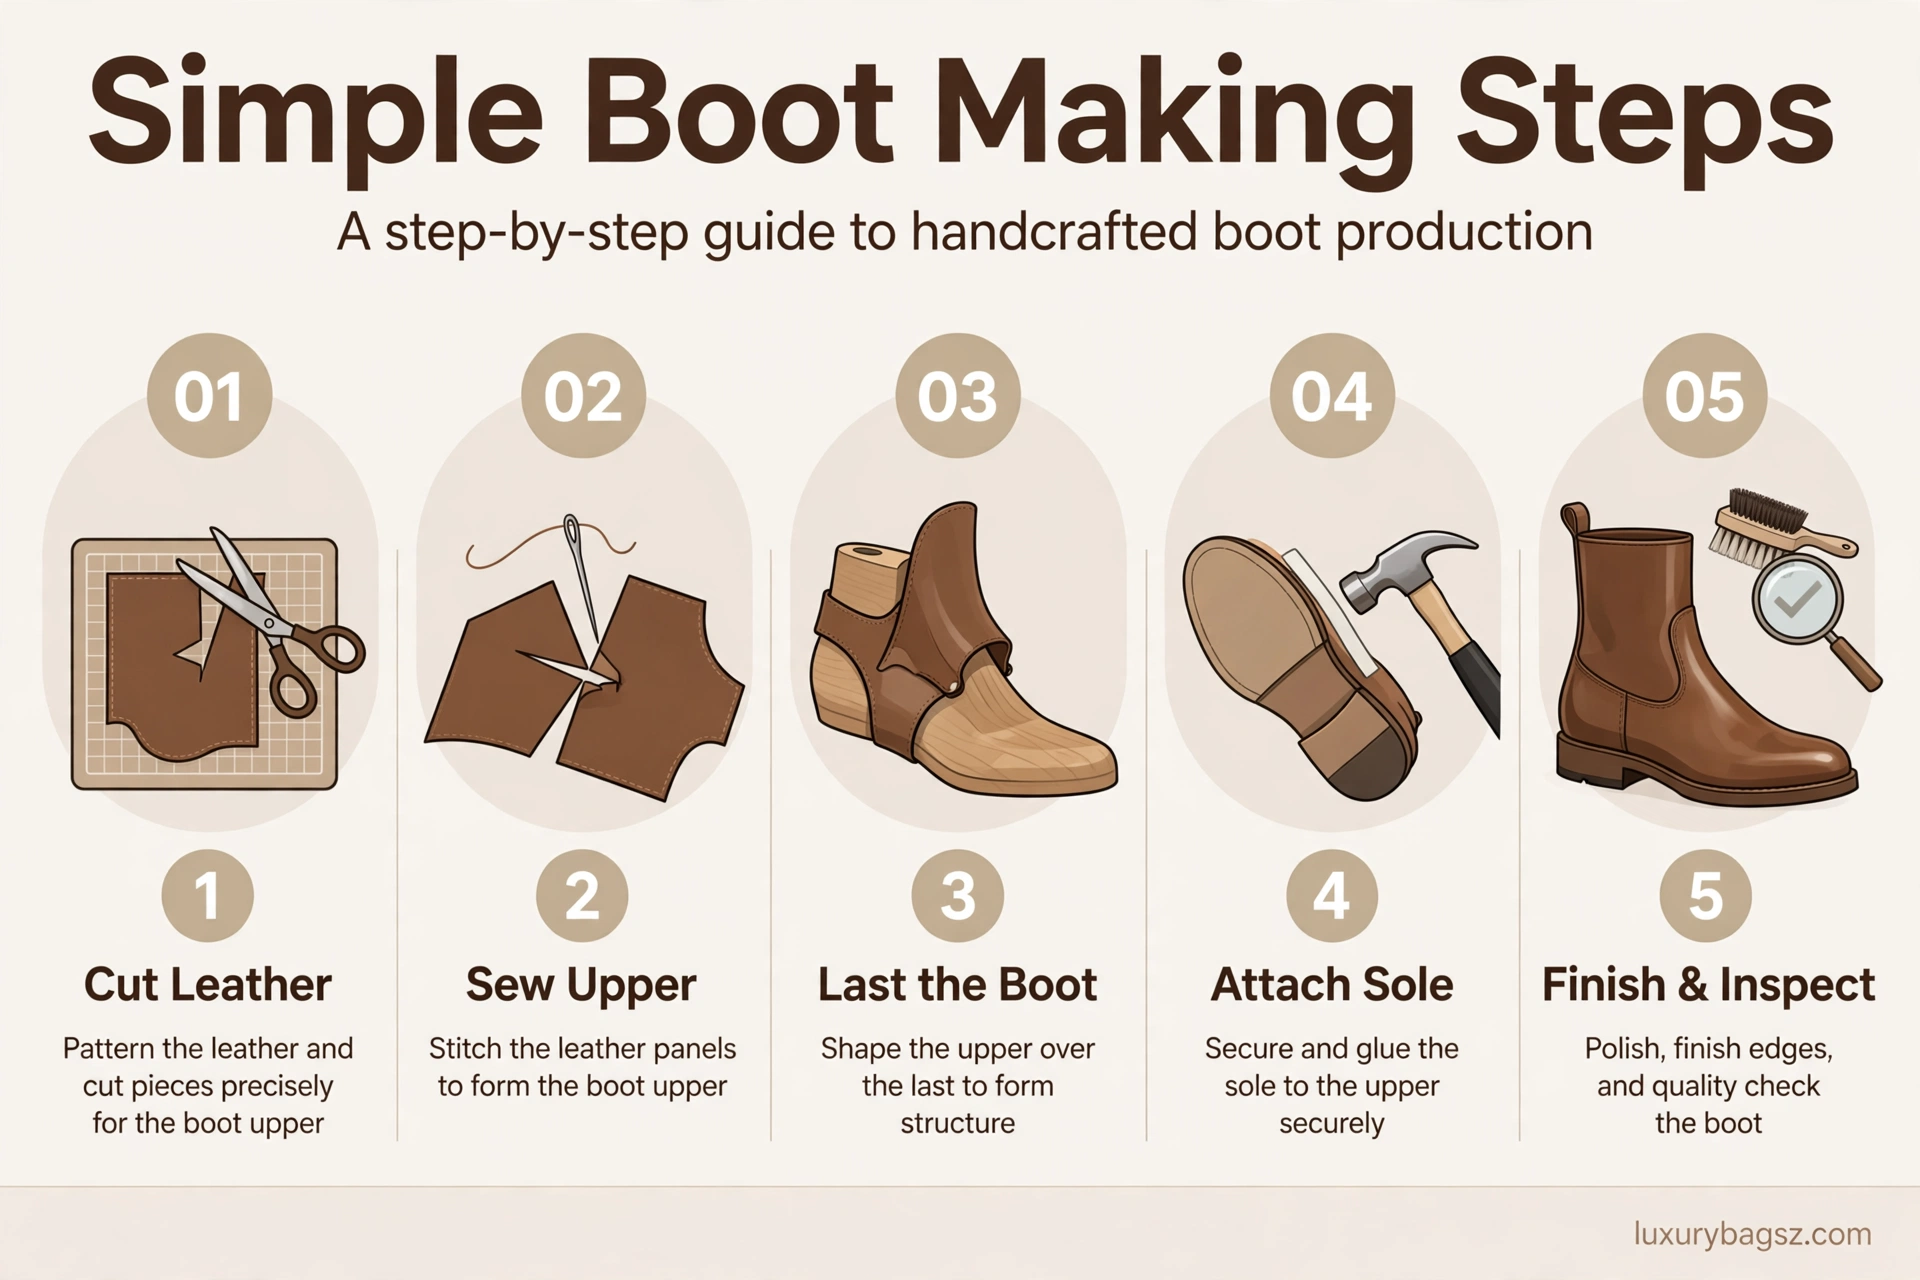
- Cutting, sewing, lasting, sole attachment, and finishing are the five core bootmaking stages.
- Stitched soles can be resoled; glued soles usually cannot, which decides long-term value.
Choosing the Hide
Most boots use cowhide, because it balances strength, thickness, and price. Hiking boots often use nubuck, which is cowhide buffed on the grain side for a velvety surface, while work boots may use full-grain or oiled leather for toughness.
Goat leather suits lighter, softer boots and dress boots, since it is flexible and fine-grained. Pig and sheep leathers appear in linings and lighter footwear, but they lack the strength needed for a hard-wearing boot upper.
Hide quality matters before any factory step. Hides from animals kept in smaller ranges show fewer scars and barbed-wire marks, which is why some tanneries pay more for hides from ranchers who limit roaming and injury.
How Boot Leather Is Made: Splitting and Tanning
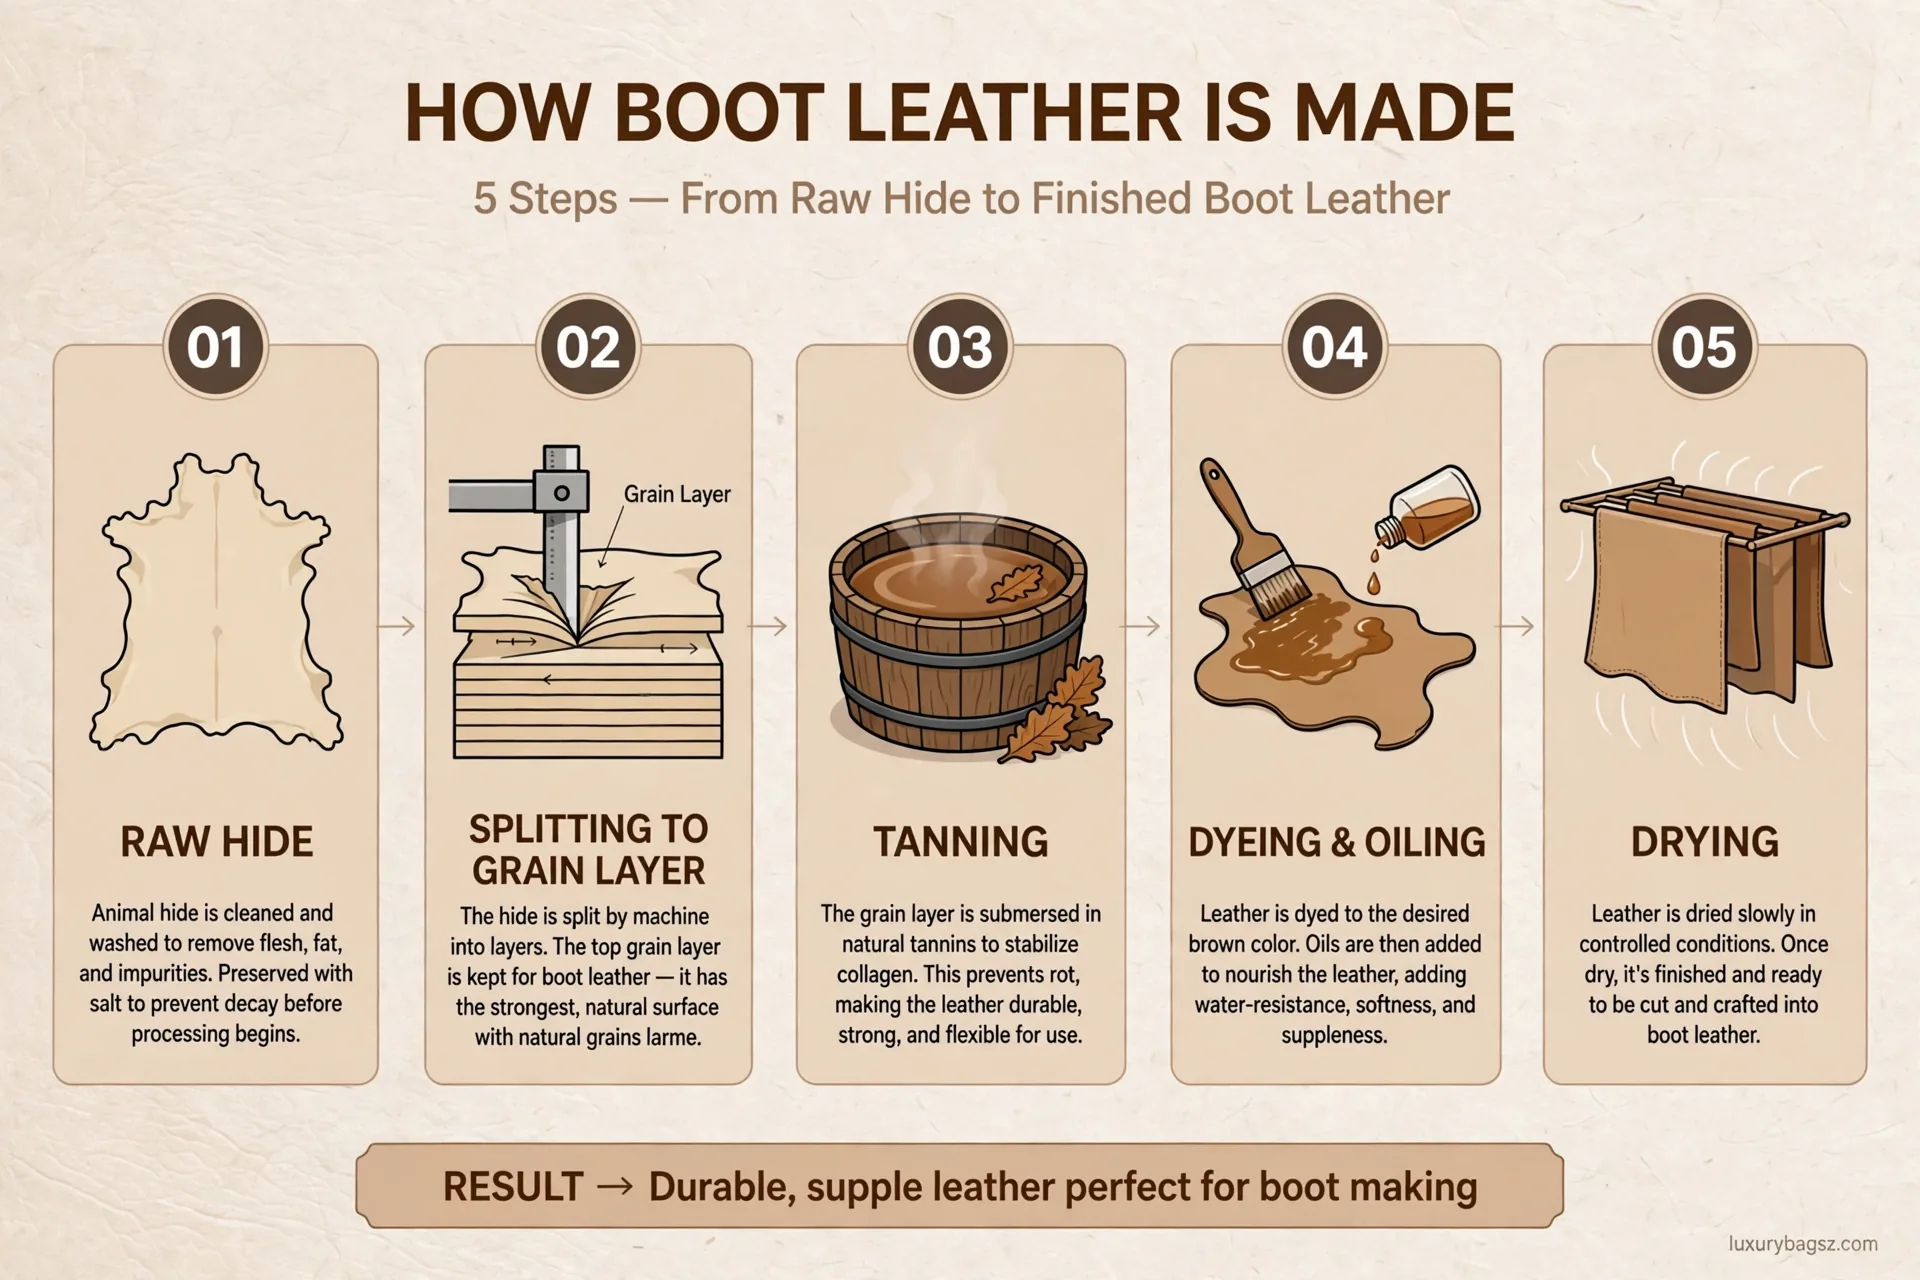
A raw cowhide is roughly six to eight millimetres thick, far too thick for a boot upper. It is split horizontally into a grain split, the strong outer layer, a middle split, and a flesh split. Boot uppers use the grain split; splits become suede.
Tanning then preserves the hide so it will not rot. Chrome tanning uses mineral salts, works in days, and gives soft, pliable leather in vivid colours, which suits fashion and hiking boots. Vegetable tanning uses bark and plant tannins, takes weeks, and gives firmer leather that ages with patina.
Combined and synthetic tanning methods mix both approaches for specific properties. For trekking boots, chrome-tanned leather has historically proved the most robust choice, while vegetable-tanned leather suits heritage boots that should stiffen and mould with wear.
Dyeing, Oiling, and Finishing the Leather
After tanning, hides are shaved to an even thickness, then re-tanned, dyed, and oiled in large drums. The longer leather soaks, the deeper oils and dyes penetrate, which helps hide scuffs and keep colour even.
Finishing decides the surface you actually see. Full-grain leather keeps its natural grain, nubuck is buffed for velvet, and oiled or waxy leather is loaded with oils for water resistance and a pull-up effect that lightens when flexed.
Drying matters too. Leather is vacuum-dried, hung for a day or two, then stretched and evened on plates. Rushing drying can stiffen or crack leather, so good tanneries treat time as an ingredient, not a cost to cut.

Cutting the Upper
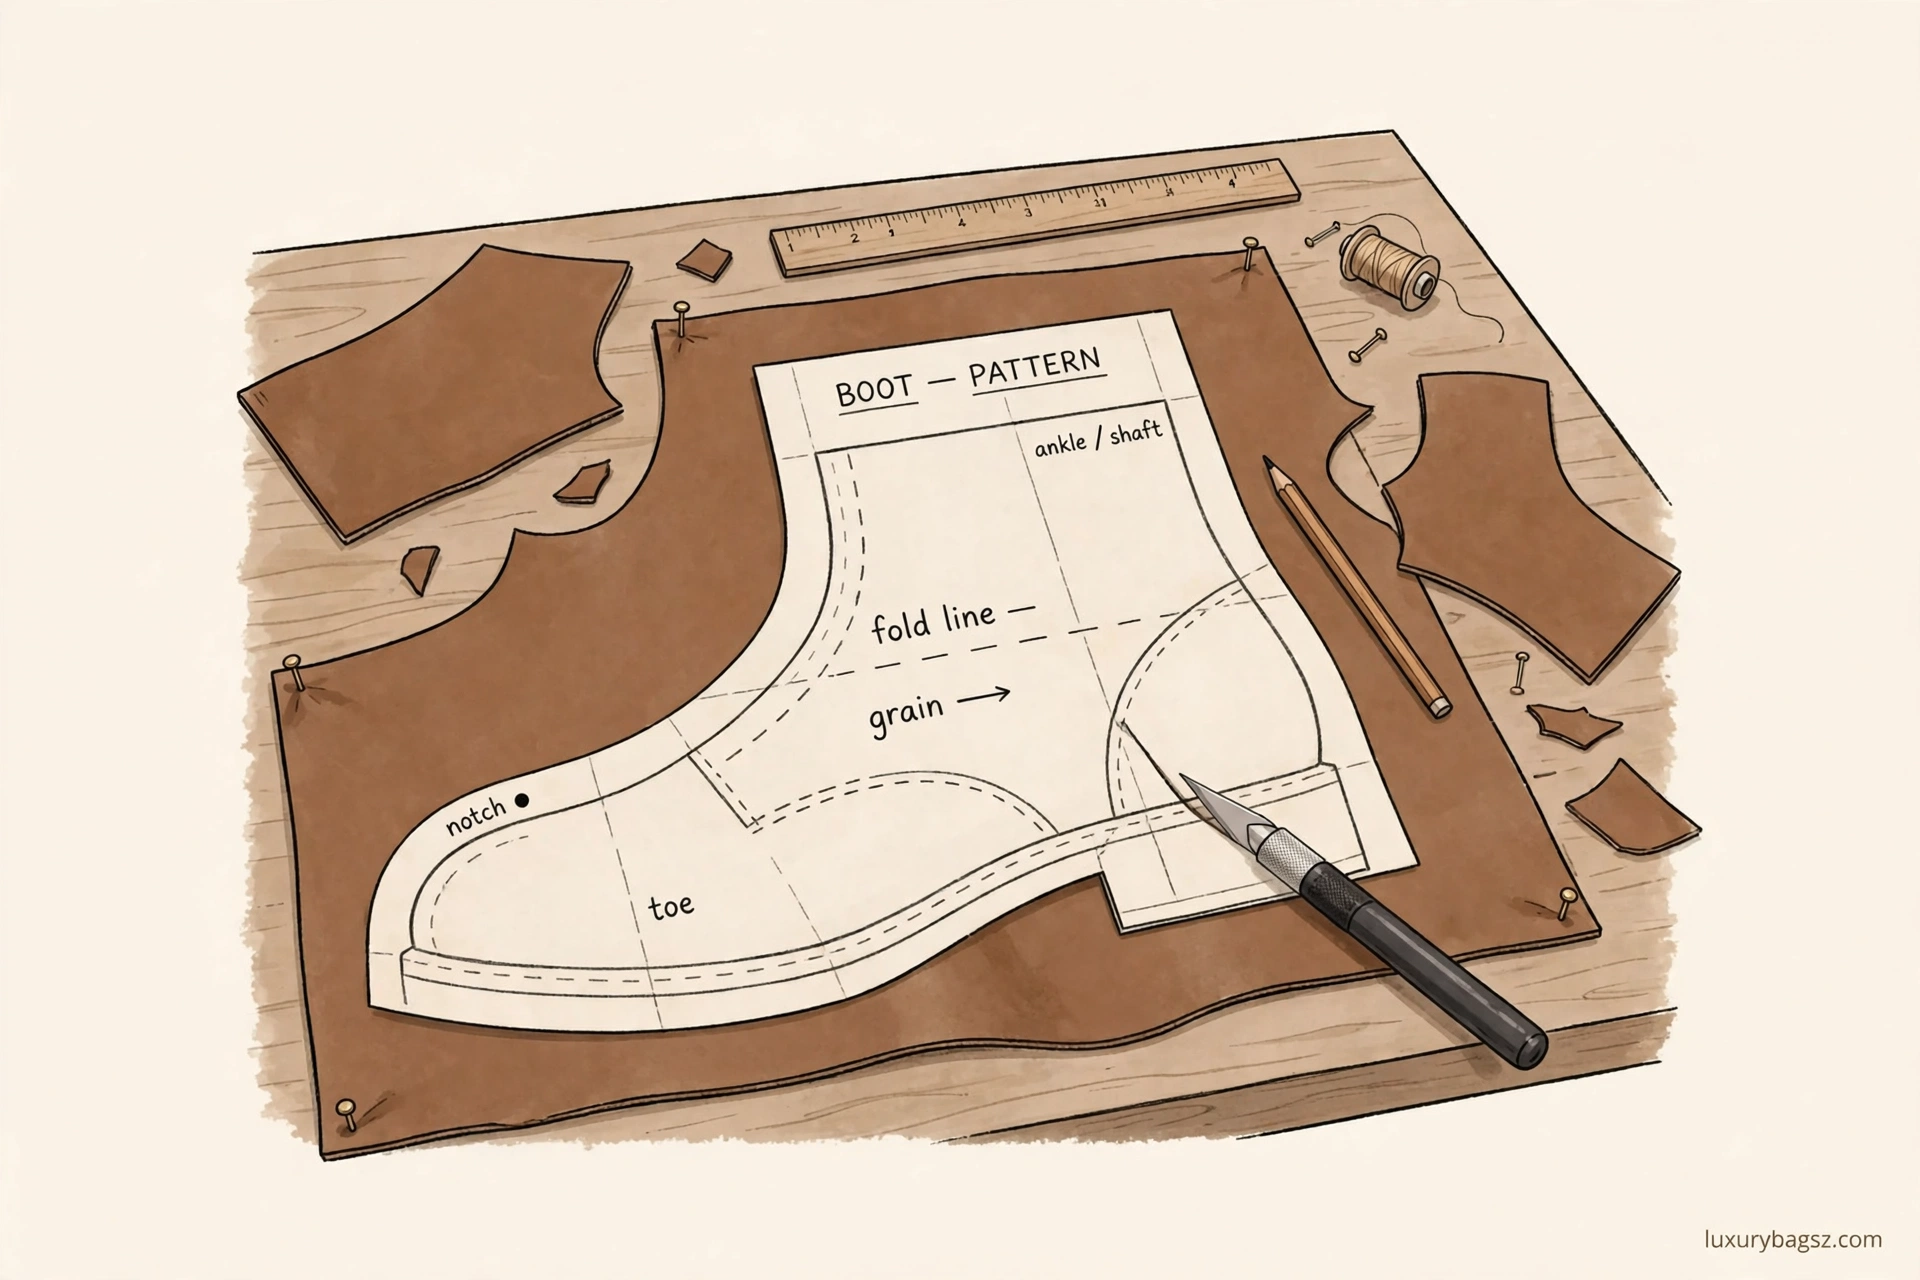
Pattern pieces are cut from the leather with a hydraulic press and a shaped cutter, much like cutting biscuits with a mould. Placement matters: the strongest, most even leather goes to the vamp and quarters, while stretchier areas suit tongues and collars.
A single boot needs roughly 0.4 square metres of leather, and a skilled cutter wastes as little as possible while avoiding scars, thin spots, and loose areas. Cutting the wrong part of the hide for a high-stress area is a common cause of early boot failure.
Edges are then thinned, or skived, so seams lie flat and sew cleanly. Linings, stiffeners for toe and heel, and reinforcements are cut at the same stage, ready for the sewing room.
Sewing the Upper Together
Sewing, called closing, joins the cut pieces into a three-dimensional upper. Industrial machines and heavy thread do most factory work, while bespoke makers sew more by hand, but in both cases even, tight stitching is what holds a boot together.
Linings are sewn in during closing, including waterproof membranes on many hiking boots. Eyelets for laces, usually brass, steel, or aluminium, are punched and set after the main seams are complete.
Good closing shows in small details: backstitching at stress points, no puckering along seams, and symmetrical left and right boots. A boot that looks neat at this stage usually lasts; a boot with wavy seams rarely improves later.
Lasting: Giving the Boot Its Shape
Lasting shapes the sewn upper over a foot-shaped last. The upper is pulled over the last, tacked or machine-lasted into place, and heated or rested so the leather takes the shape. This step decides fit more than any other.
Factory lasting uses machines that pull the leather evenly and quickly, while hand lasting, covered in our companion guides, pulls by feel and suits thick leather and unusual lasts. Both can produce excellent boots when done carefully.
After lasting, the lasting edge is trimmed, the insole is fixed, and shanks for arch support are added. A leather shank moulds to the foot over time, while steel suits heavy climbing use, and many modern boots use fibreglass or nylon for a lighter compromise.
Attaching the Sole
Sole attachment is where construction names come from. Goodyear welting stitches a welt to the upper and insole, then stitches the outsole to the welt, giving a resoleable, water-resistant boot. Blake stitching sews insole, upper, and outsole in one row for a slimmer shoe.
Stitchdown construction folds the upper outward and stitches it through the midsole and outsole, a tough method favoured by some work-boot makers. Cemented construction simply glues the sole on, which is cheapest but usually not properly resoleable.
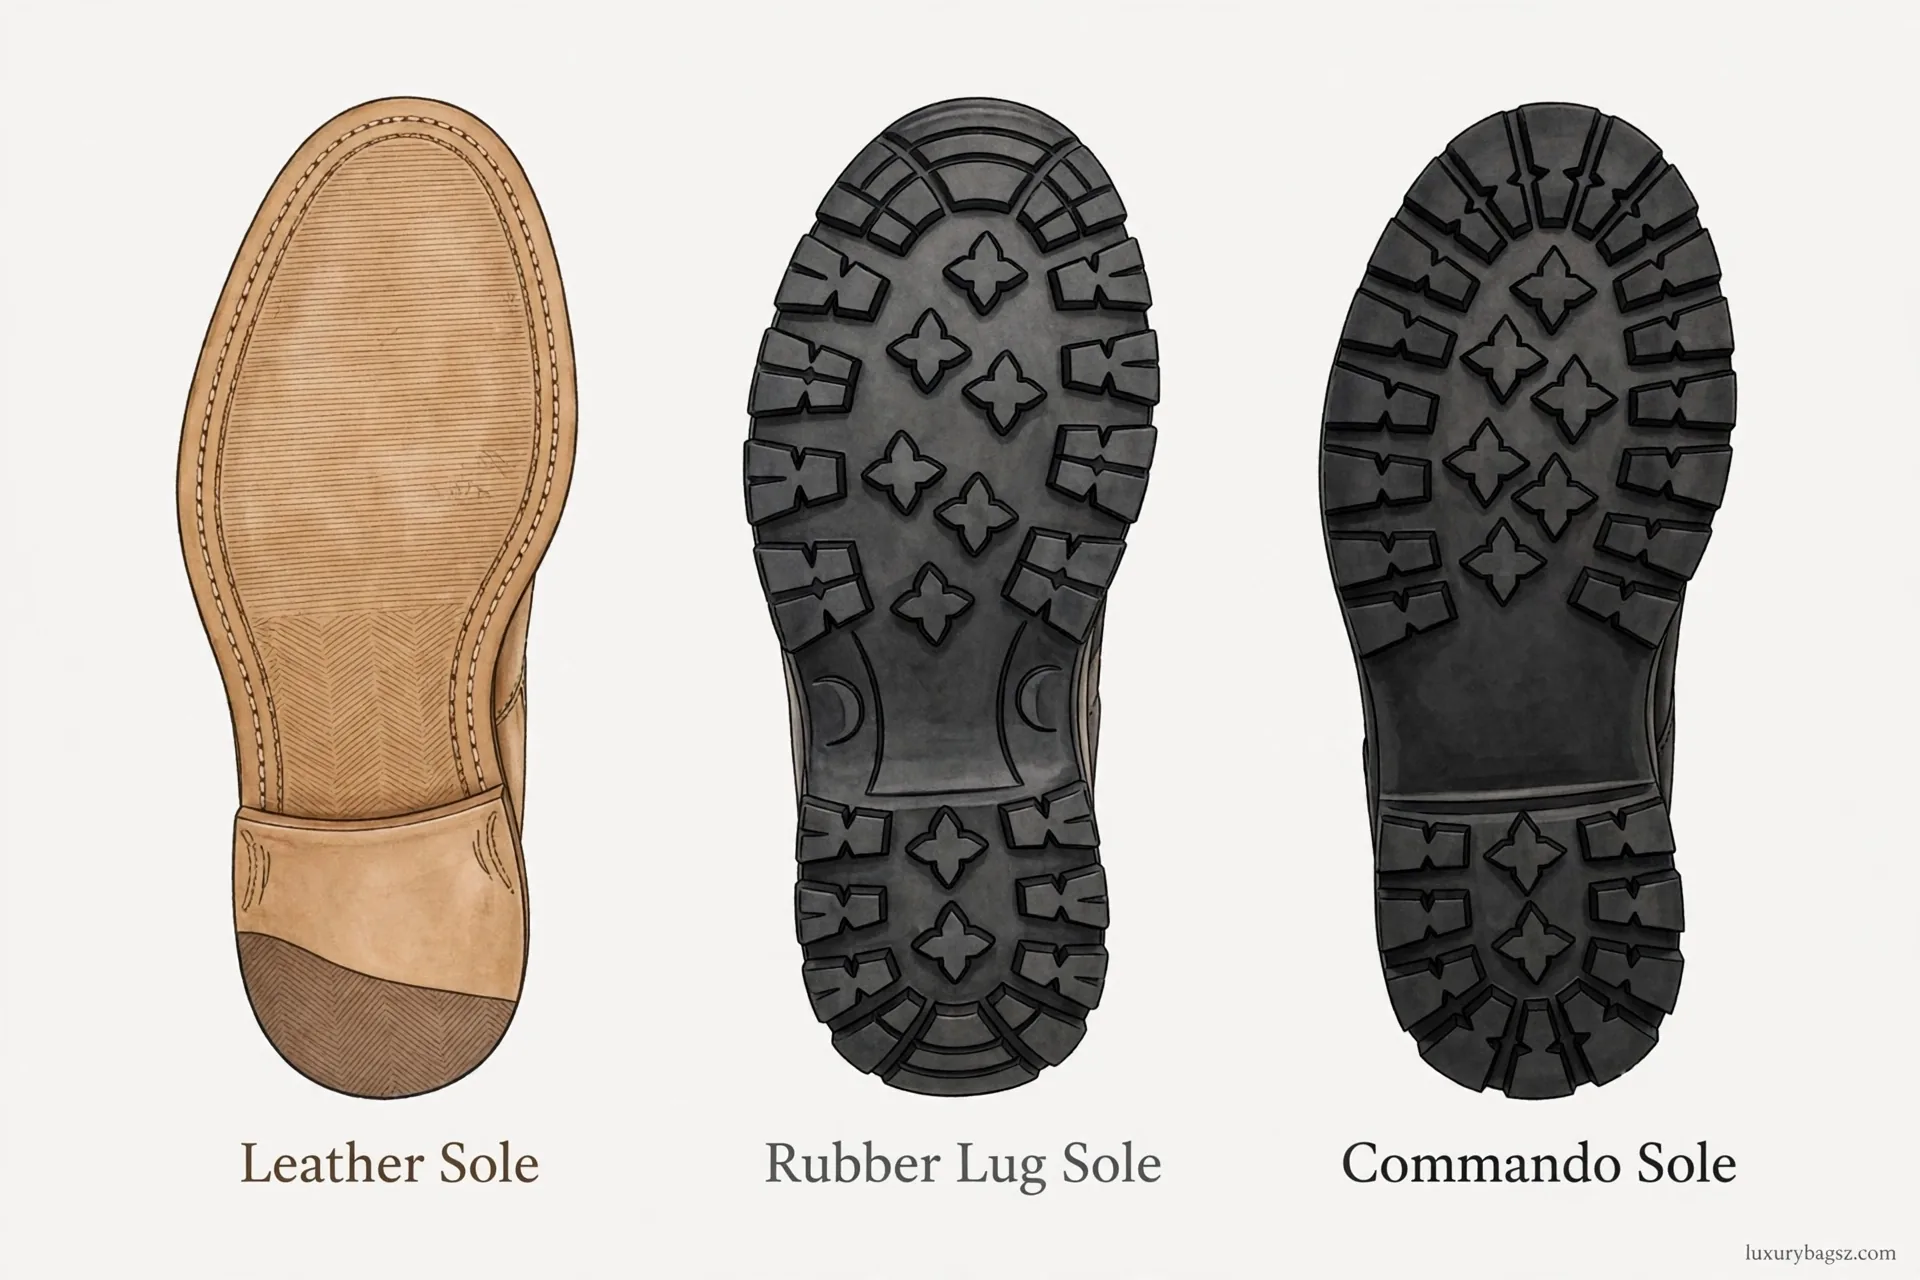
Sole materials vary by use: leather for dress and heritage boots, rubber lugs for grip, EVA and polyurethane midsoles for cushioning, and commando or Vibram soles for mixed terrain. The right sole depends on where the boot will actually walk.
Finishing, Inspection, and Boxing
Finishing trims excess, burnishes edges, cleans the leather, and applies polish or protector. Laces are fitted, insoles are inserted, and the boots are checked as a pair for colour, stitching, sole alignment, and size markings.
Quality control should catch mismatched pairs, loose stitching, glue squeeze-out, and uneven soles before boxing. Reputable makers reject or repair failures here; budget makers often ship them, which is why two pairs of the same cheap boot can feel so different.
Finally, boots are treed or stuffed to hold shape, boxed with care advice, and shipped. That last step matters: a boot crushed in transit can lose the shape that lasting worked so hard to create.
How to Tell a Well-Made Boot in a Shop
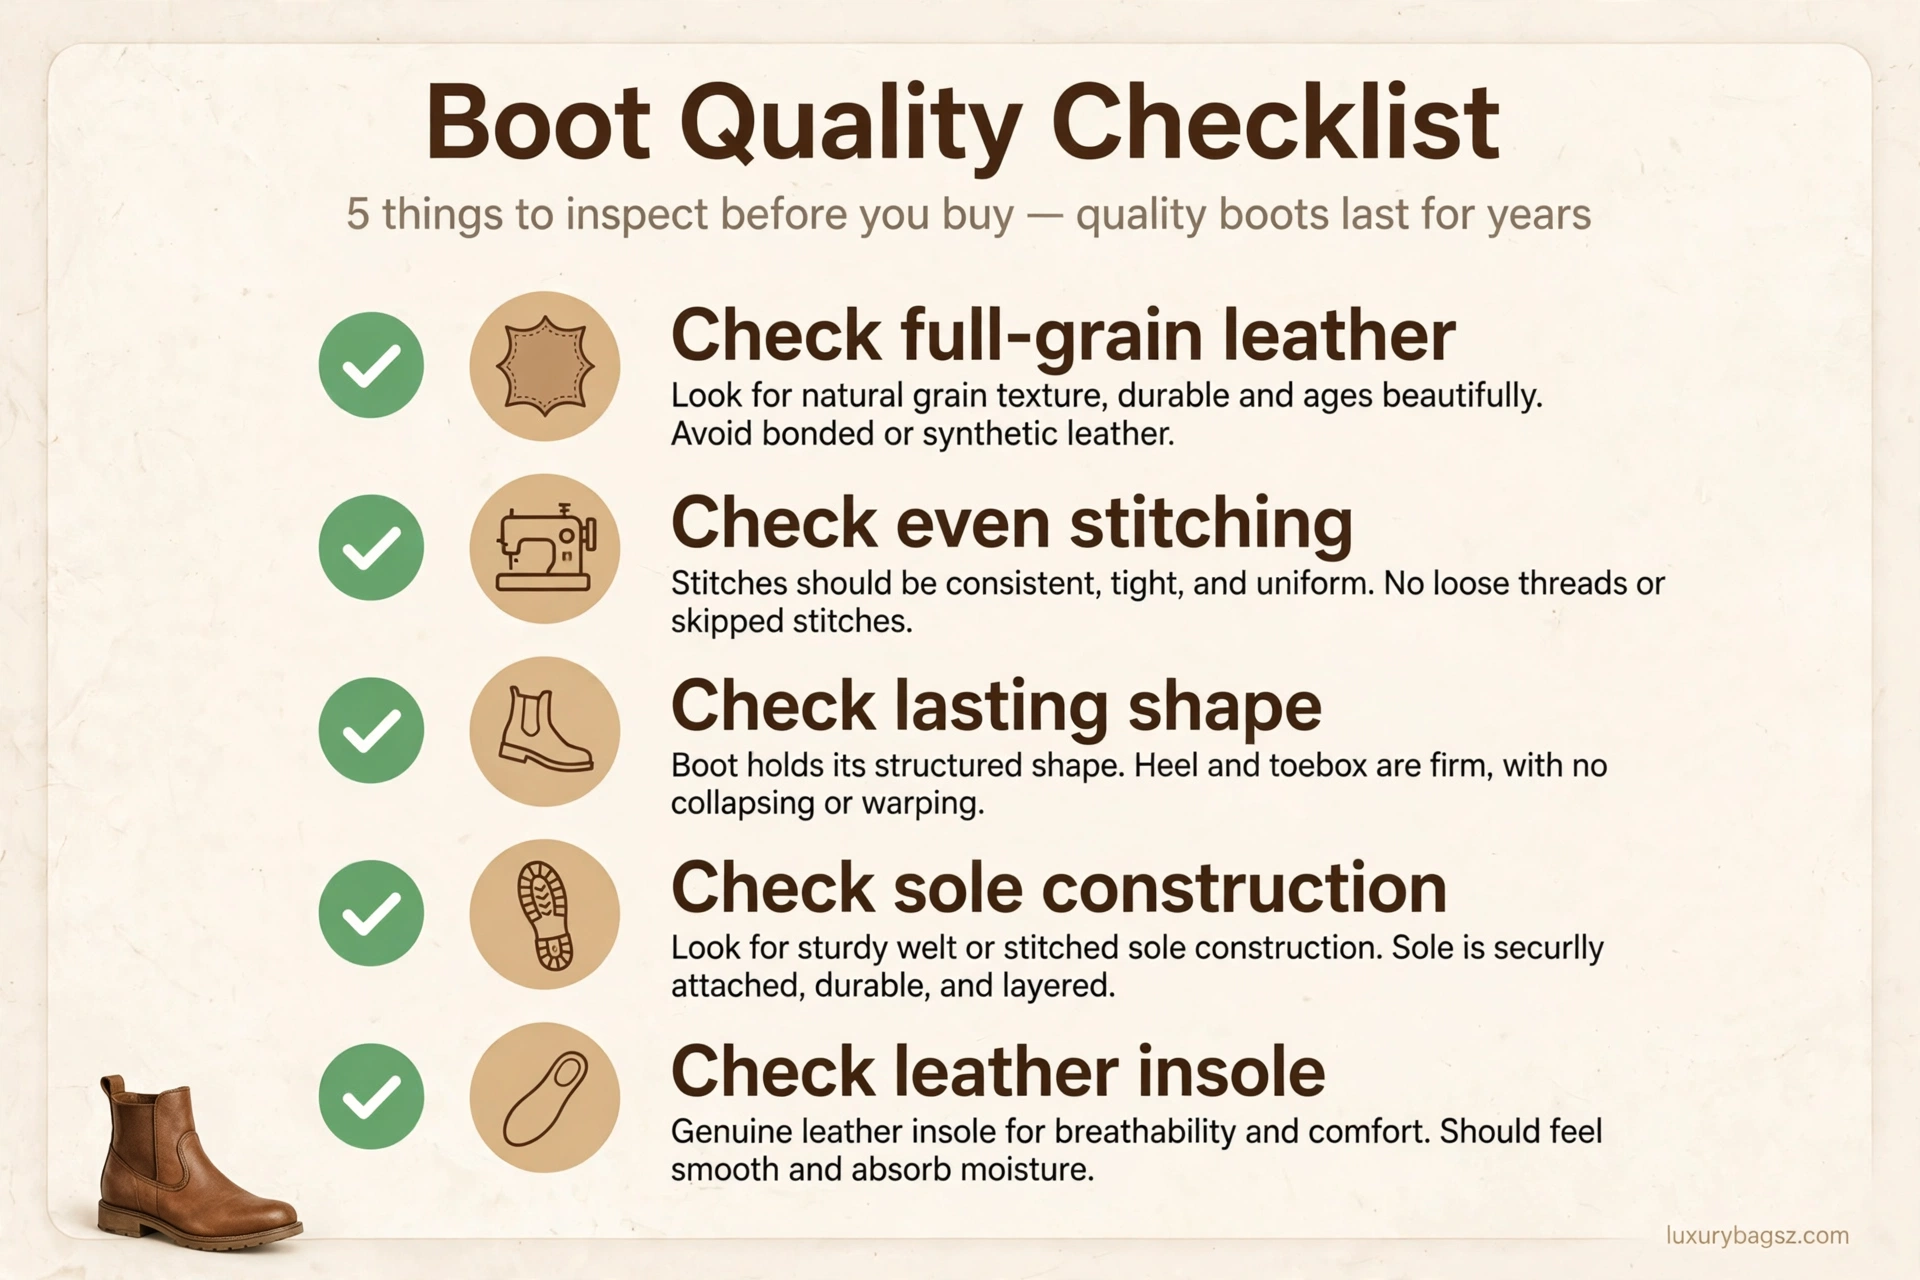
Check the leather first: full-grain should feel dense and show natural grain, not a plastic coating. Check stitching for evenness, especially around the welt and the toe, where stress is highest.
Flex the boot at the ball of the foot. It should bend there, not fold in the middle, and it should spring back without creasing sharply across the vamp. Check the insole: leather moulds and lasts, while fibreboard crumbles.
Once you own good boots, care extends the factory's work. Our Hermes leather boots care guide covers the after-wear routine, and the Saphir Renovateur guide explains a conditioner for smooth leather that suits many heritage boots.
Frequently Asked Questions
How long does it take to make a pair of boots?
Tanning alone can take days for chrome leather or weeks for vegetable-tanned leather, and a finished side can take two to five weeks through a tannery. Factory bootmaking then adds hours of cutting, sewing, lasting, and finishing per pair.
What leather is best for boots?
Full-grain cowhide suits most boots for strength and ageing. Nubuck suits hiking boots for its velvety grip and look, while oiled leather suits work boots for water resistance.
Is chrome-tanned or vegetable-tanned leather better for boots?
Chrome tanning gives softer, more water-resistant leather faster, suiting hiking and fashion boots. Vegetable tanning gives firmer leather with better patina, suiting heritage boots. Neither is universally better.
How much leather does one boot need?
Roughly 0.4 square metres per boot, cut from the best areas of the hide. Placement matters, since scars and thin areas weaken high-stress parts like the vamp.
What is lasting in bootmaking?
Lasting is shaping the sewn upper over a foot-shaped last and fixing it there, which sets the boot's fit and silhouette. It is the single most important step for comfort.
Are stitched boots better than glued boots?
Stitched boots can usually be resoled and last longer, while glued boots are cheaper and lighter but often finished once the sole wears through. For long-term value, stitched wins.
Why do some boots need break-in?
The leather, insole, cork bed, and sole all need time to mould to your foot. Welted boots typically need two to four weeks, while softer cemented boots may feel broken in within days.
What is a boot shank?
A shank is a stiffener under the arch that supports the foot and controls flex. Leather shanks mould over time, steel suits heavy loads, and synthetic shanks offer a lighter middle ground.
Do handmade boots last longer than factory boots?
Not automatically. A well-made factory boot in good leather can outlast a poorly made handmade boot. Materials, construction, and care matter more than the handmade label alone.
How can I make my boots last longer?
Clean after wear, condition smooth leather when dry, dry slowly away from heat, use shoe trees, and resole stitched boots before the midsole wears through. Rotation between pairs also extends life greatly.
Summary
Boots are made twice: once in the tannery, where a hide becomes leather, and once in the workshop, where leather becomes a boot. Splitting, tanning, cutting, sewing, lasting, soling, and finishing each leave a mark on the final pair. Learn to check leather, stitching, lasting, and sole construction, and you will spot a well-made boot in a shop without needing to trust any label.