How to Darken Leather Boots: Oils, Dyes and Polish Compared

Darker Boots, Done Right, in Brief
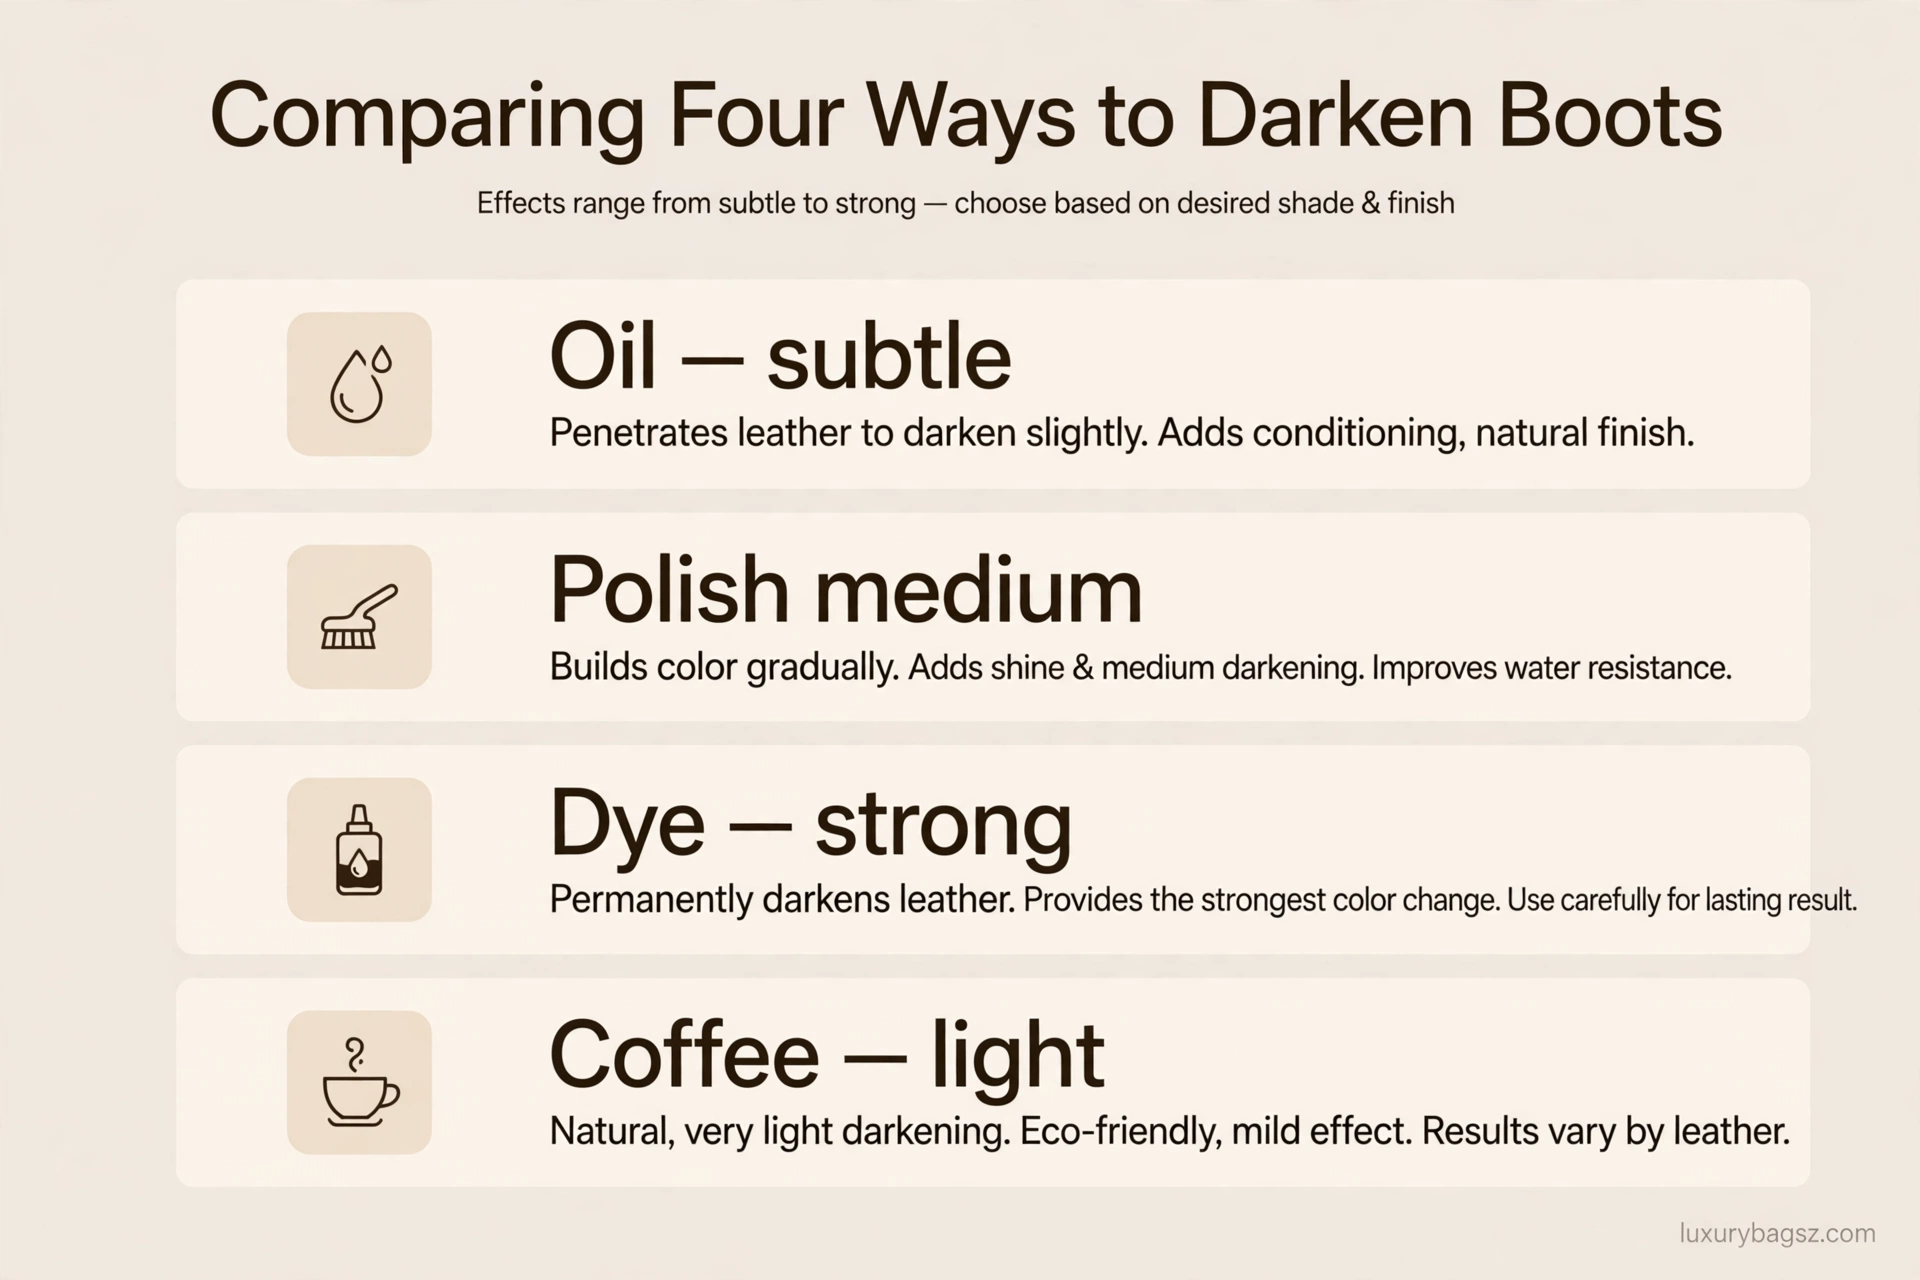
Yes, you can darken leather boots, and the method you pick decides how dark they go and how permanent the change is. Oils darken by one or two shades while conditioning, polish adds a medium, buildable darkening with shine, and dye gives the strongest, most permanent colour change.
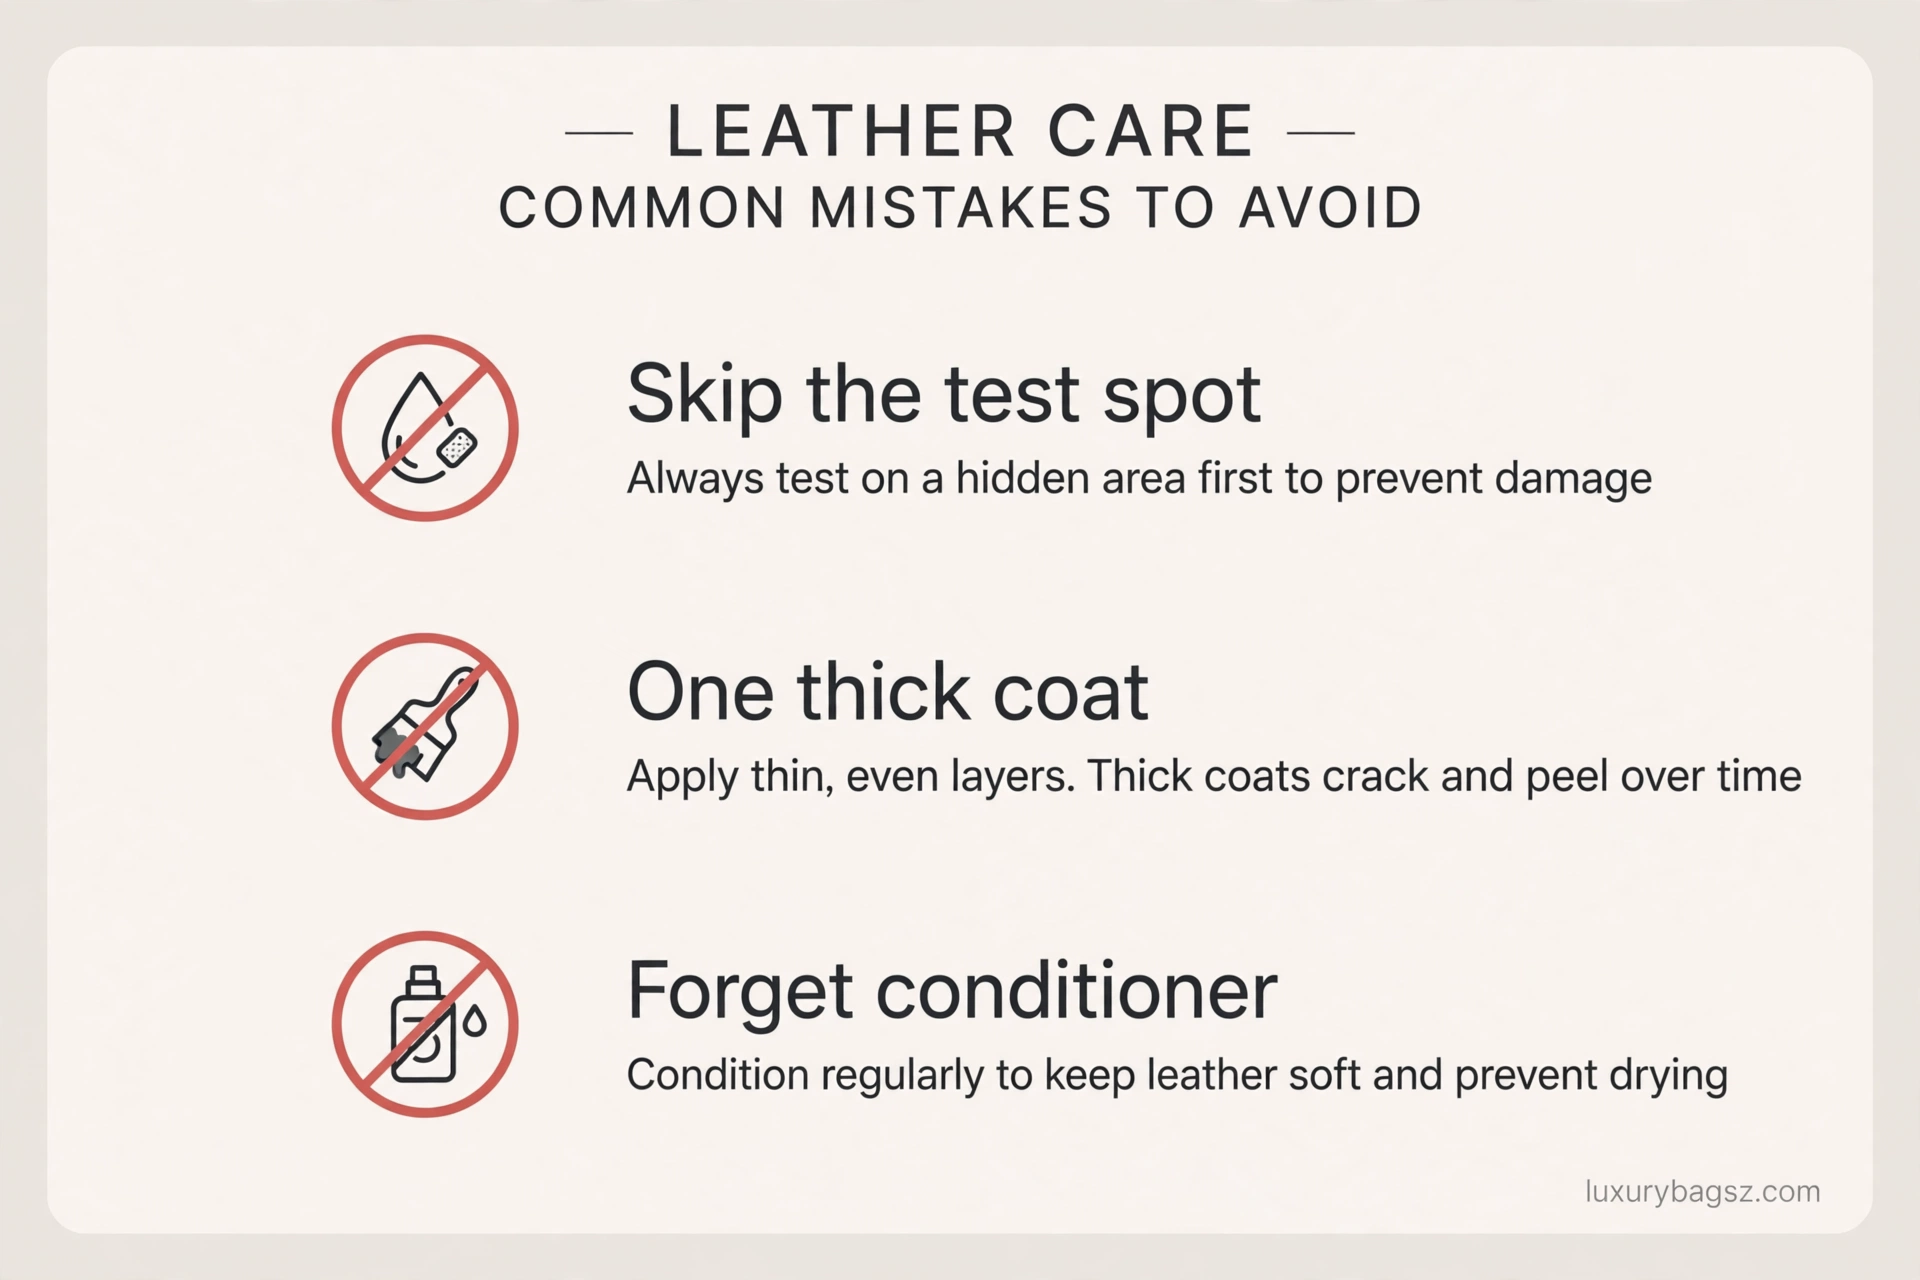
The rule that matters most is simple: thin coats, built up slowly, with a test spot first. One heavy coat is how boots end up blotchy, sticky or far darker than planned. Darkening is also hard to reverse, so treat the first coat as a trial, not a commitment.
Never darken suede with smooth-leather oil or dye. Suede needs its own spray colourant, and even that changes the nap. If your boots are suede, skip straight to the suede and nubuck section before you touch any product.
Key Takeaways
- Darkening is mostly permanent. Test every product on a hidden spot and live with the result for a day before doing the whole boot.
- Oils darken subtly and condition at the same time. Mink oil and neatsfoot oil are the reliable choices, and both add water resistance.
- Polish darkens a medium amount and adds shine. Build it in thin coats, buffing between each one.
- Leather dye gives the deepest, most even colour change, but it needs prep, ventilation and a steady hand.
- Home remedies such as coffee and vinegar-and-steel-wool darken unevenly and unpredictably. Use them only on boots you do not mind ageing roughly.
- Never use olive oil, baby oil or canola oil on leather. They go rancid, stay sticky and damage fibres over time.
- Condition after darkening, whatever method you used. Darkening strips or seals the surface, and conditioner restores flexibility.
- Suede and nubuck need spray-on suede colourant only. Standard oils and dyes flatten the nap and stain unevenly.
Choose Your Method Before You Start
Start by deciding how much darker you want to go, because each method has a natural ceiling. Oils shift colour by a shade or two and enrich the existing tone. Polish can go further with repeated coats, but it sits partly on the surface. Dye changes the colour itself.
Ask how the boots will be used too. Work boots that face rain and mud suit oil, which waterproofs as it darkens. Dress boots that need a clean shine suit polish or a light dye followed by polish. A pair you want to transform from tan to dark brown needs dye, not oil.
Check the leather type next. Smooth, vegetable-tanned and full-grain leathers take all three methods well. Corrected-grain leather, with its coated surface, takes dye poorly and may darken unevenly. Patent leather should not be darkened at all.
Also weigh permanence honestly. Oil darkening fades a little with cleaning and wear, and polish wears off with use. Dye is the closest thing to forever, and even strong cleaning will not fully lift it. If you are unsure, start with oil or polish, not dye.
Prep and Test: The Step Nobody Should Skip
Clean the boots fully before any darkening product touches them. Dirt trapped under oil or dye shows as dark spots and streaks, and it stays there. Brush off dust, wipe with a barely damp cloth, and use a little saddle soap on stubborn marks, rinsing all soap away.
Let the boots dry completely at room temperature, away from heat and sun. Damp leather absorbs oil and dye unevenly, giving a blotchy finish that no amount of buffing fixes. A full day of drying after a wash is worth it.
Pick a hidden test spot, such as the inside of the shaft or the tongue, and apply your chosen product there. Let it dry fully, then look at it in daylight. Colours look different wet and dry, and most products darken further as they cure overnight.
Photograph the test spot beside the untreated boot. This sounds fussy, but it stops the classic mistake of building coat after coat while chasing a shade you passed two coats ago. One photo gives you a fixed reference point.
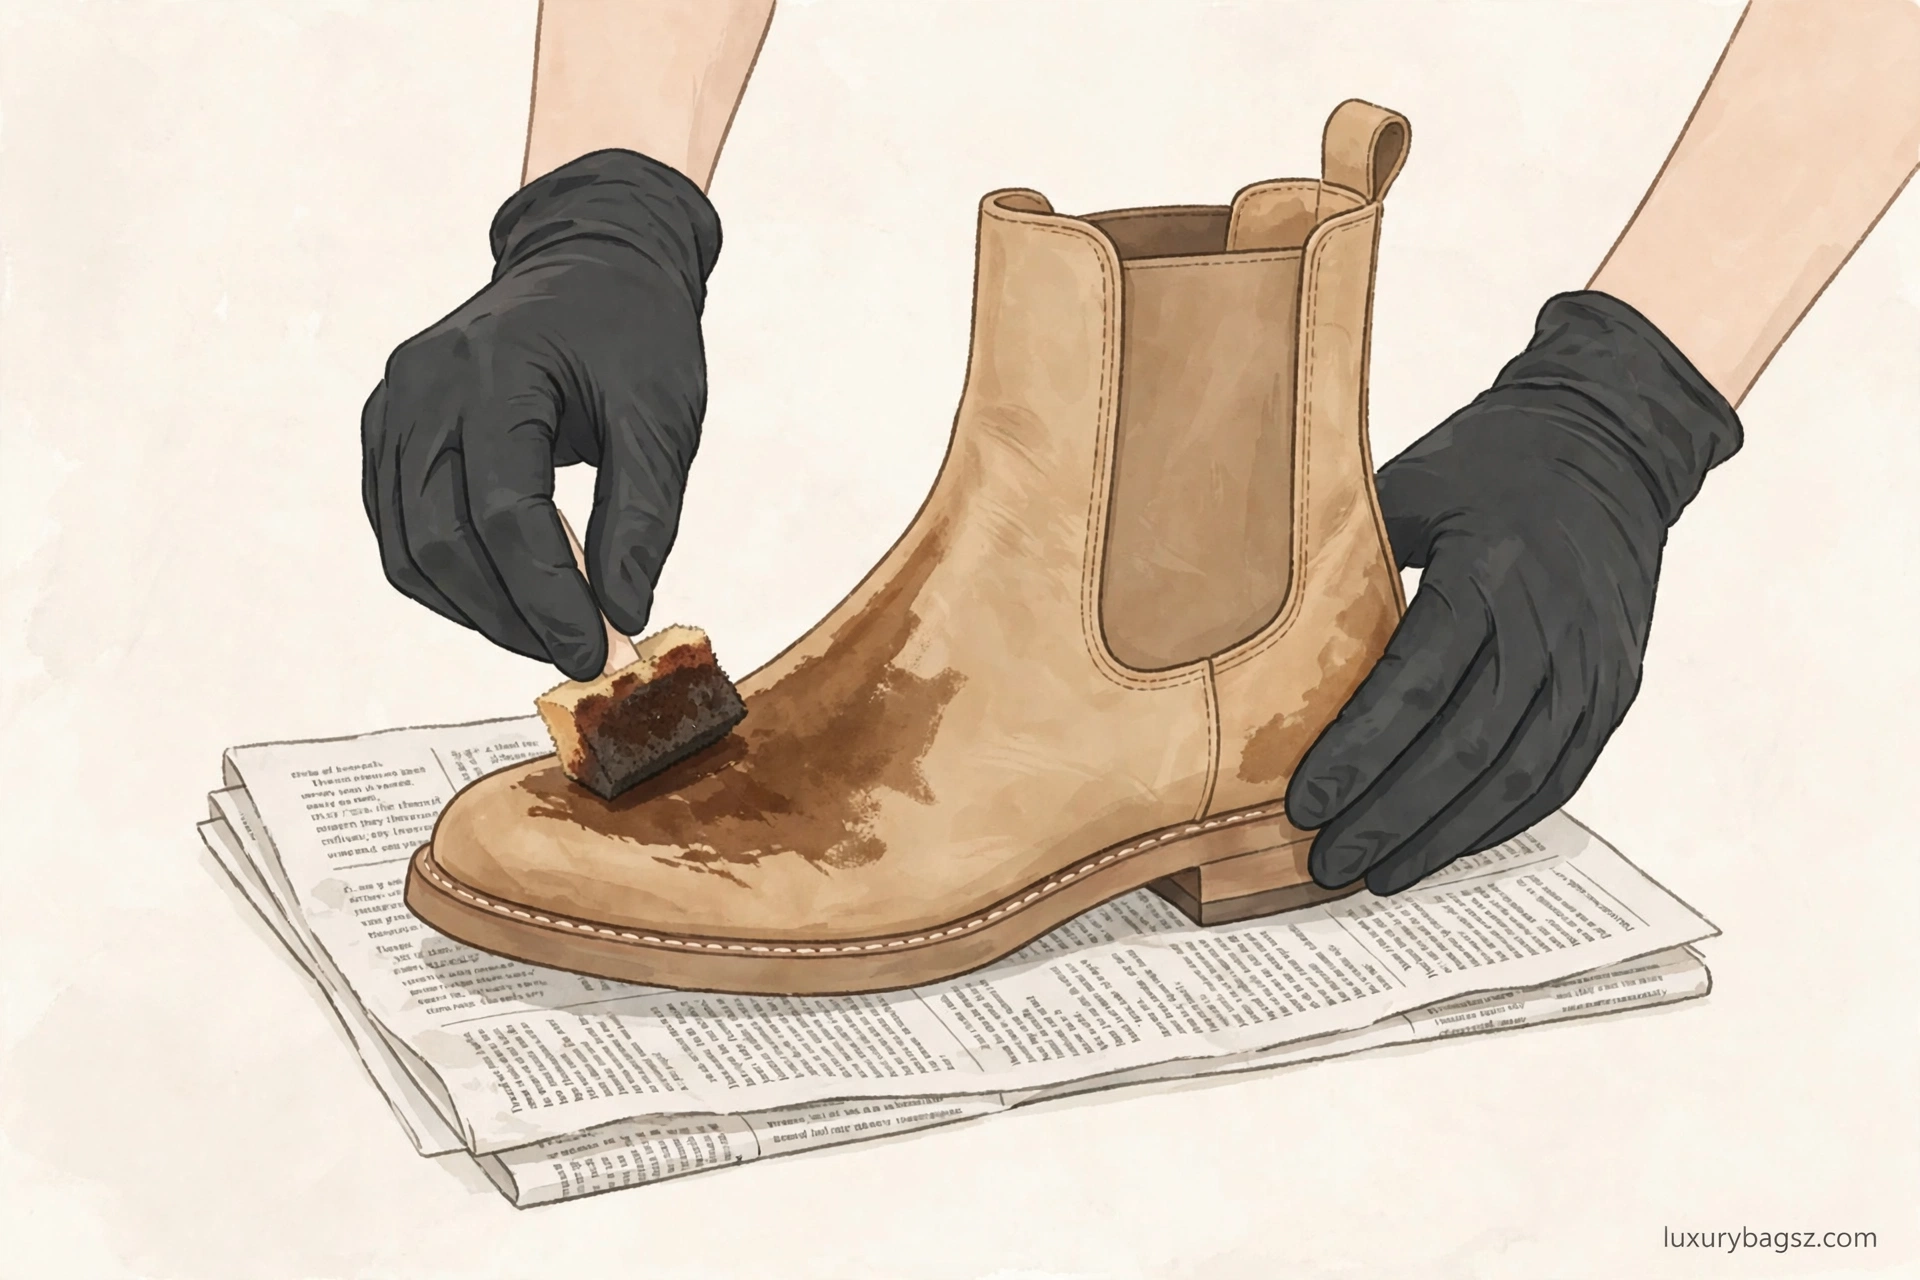
Gather your kit before you start: clean cotton cloths, gloves for dye work, a dauber or sponge applicator, masking tape for soles and stitching you want to protect, and newspaper for the work surface. Dye stains hands, tables and floors fast.
Method One: Darken With Oil
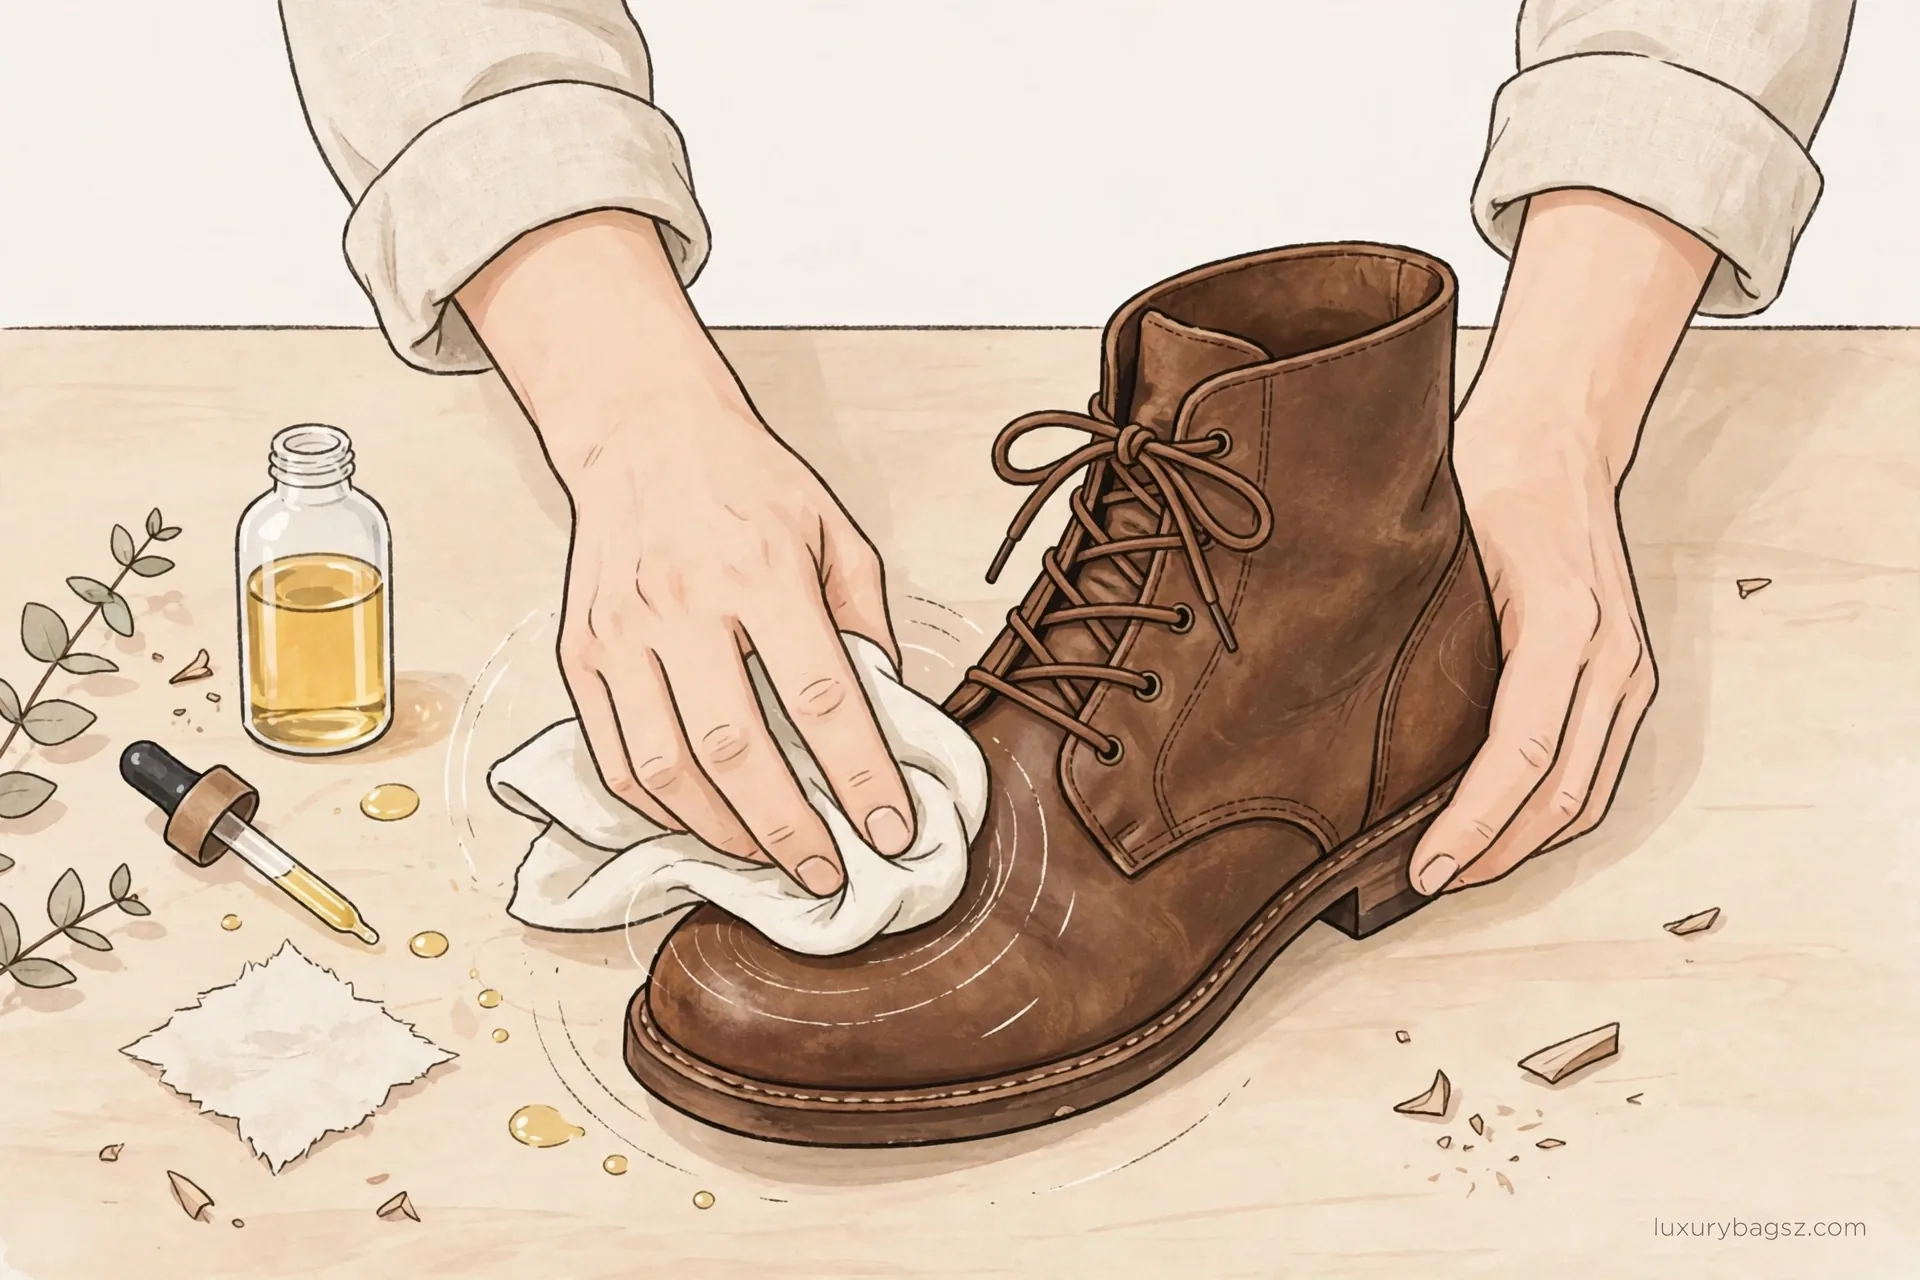
Oil is the gentlest and most forgiving way to darken boots, and it is the best starting point for most people. Mink oil darkens by a few shades, softens the leather and adds water resistance. Neatsfoot oil darkens similarly and is a classic boot-room staple.
Warm a small amount of oil paste between your fingers or on a cloth until it loosens. Rub it into the leather in small circles, working one small area at a time, and keep the coat thin. Too much oil at once pools in creases and dries darker there.
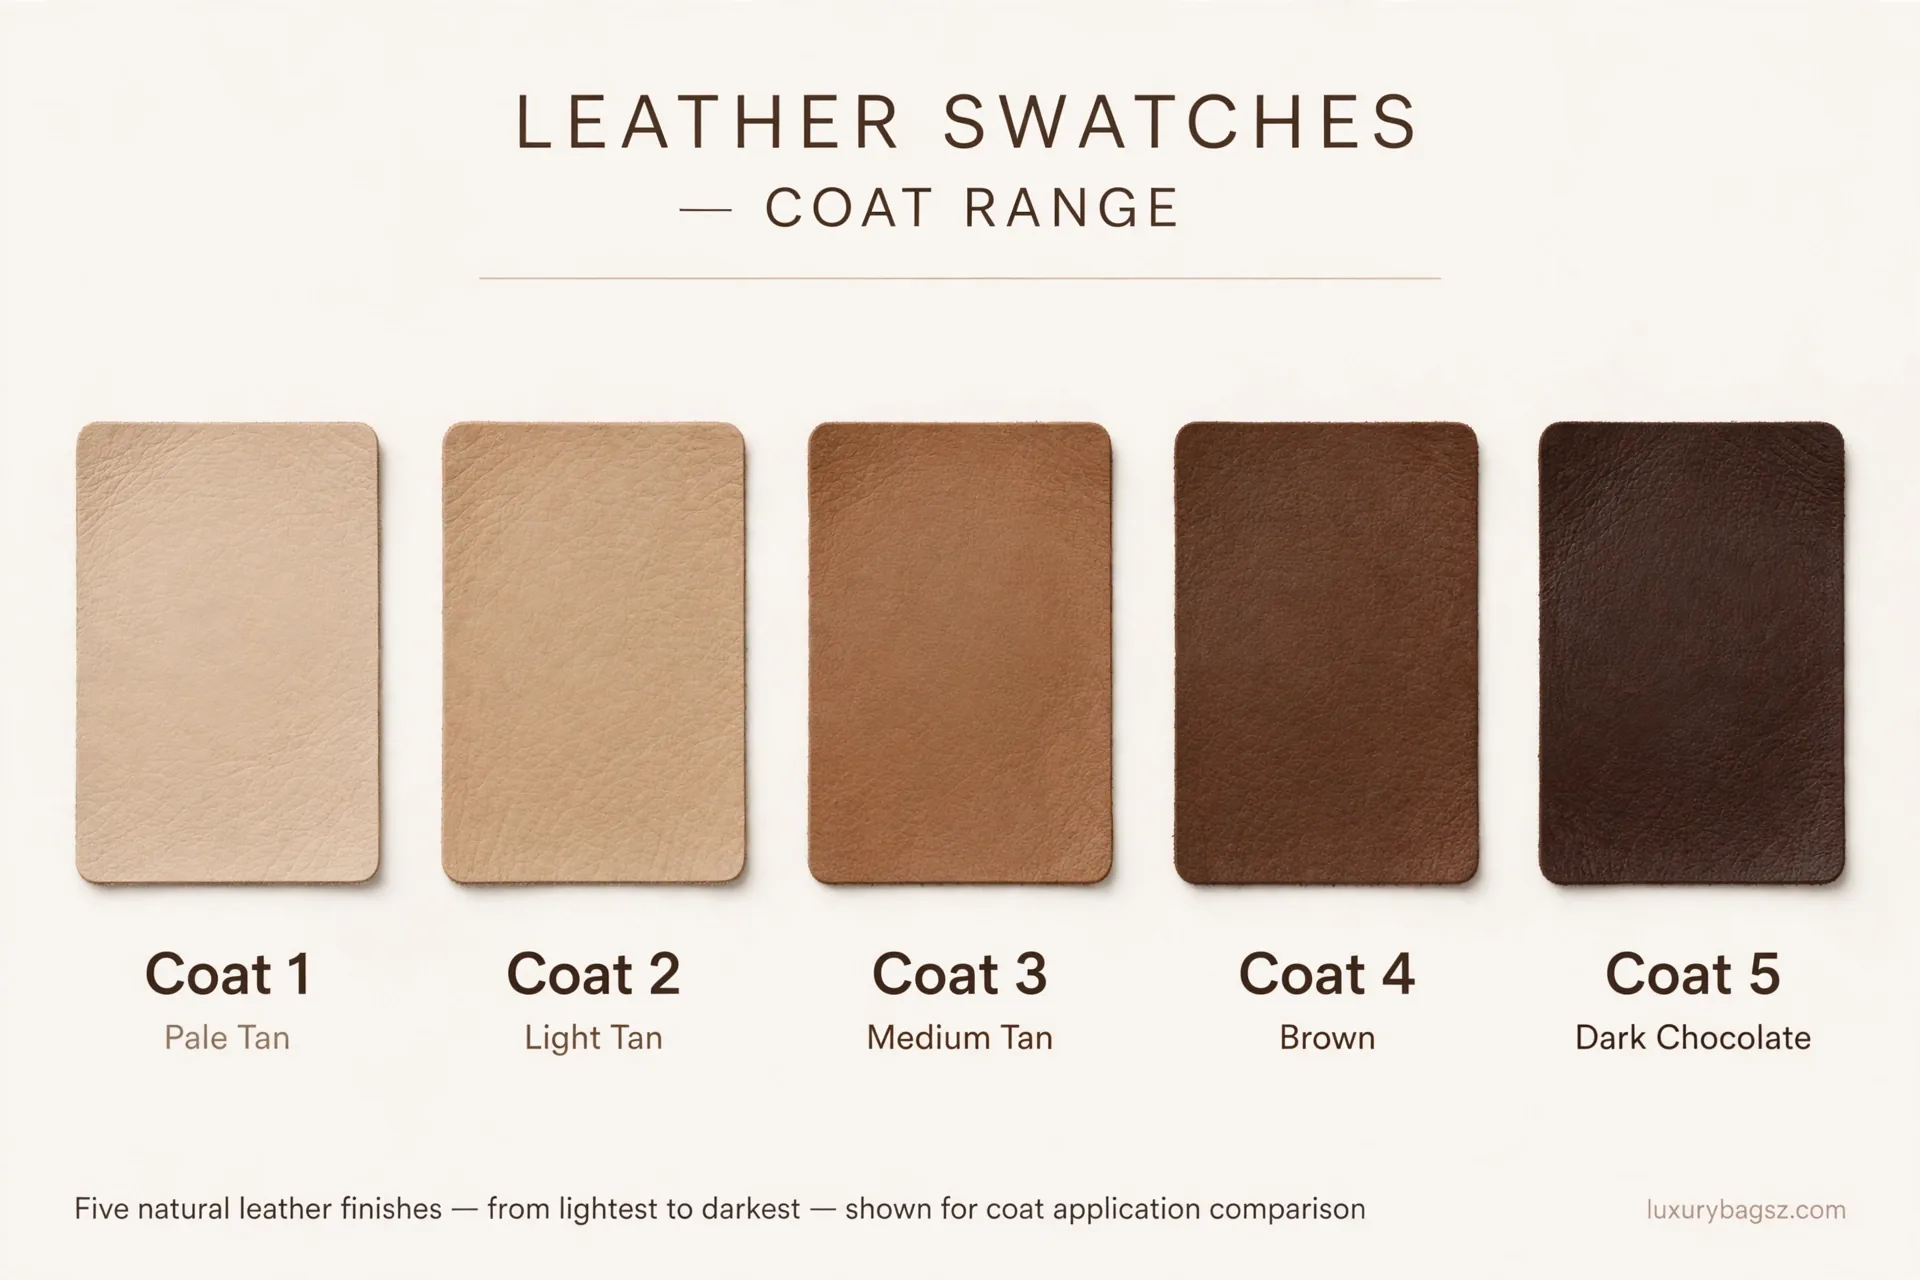
Leave the boots for at least an hour, then check the colour in daylight. If you want more depth, add a second thin coat the same way. Two thin coats beat one heavy coat every time, for evenness and for control over the final shade.
Buff lightly with a clean cloth to remove surface excess, then let the boots rest overnight before wearing them. Oil that has not absorbed will transfer to socks, trousers and floors, so patience here saves cleaning later.
Be honest about the trade-offs. Oil darkens unevenly on boots that have aged unevenly, because dry, faded areas drink more oil than well-kept areas. Oil also takes the shine off leather, leaving a matte look, even after later polishing.

Method Two: Darken With Leather Dye
Dye is the right choice when you want a real colour change, such as tan to dark brown or brown to black. It penetrates the leather rather than sitting on top, so the result is deeper and longer-lasting than oil or polish. It also demands more care.
Work in a ventilated spot, wear gloves, and protect the floor. If the boots have a heavy factory finish, a deglazer, used exactly as its label directs, strips that coating so dye can penetrate. Skip deglazer on soft, unfinished leathers unless the dye maker advises it.
Apply dye with a sponge applicator or a dauber in thin, even strokes, working in one direction across small areas. Overlap strokes slightly to avoid stripes, and keep the coat thin. A thick coat pools, dries unevenly and can crack at flex points.
Let the first coat dry fully, then judge the colour in daylight before adding more. Most boots need two or three thin coats for an even, deep result. Rushing the second coat over a wet first coat is the fastest route to a streaky finish.
Once the final coat is dry, buff lightly and seal the colour with a neutral conditioner, then a wax or cream polish if you want shine. Sealing matters: unsealed dye can transfer to socks and light trousers, especially in the first weeks of wear.
Method Three: Darken With Polish
Wax-based shoe polish is the most accessible darkening method, and it suits boots that need a moderate change plus a shine. Choose a polish a shade or two darker than your target, because polish builds gradually rather than jumping straight to its tin colour.
Apply a small amount on a cloth, using small circles, and cover the whole boot in one thin coat. Let it haze for a few minutes, then buff with a clean brush or cloth. Two coats usually give a clearly darker result, and you can add more until you reach your shade.
Polish works best as a top-up over oil or dye, not as a replacement for them. A dyed boot finished with dark polish looks richer and more even than dye alone, and the polish layer protects the dye beneath it from scuffs.
Watch the stitching. Dark polish tints light thread fast, and white contrast stitching turns muddy after one coat. Tape over stitching you want to keep light, or accept that the stitching will darken with the boots.
Polish darkening wears off with use, especially at the toe and heel, so expect to reapply every few months on daily-worn boots. That is also its advantage: unlike dye, a polish mistake can be stripped back with cleaner and patience.
Home Remedies: What Works and What to Avoid
Coffee is the least risky home remedy. Strong brewed coffee, applied like a stain with a cloth in thin coats, darkens light leather a little and gives a warm, antiqued tone. The result is uneven by nature, so it suits rustic boots, not dress boots.
Black walnut hull extract darkens more strongly than coffee, but it stains everything it touches, including skin and work surfaces, and the colour can turn patchy on finished leather. Wear gloves, test first, and expect variation rather than an even shade.
Vinegar and steel wool, soaked together to make an iron stain, is often recommended online, and it is the remedy to treat with most caution. Vinegar is acidic, and acid weakens leather fibres over time, making them brittle. The stain is also hard to control.
Avoid olive oil, baby oil and canola oil entirely. These kitchen oils do not behave like leather oils: they go rancid, leave a sticky film, attract dirt and can damage fibres with long use. Saving money on oil is a false economy on boots worth keeping.
Avoid acrylic paint and fabric paint for whole-boot darkening. Diluted paint can give a decorative effect, but it sits on the surface, cracks at flex points and peels with wear. It is a craft finish, not a boot-care finish, and removing it is miserable.
Darkening Suede and Nubuck Differently
Suede is a different material with different rules, and smooth-leather methods ruin it. Oil flattens the nap, darkens in patches and leaves suede greasy. Standard dye soaks the nap unevenly and stiffens it. Neither should go near suede boots.
Use a spray-on suede renewer or suede colourant made for suede and nubuck. Clean the boots first with a suede brush and eraser, let them dry fully, and mask off soles and any smooth-leather trim you do not want coloured.
Spray in light, even passes from the distance the label states, letting each pass dry before the next. Several light passes beat one heavy spray, which soaks the nap and dries stiff. Brush lightly between passes, once dry, to keep the nap open.
Expect a texture change even with the right product. Darkened suede looks richer but feels slightly firmer, and the nap may not be as soft as before. If the boots are light suede and you want a perfect, even dark shade, a cobbler with suede-dye experience is worth the cost.
Never use a suede protector as a darkener or a darkener as a protector. They are different jobs. Colour first, dry fully, brush, then protect with a suede-only spray as the final step.
Aftercare, Fixing Mistakes and When to Stop
Condition after darkening, whatever method you used. Oil-darkened boots still benefit from a light conditioner coat once the oil has cured, and dyed boots need conditioner to restore flexibility after the dye process. A light conditioner such as Saphir Renovateur suits smooth leather here, applied thinly and buffed well.
Wait a full day before judging the final colour. Oils and dyes keep curing as they dry, and a shade that looks perfect wet can deepen overnight. Wearing the boots too soon also risks colour transfer to socks and trousers, especially with fresh dye.
For uneven results, the fix depends on the method. Uneven oil often evens out with a second thin coat and a good buff. Uneven polish can be stripped back with leather cleaner and rebuilt. Uneven dye is the hardest to fix, and a cobbler is often cheaper than repeated home attempts.
If boots come out too dark, saddle soap washing can lift some oil and polish darkening, though it will not fully reverse dye. Wash gently, dry slowly, condition afterwards, and accept that some darkening is permanent. That permanence is why the test spot matters.
Stop and see a cobbler when dye has pooled and cracked at flex points, when the leather feels stiff or papery after treatment, or when colour has transferred heavily despite sealing. A professional can strip, re-dye and refinish boots far more evenly than a fourth home attempt.
Frequently Asked Questions
Will mink oil darken my boots permanently?
Mink oil darkens boots by a few shades and the change lasts for months, but it fades slowly with cleaning and wear. It is far less permanent than dye, which is why oil is the safer first try.
How many coats of oil does it take to darken boots?
One thin coat usually shifts the shade slightly, and two thin coats give a clear change. Judge each coat in daylight after drying, and stop as soon as you reach your target shade.
Can I darken boots with coffee?
Yes, strong brewed coffee darkens light leather a little with a warm, rustic tone. It works unevenly, so it suits work boots better than dress boots, and it needs several thin coats.
Does neatsfoot oil or mink oil darken more?
Both darken similarly, by one to three shades depending on the leather. Mink oil also adds more water resistance, while neatsfoot oil is a traditional, widely available boot oil.
Can I use shoe polish to darken boots?
Yes. A darker wax polish, built in thin coats with buffing between, darkens boots a medium amount and adds shine. It wears off over months, so it needs reapplying on daily-worn boots.
Will darkening ruin white stitching?
Dark polish and dye tint light stitching quickly. Tape over stitching before you start, or accept that the stitching will darken with the leather. Oil darkens stitching less, but it still changes light thread.
Can I darken suede boots with oil?
No. Oil flattens suede, darkens it in patches and leaves it greasy. Use a spray-on suede colourant made for suede, applied in light passes, and brush the nap once dry.
How do I lighten boots that came out too dark?
A gentle saddle soap wash can lift some oil and polish darkening, but it will not fully reverse dye. Wash, dry slowly, condition, and expect a partial lightening, not a return to the original shade.
Should I condition boots after darkening them?
Yes, always. Darkening strips or seals the surface, and conditioner restores flexibility and helps prevent cracking. Apply thinly after the darkening product has fully cured, then buff.
Is it safe to darken expensive boots at home?
Oil and polish are low-risk on sturdy smooth leather if you test first. For dye work on expensive or light-coloured boots, a cobbler is the safer choice, because dye mistakes are hard to undo.
Conclusion
Darkening leather boots works well when the method matches the goal. Oil gives a subtle, conditioned darkening, polish gives a medium change with shine, and dye gives a deep, lasting transformation.
Whatever you choose, prep properly, test on a hidden spot, build thin coats, and condition afterwards. That patience is the difference between boots that look richer and boots that look ruined, and it costs nothing but a day of waiting.